Create Presentations from Content Captured from Your Screen with ViewLetBuilder
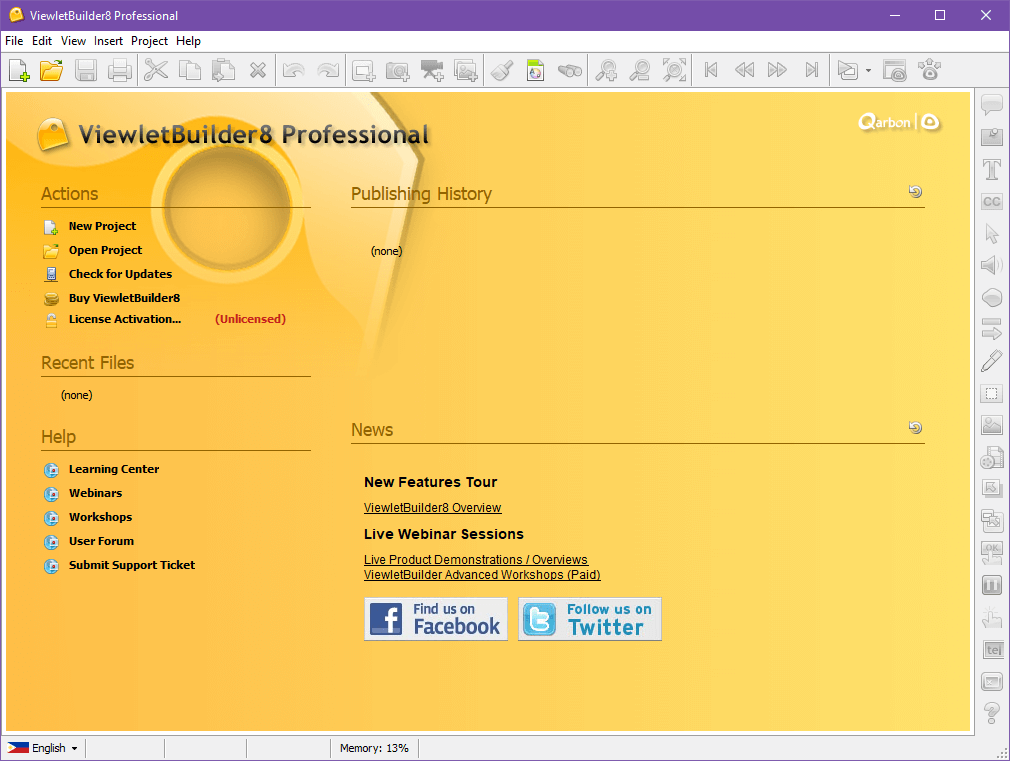
Today’s technology makes it easy to relay and convey information to your audience even when you’re not in the room with them. With remote technology and collaboration-driven software, you can do things you never thought you could years ago. So, if you are a trainer, instructor or motivational speaker, you can easily create presentations and show them to your audience anywhere in the world. This is where ViewLetBuilder steps in. You can easily create presentations from content captured from your screen using ViewLetBuilder.
The problem with simply sharing your presentation, however, is that what you created for your audience may not really be understood at the same level. Misunderstandings may arise and there may be more interpretations to your slideshow than what you want initially. However, it’s not all the time that you can be with each audience, elaborating on each slide.
Create Richer Presentations with Screen Captures via ViewLetBuilder
ViewLetBuilder is a compact yet powerful tool that allows you to capture your screen and include this in your presentation for a more complete experience. This allows you to better explain your slides as you navigate your own computer and show all this in one package to your audience.
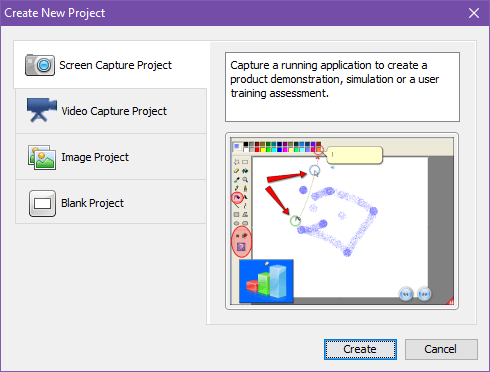
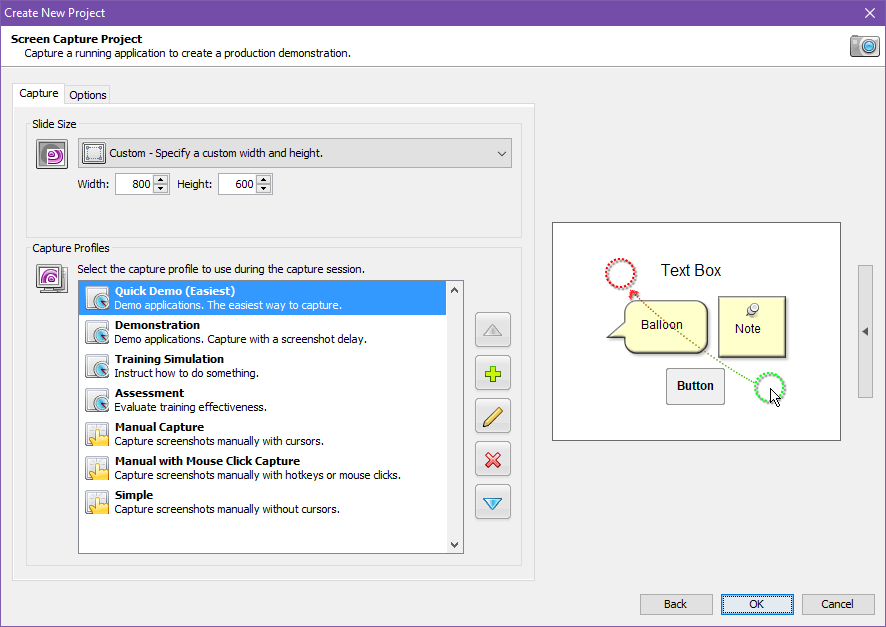
The ViewLetBuilder allows you to have different types of screen captures to include in your presentation. You can have the Quick Demo, which is the easiest. You can also opt for Demonstration, Training Simulation, Assessment, Live Capture, Manual Capture, Manual with Mouse Click Capture, and many others. You may also begin your show by importing images or adding a PowerPoint file.
Start Creating with ViewLetBuilder
To start with a presentation project using ViewLetBuilder, choose the “Screen Capture Project.” Then, choose the slide size. You can also customize it to your specifications. Then, choose your Capture Profile depending on your purpose and content. Then, you can also import your images or add your PowerPoint file.
To start capturing your screen, for example in Quick Demo Capture, define an area of the screen using your mouse pointer. Then, you can begin recording immediately by clicking on the record icon in the taskbar. This taskbar will also show the size you have captured.
You can also find more options in the taskbar when you click “More.” Here, you can find different tabs that can help you customize your experience with ViewLetBuilder. From Mouse to Keyboard to Annotations and General settings, you can customize it all to the way you like depending on how you want to work.
Once you’re done capturing what you want to capture in your presentation, you can publish your work. There are many different formats to choose from when you publish your screen captured project. You can publish it as Flash, PDF, Word/RTF, HTML or Image Set. You can also publish it online and through social media, such as on YouTube and Facebook.
While it’s easy to just project your slides for your audience to watch, there’s no guarantee that they will easily understand your message without any misinterpretation. To help you ensure that your slideshow’s message accurately gets across to your audience, you can supplement it with your notes and directions, which you can capture as you work on your computer.
ViewLetBuilder Applications for Work and School
You don’t have to be a professional graphic designer, video editor or flash builder to create your own project. ViewLetBuilder lets you do it with ease due to its clean and easy-to-use interface.
ViewLetBuilder also has many applications for all kinds of presenters or instructors. You can use your projects for training at work, orientations, introducing new technology, assessing staff, and many more. In the classroom setting, it can be used for brainstorming, teaching, assessment, and training.