How to Trim a Video in PowerPoint
Videos are powerful tools for making presentations engaging and dynamic. However, not every part of a video may be relevant to your presentation, and sometimes it’s necessary to trim it to focus on the key moments. In this article, we’ll explore how to trim video in PowerPoint, ensuring your presentations are both professional and captivating.
Why Trim Videos in PowerPoint?
Trimming videos can significantly enhance your presentations. Here are some reasons why you might want to trim a video in PowerPoint:
- Engagement: Keeping your audience engaged by showing only the most relevant parts of the video.
- Focus: Highlighting key moments and avoiding unnecessary content.
- File Size: Reducing the size of your presentation file by eliminating extraneous video footage.
Preparing Your Video for Trimming
Before you can trim a video in PowerPoint, you need to ensure it’s properly embedded or linked within your presentation. Here are some steps to prepare your video:
- Insert the Video: Go to the slide where you want to add the video, click on the “Insert” tab, and then select “Video.” Choose the appropriate option to insert a video from your computer or online sources.
- Check the Format: Ensure your video is in a format supported by PowerPoint (e.g., MP4, WMV). This helps avoid playback issues.
How to Trim Video in PowerPoint (Easy Steps)
Step 1: Insert the Video
First, insert the video into your PowerPoint slide. Navigate to the “Insert” tab, click on “Video,” and choose either “This Device” or “Online Video.” Select your video file and insert it into the slide.
Step 2: Select the Video
Click on the video to select it. This will open the “Video Tools” on the ribbon.
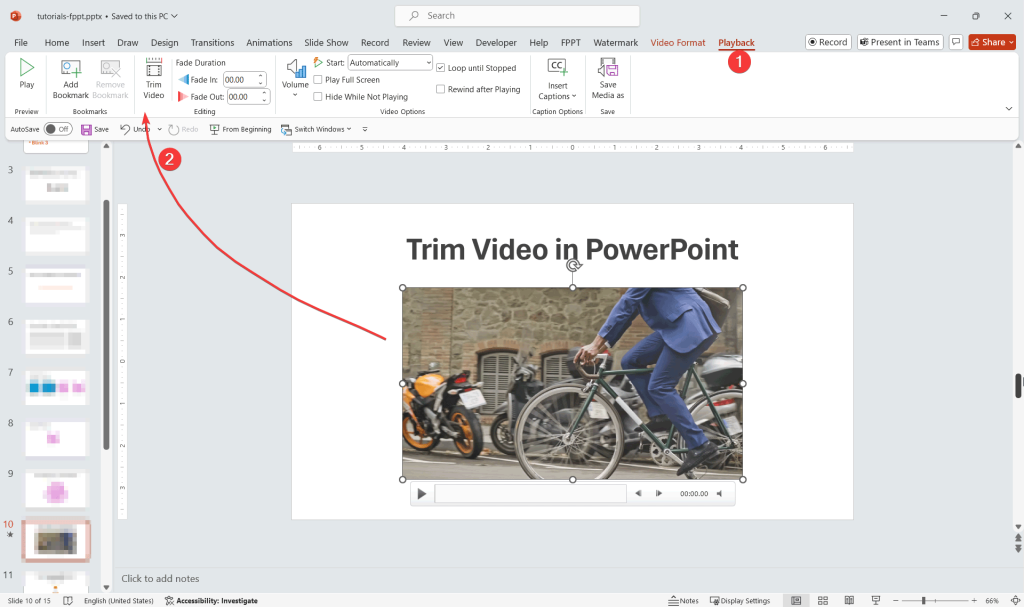
Step 3: Open the Trim Video Tool
Navigate to the “Playback” tab under “Video Tools.” In the “Editing” group, click on the “Trim Video” button.
Step 4: Trim the Video
A dialog box will appear with trimming markers. Drag the green marker to set the start point and the red marker to set the end point of the video. You can also enter the exact start and end times for precision. Preview the trimmed video to ensure it captures the desired segment.
Step 5: Save the Changes
Once satisfied with the trimmed section, click “OK” to save the changes. Your video will now play only the selected portion during the presentation.
You can use a similar approach to trim a video in PowerPoint, trim music clips or sound clips.
Alternative Methods to Trim Videos
Using External Video Editing Software
While PowerPoint offers basic trimming capabilities, you might need more advanced features. Tools like Adobe Premiere Pro, iMovie, or free software like Shotcut can provide more precise and powerful video editing options. Once edited, you can insert the trimmed video back into PowerPoint. We reviewed many of these tools in our article with best tools to cut and crop videos.
Pros and Cons of Using PowerPoint vs. External Tools
- PowerPoint: Convenient for quick and simple edits directly within your presentation.
- External Tools: Offer more advanced editing features but require exporting and re-importing the video.
Conclusion
Trimming videos in PowerPoint is a straightforward process that can greatly enhance your presentations. By following the steps outlined in this guide, you can ensure your videos are concise and focused, making your presentations more impactful. Don’t hesitate to experiment with additional video editing features in PowerPoint to further polish your content.