11+ Best Cloud Video Editing Tools to Boost your Productivity
Last updated on December 26th, 2025
In recent years we have seen many cloud-based services offering users the opportunity to work and save their projects to the cloud. Some examples include cloud accounting and online project management services. Similarly, other resource intensive tasks such as video editing are also moving gradually to the cloud. One of the primary examples of cloud video editing is the YouTube Video Editor. Likewise, there are also many other useful services that are offering users the utility to edit videos online and AI video generator tools that will make your video editing job easier. In this article, we will review some of the best video editing software for Youtube, Vlogging and video productions.
1. YouTube Video Editor
The provision of cloud video editing solutions means that you no longer have to install resource intensive applications like Premiere Pro. This online video editing tool can help you use only basic screencast or video rendering tools and do the rest online.
For example, you can create a video presentation by capturing content of your PowerPoint slides using Best Free Screen Capturer, Camtasia Studio Add-in or Ezvid and do the editing online after uploading your video to YouTube. Once your video has been uploaded you can join or combine videos, remove frames, add music, insert transitions, trim videos, rotate videos and stabilize clips, as well as annotate frames using the YouTube Video Editor.
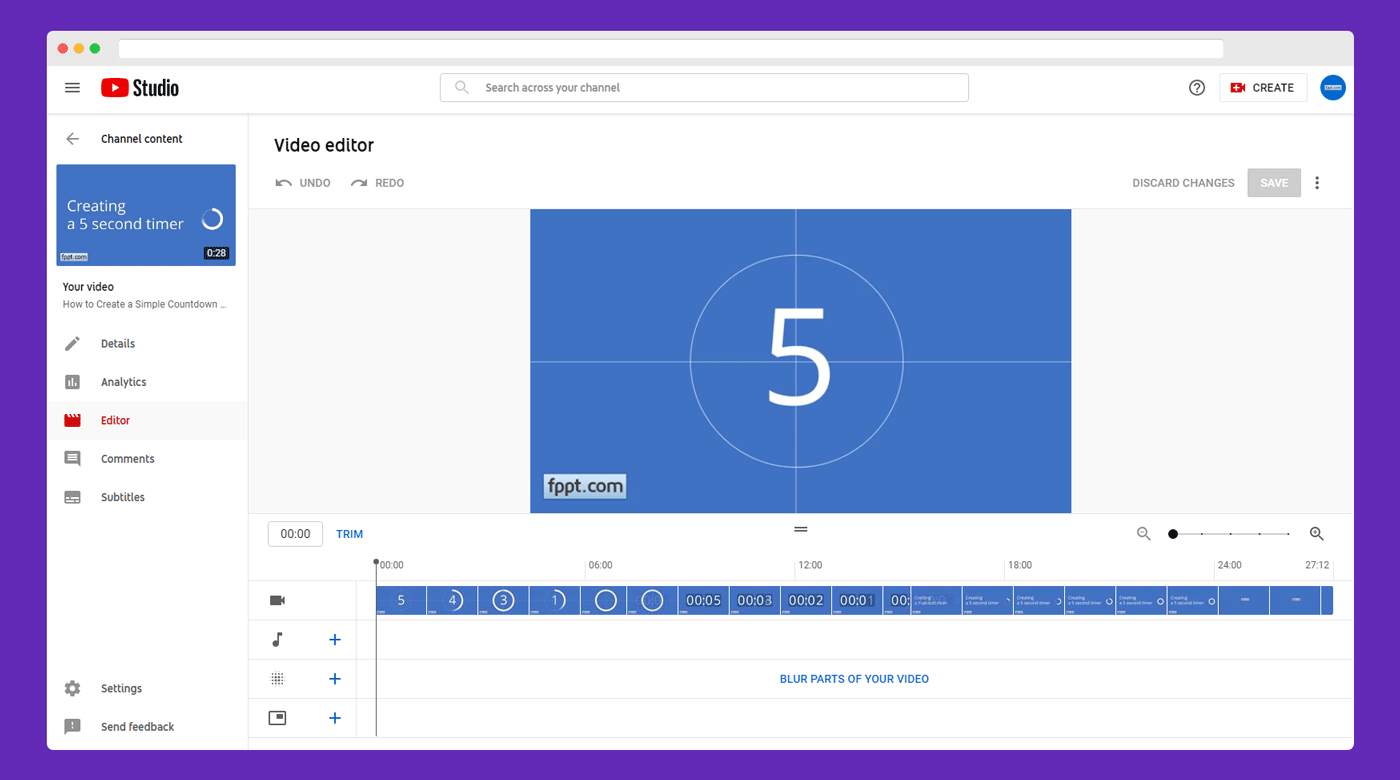
If you have some videos on your channel but haven’t use the editing feature yet, then try out this cloud editing utility by YouTube via the link given below.
Go to YouTube Video Editor
2. FlexClip
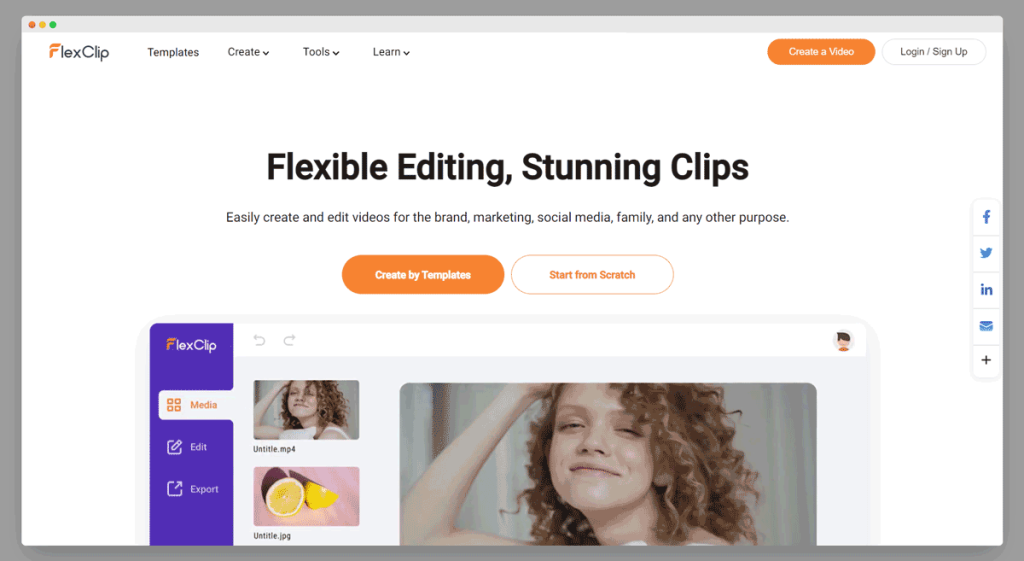
FlexClip is a cloud-based video editor platform designed for both professional and personal use. It is an all-in-one video platform solution that allows users to make and edit videos without the need for complicated software. It has an intuitive interface and drag-and-drop functionality, making FlexClip very easy for users to create professional-looking videos in minutes.
FlexClip offers a wide range of features to help users create engaging video presentations. It allows users to add photos, videos, music, text, and elements to their projects, and provides access to a library of stock photos, videos, and music. FlexClip also includes a set of editing tools, such as crop video, trim, split, and merge videos, to help users refine their videos. Additionally, FlexClip provides a set of video templates that make it easy for users to create videos for specific purposes, such as vlogging, YouTube channels, wedding presentations, and also for business presentations.
In summary, FlexClip is an accessible, user-friendly video editor tool that allows users to create professional-looking video presentations in minutes. Its wide range of features, including its stock media library and video editing tools, make it a valuable tool for anyone looking to create engaging videos for personal or professional use.
Go to FlexClip
3. Wave.video
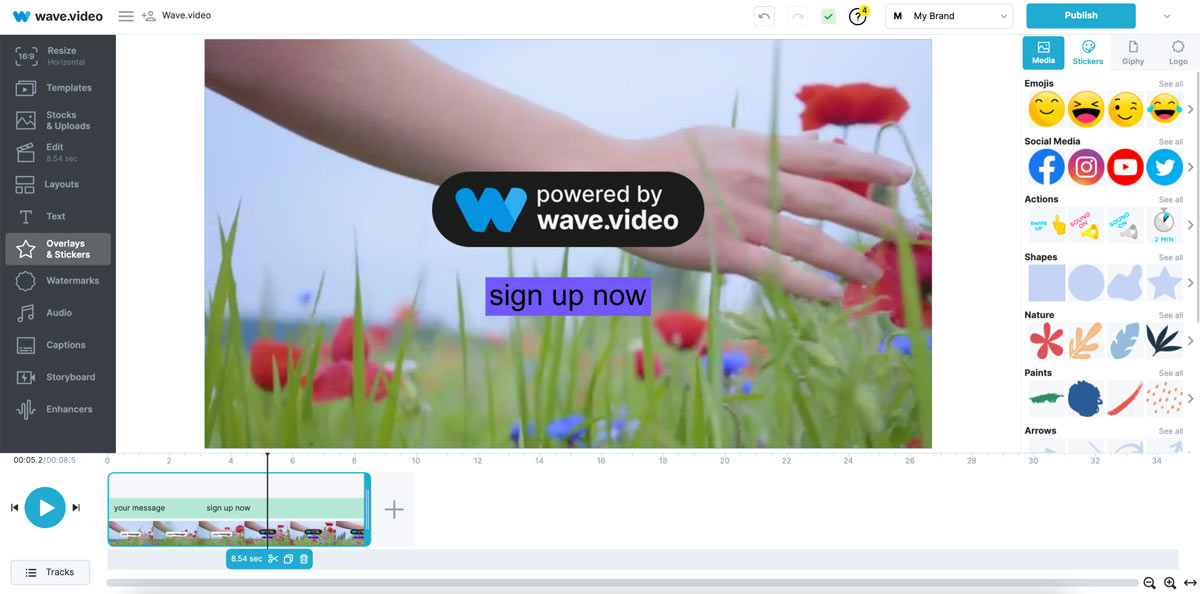
Wave.video is a cloud-based online video editor with a user-friendly interface. Just create an account with Wave.video and get access to multiple media marketing solutions: online video editor, video hosting, livestreaming studio, video and screen recording.
Wave.video editor is a smart solution both for experienced creators and newsies that are only about to explore the world of video editing. With Wave.video account you get access to an excessive library of creative video templates (use it as meme templates, starting soon screens, or well designed advertising videos), free stock photo and video files, etc. On top of that Wave.video offers unique features based on AI technology, so you can convert text to video or text to speech, add subtitles or use auto translation of captions to more than 20 languages.
For more information visit Wave.video official website and try a free plan.
4. Filmora
Filmora Video Editor is an app by Wondershare that provides an easy to use video editing interface geared towards online content creators. While Filmora is not a cloud-based app, its extensive cloud-based library of content makes it possible to insert filters, effects, and elements in videos using Windows or Mac OS. Filmora has two versions, including a basic and PRO version. The latter is meant for users with intermediate video editing skills, whereas the former caters to beginners.
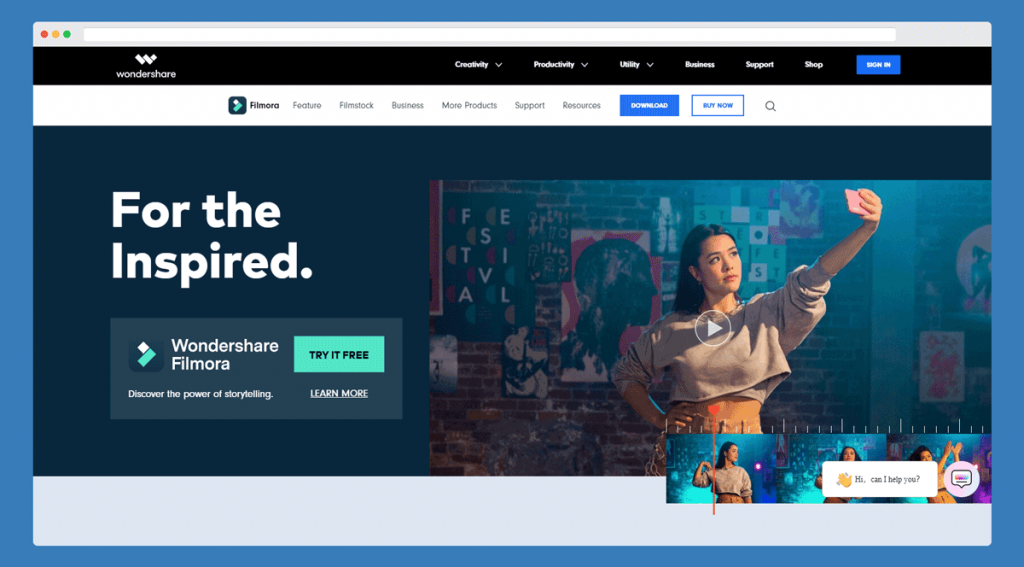
With Filmora you can quickly add filters and transitions, create fun split-screen videos, and add social media icons to encourage your audience to subscribe and like your videos. The videos can be directly uploaded to Vimeo or YouTube or you can use a number of presets to export the video for a specific device or supported media format. For more details, see our cloud video editing review of Filmora Video Editor.
5. Bannersnack
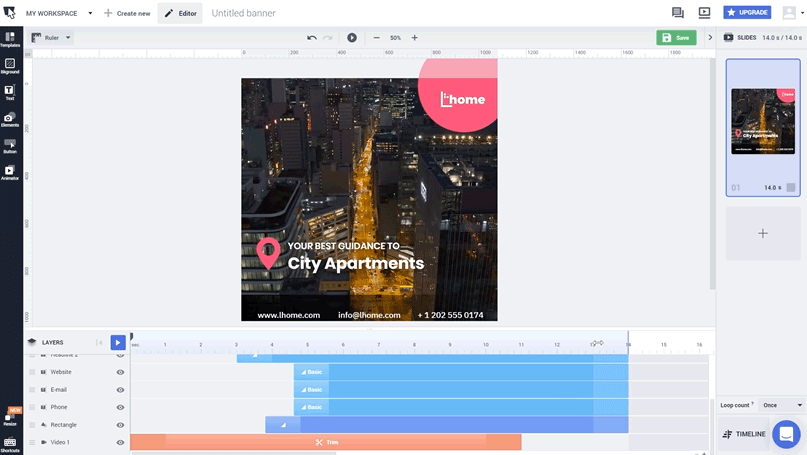
If you’re looking for a handy video maker, Bannersnack is an option worth considering. The platform is designed to simplify the process of creating videos without requiring any editing skills or hiring a production team. Whether you’re looking to ace your next set of YouTube video ads or boost your social media pages with engaging ads, covers, and stories, Bannersnack is an accessible cloud video editing tool and fit for all industries and fields.
Go to Bannerstack Video Maker
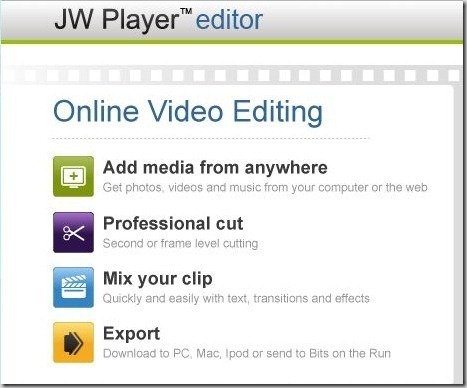
6. JW Player Editor
If you are looking for an online video editing tool that can provide support for a wide range of formats, then you should try JW Player Editor. This web based video editor offers three packages including a free version with 1 GB online storage. Other packages include the Advanced ($49 per year) and Pro ($349 per year) packages. With JW Player Editor you can import media files such as photos, videos and music and edit them online. It supports a wide range of audio, video and image formats including MP4, MOV, FLV, AVI, WMV, ASF, MP3, WAV, Ogg, JPG, BMP, PNG and GIF (to name a few).
Go to JW Player Editor
7. Clipchamp Video Editor
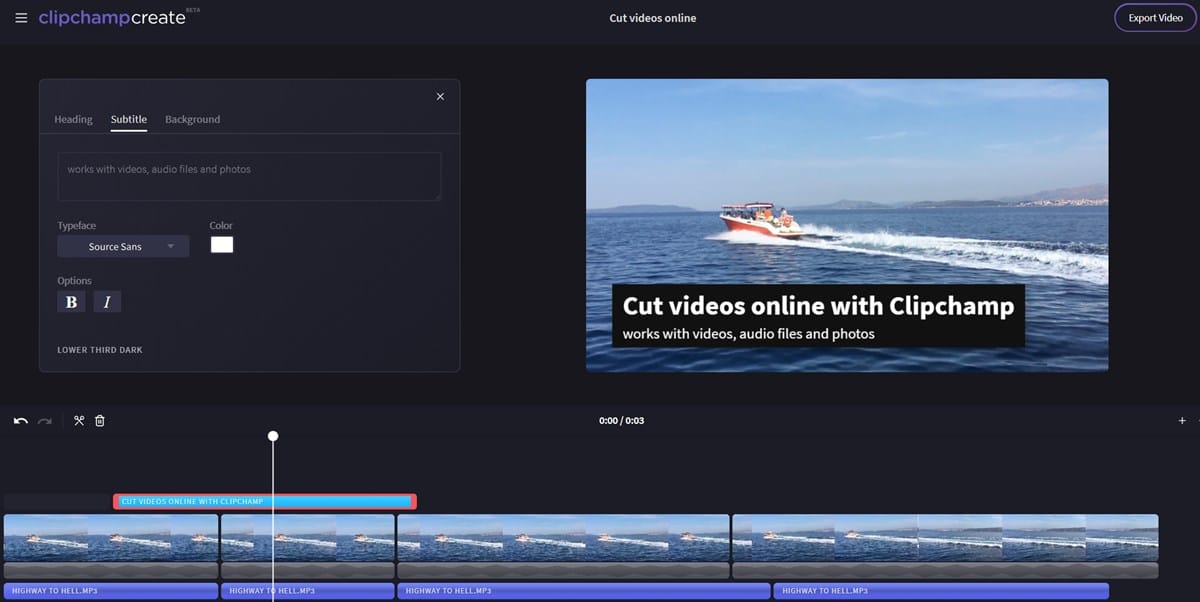
Clipchamp (acquired by Microsoft) is a cloud video editing and video tool available for G Suite & G Suite for Education and Windows that let you record, compress, convert, edit, upload, collect, save and share video files. With Clipchamp you can solve all your video needs in one place. Furthermore, the cloud video editing software allows you to have a perfect mix and match stock footage and audio. Let’s say you have your own video files but still need some audio or sound tracks. With the extensive video and audio stock library available in Clipchamp, you can pick and choose images and sound as you go along.
Go to Clipchamp Video Editor
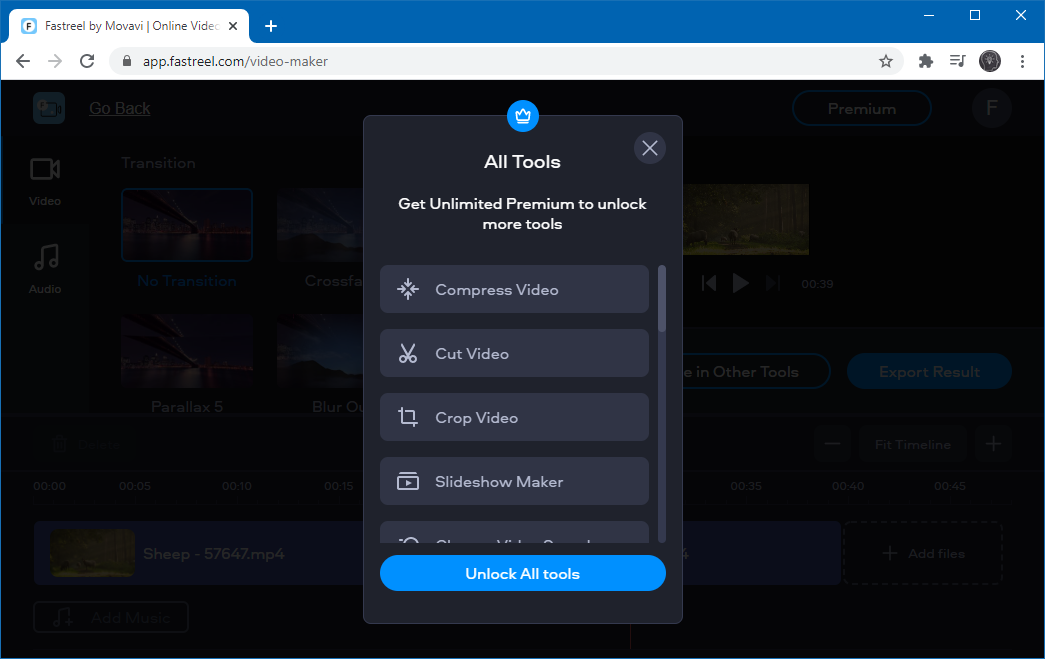
8. FastReel
Fastreel is an online video creation and editing tool for making online videos, intros, demos, ads, and even videos for personal use. Fastreel provides a number of templates for authoring content online, as well as serves as an editing utility for performing basic editing functions for your clips from the cloud. You can learn more about this tool from our review of Fastreel Video Editor.
9. Pixorial
Pixorial is another good web application for editing your videos online. It allows users to edit videos to give them a professional look with titles, transitions, overlay text and music, as well as sharing and online storage options, Google Drive integration and more. It also has an application for iOS devices and you can get 50 GB storage for free by referring friends.To get started, you can sign up for a free account or login with your Facebook or Google account.
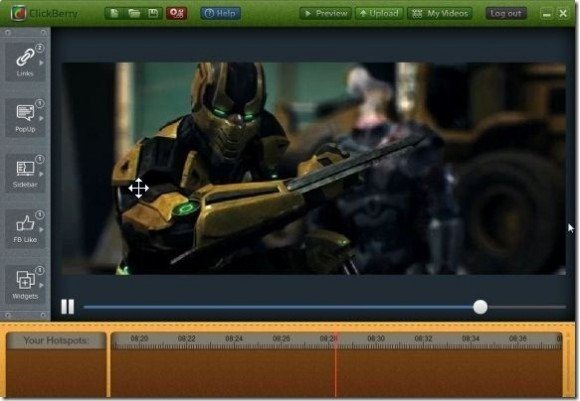
10. ClickBerry Interactivity Creator
ClickBerry Interactivity Creator is not precisely a cloud-based video editor but rather a desktop application, however we would recommend this application to people looking for cloud integration and simplicity.
The good thing about this application is that it is not very resource-intensive (unlike common video editors) and also allows some very nice sharing and uploading features. With ClickBerry you can edit videos using your desktop operating system and also save them online. When you sign up for a ClickBerry account you get 1 GB cloud storage, which means that it does offer support for cloud-based functionality. You can even upload your edited videos directly to Facebook. ClickBerry has applications for Windows, Mac OS X and iOS.
From a variety of choices to edit your videos, it’s really up to you whether you want to save a few of that computer memory or optimize the offers that are available online.
11. OpenShot
OpenShot is a video editor that has been around for more than a decade. An open source project that originated in year 2008, OpenShot has been a famous cross-platform app that is available for Windows, Mac, and Linux. Furthermore, the app also offers cloud-based, SaaS deployment capability via its cloud API. A few key features of the app include the ability to create 3D animated titles, manual animation for the speed and direction of clips, unlimited track layers, and keyframe animations.

Unlike most other tools in this list, OpenShot provides extensive documentation to guide users intricately regarding the use of the app. However, this is not an editing tool suitable for newbies. Unlike Filmora, OpenShot is suitable for people with intermediate to professional video editing skills. Furthermore, the app isn’t as fluid as other video editing tools and you might experience a few lags during the editing process.
Go to OpenShot Video Editor
Final Words
From a variety of choices to edit your videos, it’s really up to you whether you want to save that computer disk space or use the offers for cloud-based tools, giving you access to editing capability from virtually any internet-powered device.
Video is one of the preferred formats by companies to promote products and share content. With the growth of social media platforms, YouTube and IGTV, cloud-based video makers and AI video editing tools are on the rise. Even if it is possible to produce videos with free online tools, a professional video maker that is based on the cloud can help to make the difference vs. amateur videos. Here we have reviewed some of the most known cloud-based video editing tools and AI video generator platforms. These tools can help you create videos in the cloud and for cloud-based platforms, by adding visual content that can enable you to make your videos attention-grabbing.
We will send you our curated collections to your email weekly. No spam, promise!