How to Work in PowerPoint with Layers
Last updated on March 27th, 2025
Working with PowerPoint can be daunting for beginners, but once you get the hang of it, you’ll realize the many possibilities its functions and features can present to you. For one, using PowerPoint templates with the Slide Master feature can allow you to create layers in your slides that will add depth and impact to your presentations. If you want to learn how to work in PowerPoint with layers, read the detailed guide below.
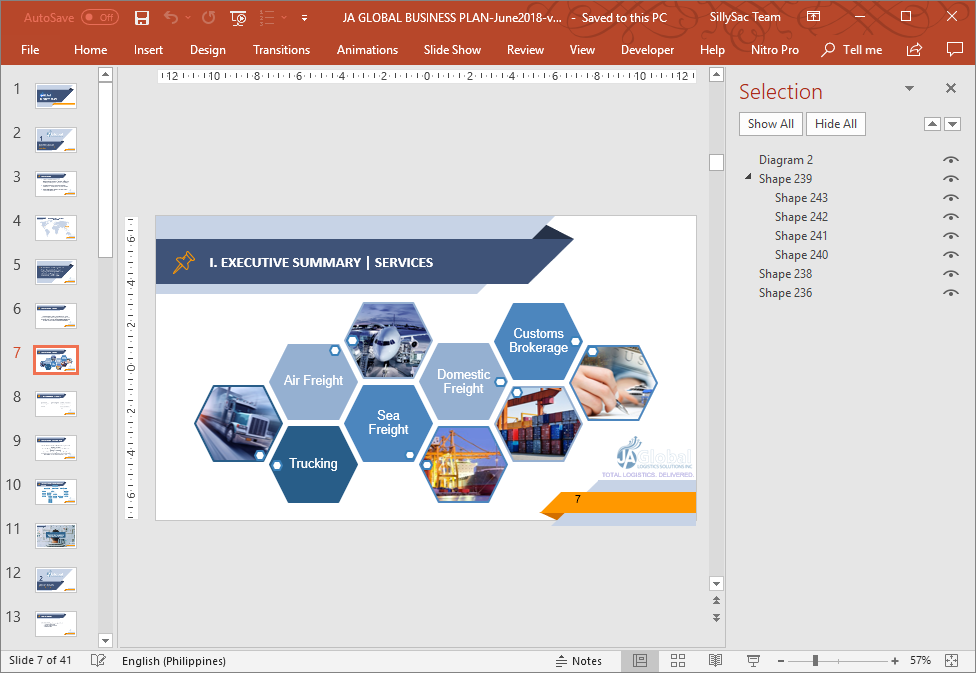
What even long-time PowerPoint users may not know is that you can make the most out of these layers and work better with the help of the Selection and Visibility Pane. This Pane allows you to better work with layers and see them while creating your presentations. It helps you to organize and keep track of the different layers and elements in your slides as you design each of them. So, how to see layers in PowerPoint?
Enabling Selection and Visibility to Work with Layers
The Selection and Visibility feature in PowerPoint is a nifty one, but not a lot of people know about it. This is perhaps why not a lot also work with layers, and thereby aren’t making the most out of PowerPoint. By using the Selection Pane, you can see the text and shape layers in PowerPoint.
This feature allows you to see your design elements or layers and identify them on a separate pane. You can enable this feature by going to the Home tab in the Ribbon. From here, go to the Editing -> Select, Then, choose Selection Pane to open a pop-up box for Selection and Visibility.

Easily Work with Layers in Your Slides
The Selection and Visibility Pane will show all the objects, or layers, in your current slide. Each of these objects has preset names that are automatically provided by PowerPoint. Names such as “TextBox 1” or “Line 4” can be renamed, however, so you can better recognize the objects you create. This is because these rather generic names can be confusing, especially if you have multiple textboxes and lines on your slide.
So, to rename each object, just click on its name in the Selection and Visibility Pane and type the name that you want. It helps to have a specific word or short phrase to describe each object as its name, so you can easily recognize it against the other objects in your slide.
By giving your objects specific and convenient names, you can better work with layers. It will also be so much easier for you to identify these objects especially when you work with complex animations, which also reflect the names you assign to the objects.

Access and Reorder Your PowerPoint Layers
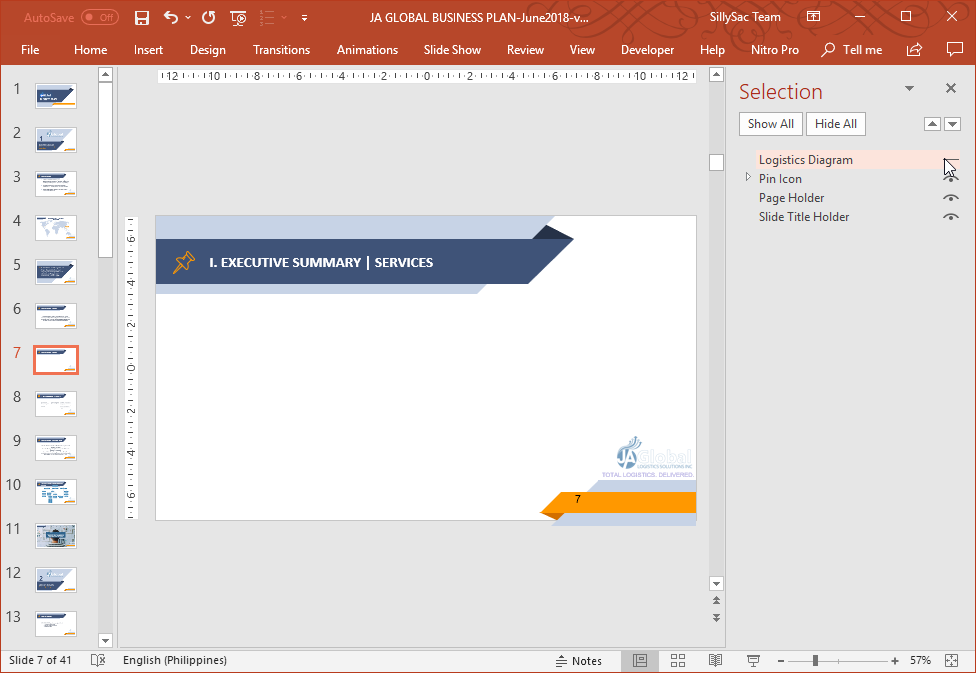
If you’re familiar with Photoshop, then you will see how working with PowerPoint layers and using the Selection and Visibility Pane is familiar. By using the Selection Pane, you can access the objects or layers that are obstructed by other layers in your slides. This means you don’t have to dig through the many layers just to get to the one that you want, Just click on the layer’s name in the list in the pane and access it in the slide.
If you want to reorder the layers, you can also do so in the pane. Just select the name of the object you want to reorganize, then drag it up or down along the list of other layers.
You can also hide the layers if you want the objects to not show up, but you don’t really want to delete them just in case you change your mind. This can be useful if you want to declutter your slide for a while as you work with a few layers at a time.
To hide each layer, just click on the “eye” icon next to the layer’s name in the Selection Pane to hide it, then just click it again to unhide it.
Now that you know how to work with PowerPoint layers, you can create more dynamic and complex slideshows.