How to Use Picture as Text Background in PowerPoint
Last updated on October 7th, 2025
In an earlier post, we showed you have to add an image inside text in PowerPoint. This time, we will show you have you can make an image become a background of your text in your PowerPoint slides. Having these kinds of effects in your presentations can add that elusive wow factor to your slides. Instead of boring texts and even the usual color background or shape behind your text, you can take things up a notch with a custom picture as your text background. This can be a novelty for most people who are used to seeing the usual melange of text and graphics on slides. To use picture as text background in PowerPoint, just follow the steps mentioned below.
Add Picture as Text Background in PowerPoint
The first thing you need to do to add a background image to a PowerPoint slide is to open the presentation where the background image will be inserted.
Alternatively, you can create a new blank presentation in PowerPoint.
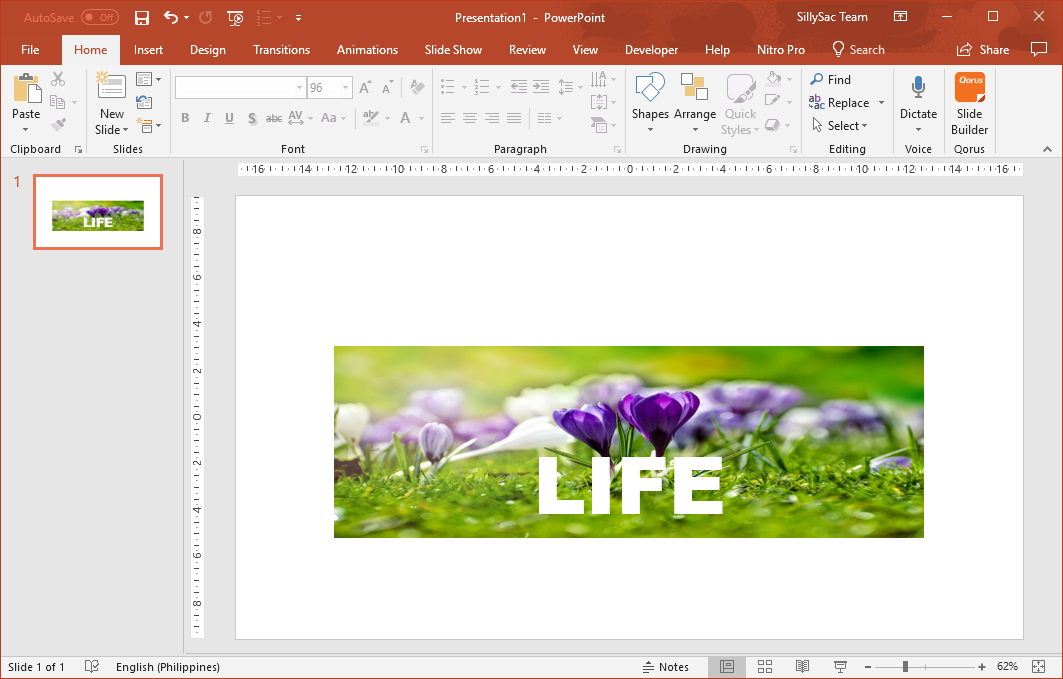
Once you have a blank slide up, just add the text that you like. It can be a one word or a short phrase. What’s important is that it is relevant to your topic or embodies the message you want to convey.
After typing your text, enlarge it enough so that it stands out before your intended audience. Just make sure you have enough space for your background image later.
Add a Picture Using the Shape Fill Effect
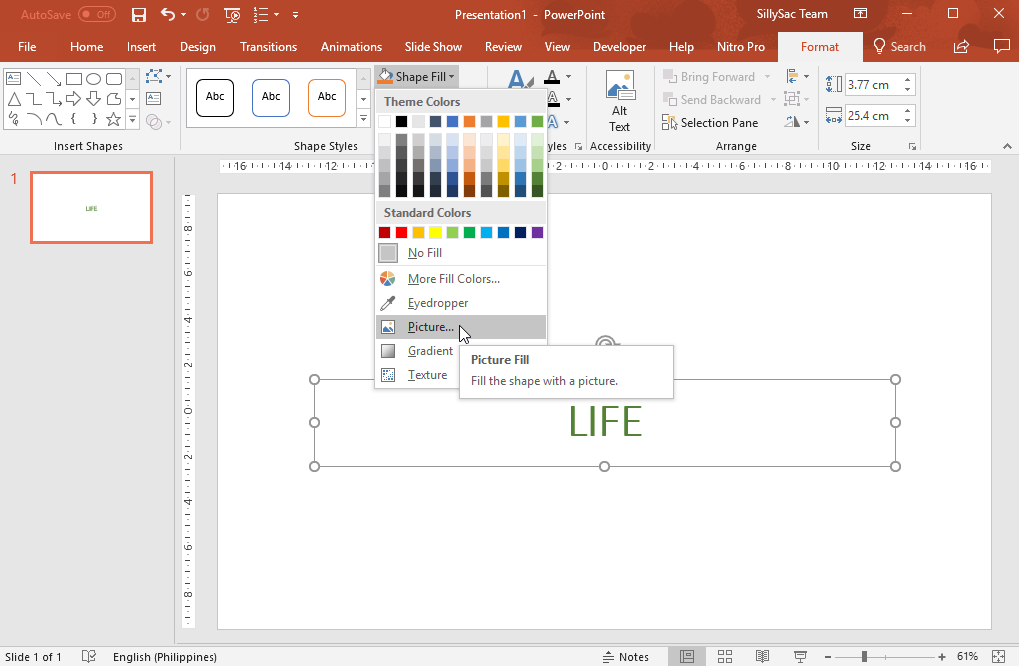
Remember to choose brief text, whether it’s a word or a phrase. The more concise it is, the bigger the impact. Just make sure it’s relevant and compelling. Now, select the text to highlight it. Then, go to Format in the Ribbon -> Shape Fill -> Picture. Once you select the Picture option, your dialogue box will populate.
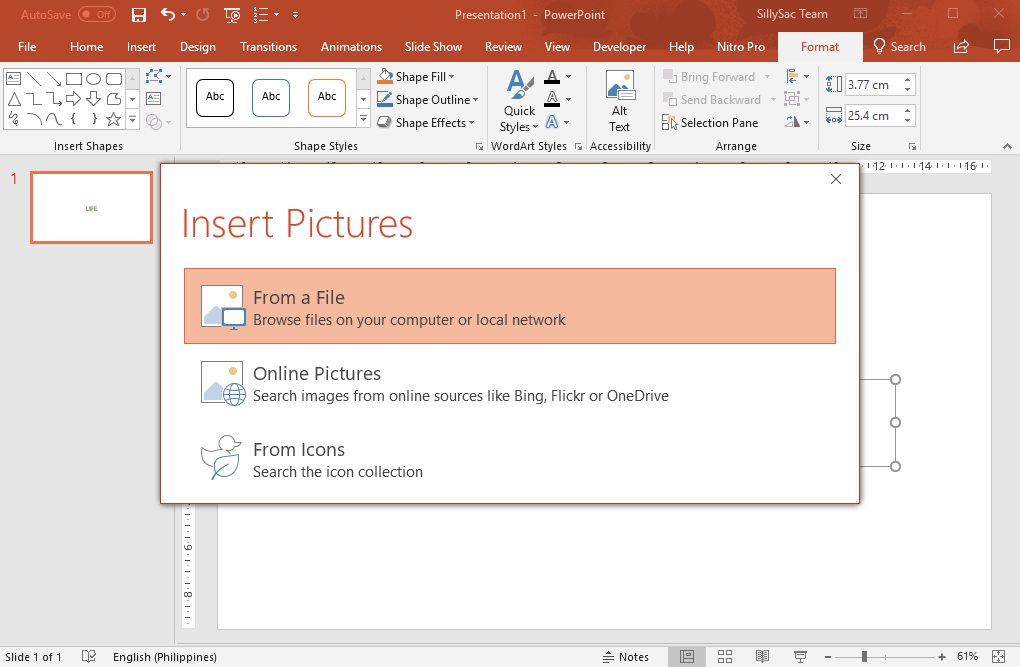
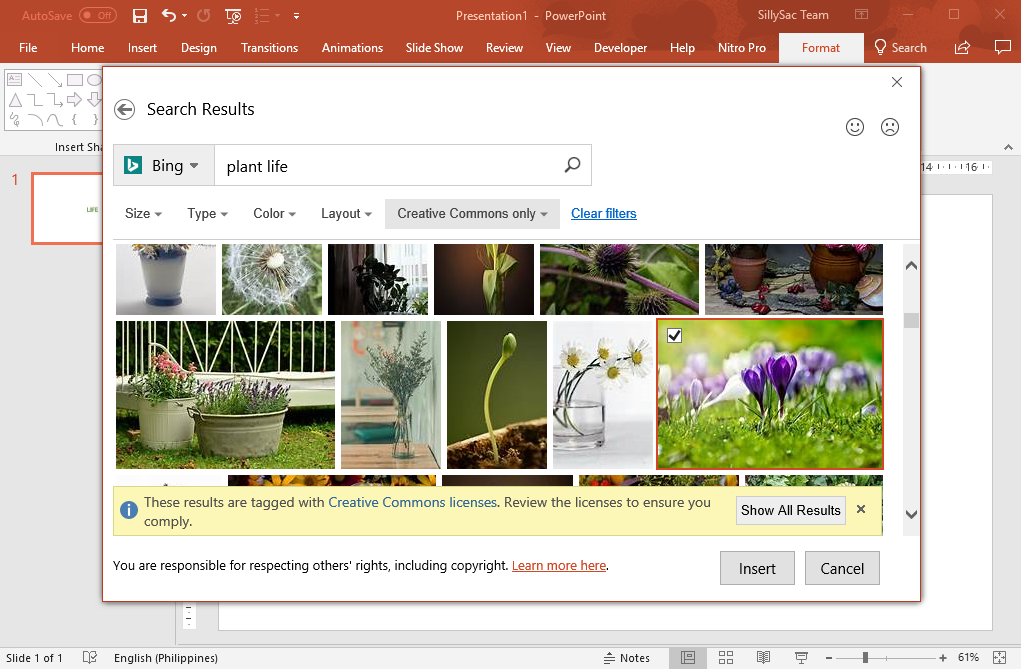
You can select your images from a file in your computer, a file from your OneDrive, or search the Web through a search engine like Bing.
Once you have selected your desired background image, just select the Insert button at the bottom of the dialogue box. Now, the image is added as the background of your text. You can adjust the image by resizing your text. You can also change the font.
Make Sure Your Text Remains Clear and Readable
There’s also a tricky part here that you should be careful about. Since you added an image background to your text, the text itself may not be visible. For PowerPoint presentations, readability is important. Your audience need to see clearly what your message is. This is why as you insert your background image, you have to also adjust your text.
You may need to change your font face. You can also change the color of the font to contrast with the background. If your text background is busy, you have to make your font simple, usually Arial and other sans serif fonts will do. If your background is abstract or simple, you can play around with your font styles, and even add text effects, as long as your text remains readable.
Text with image backgrounds is great for presentation titles, slide headings, captions, and for emphasizing your main point. You can even add animations to make your slides more eye-catching.