How to Align Shapes in PowerPoint 2010
The following tutorial covers aligning shapes in PowerPoint. Compared with the rest of a slide you may want shapes aligned a certain way for aesthetics. There is an automatic way to do it thanks to a function in PowerPoint and a way of aligning in relation to another shape manually.
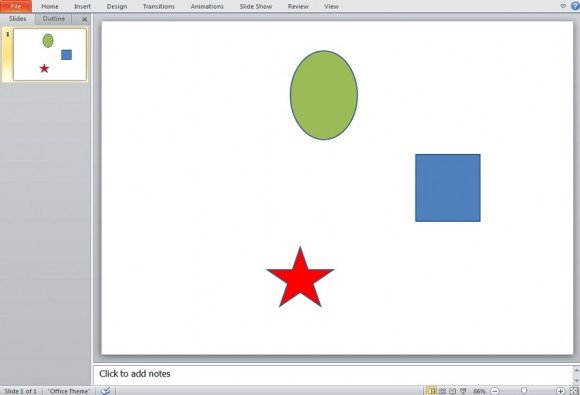
First let’s start with the automatic method. We’ll want to have our shapes or objects ready. Below we used three simple shapes since the same procedure applies regardless of the shape.
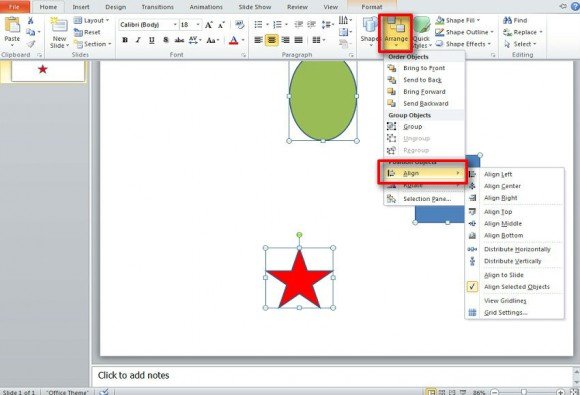
Next select all the shapes you want to arrange and click on Home. Navigate along the Home menu bar until you find Arrange. Near the bottom of this drop down you will find Align. Move your cursor over this selection.
Related:
-
Align Text Horizontally in PowerPoint
- Center a Picture or Chart in a PowerPoint Slide
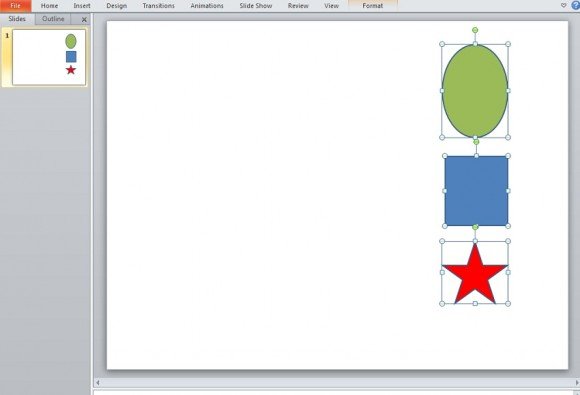
From here you have several options of Aligning your shapes. If they are all selected, whichever selection you choose will not only align them to that side, but align them to the center of each other in a perfect line.
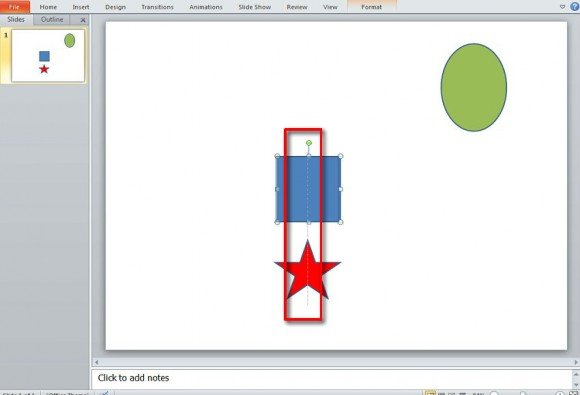
Aligning manually allows you to align shapes within relation to each other. Simply drag the shape over or near another and you will see an aligning or guiding line which shows you how even the shape is with that particular shape.
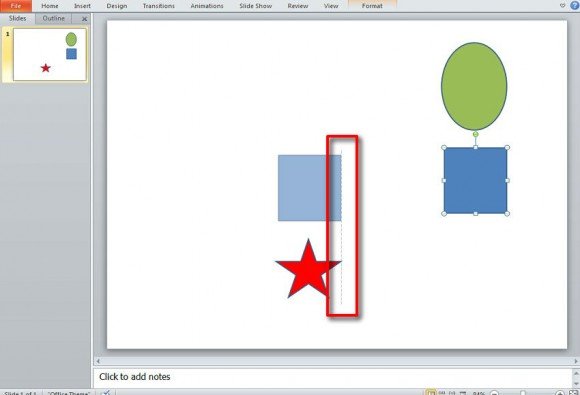
Move the shape until you see an aligning line down the middle of both shapes and you have successfully aligned your shapes via their centers.
In an actual presentation you will want to align your shapes accordingly if you’re dealing with text or graphs.