Create a Nice Silhouette in PowerPoint
Silhouettes are nice because they give your presentation a touch of personality without showing real photos or faces. The following mini-tutorial will let you know how to create silhouettes in PowerPoint slide. For this tutorial you won’t need an extra editing software tool like Photoshop, this will explain how to create your silhouette using PowerPoint.
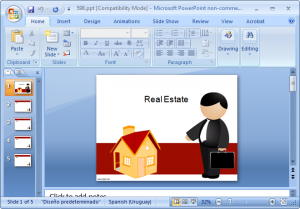
First, you need to find a photo or illustration to get inspired. That photo or illustration will help us to create the silhouette. For example, you can download this slide businessman PowerPoint template and we are ready to get started. Or you can browse our collection of free PowerPoint templates and get another illustration that better fits for your needs, like salesman illustration template.
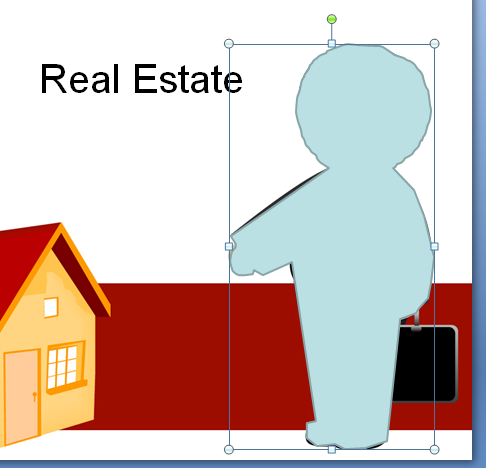
Once opened, you can look for the freeform shape designer.

Then go ahead and start bordering the business man silhouette so you can cover it at all and get something like the following image.
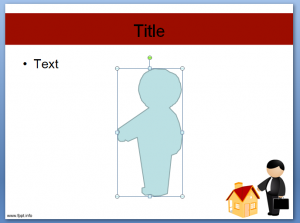
Now you can copy and paste the shape in a blank new slide and then apply some styling and gradient effects to make this shape look more attractive. For example you may be interested to match your layout color, your logo color or slide elements as well.
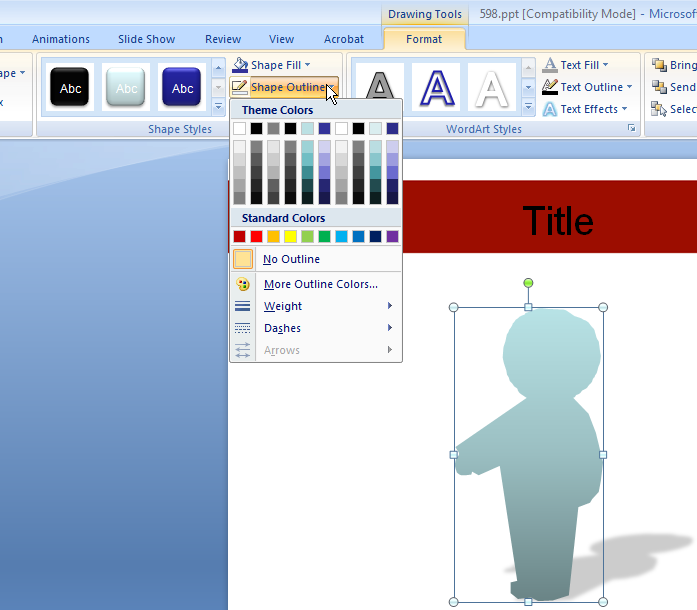
At the Format toolbar, you can get some styling options and you can for example apply gradients, remove the shape border, and also apply a shadow to the silhouette. In this example below we applied a shadow to make it more attractive.
Then, you can work and finish on your slide content and then enjoy your new silhouette.