Accessibility Checker for Office Readies Documents for People with Special Needs
With our technology today, more and more people can have access to various kinds of files, such as documents, spreadsheets, and slideshows. However, there are still those who have accessibility issues, such as those who are physically handicapped or have special needs. This is why Microsoft Office has Accessibility Checker for Office that helps users ensure that their documents are accessible to all kinds of users.
What is the Accessibility Checker?
With the Accessibility Checker for Office, users can see what elements in your document, spreadsheet, or slideshow need attention so that it is easily accessible for people with special needs. This is a free tool available not only in Word, Excel, and PowerPoint, but also in OneNote, Outlook, and Office Online. It’s also available in Windows as well as iOS versions of Office.
With the Accessibility Checker for Office enabled, the program finds accessibility issues and explains why each of these issues could be a potential problem for someone with a disability. Then, the program offers suggestions for each issue to be resolved.
This new tool checks your Office document or file against a set of accessibility rules. Depending on how severe the issue is, the checker identifies whether it is an Error, a Warning, or a Tip. An accessibility issue is an Error when the element or content makes the document difficult or even impossible to read or understand by people with disabilities. It is tagged as a Warning when the content applies to cases that make the document difficult to understand for people with disabilities. Lastly, it is tagged as a Tip when the content can be understood, but there’s a better way for it to be presented to improve the user experience.
How to Use the Accessibility Checker in Word
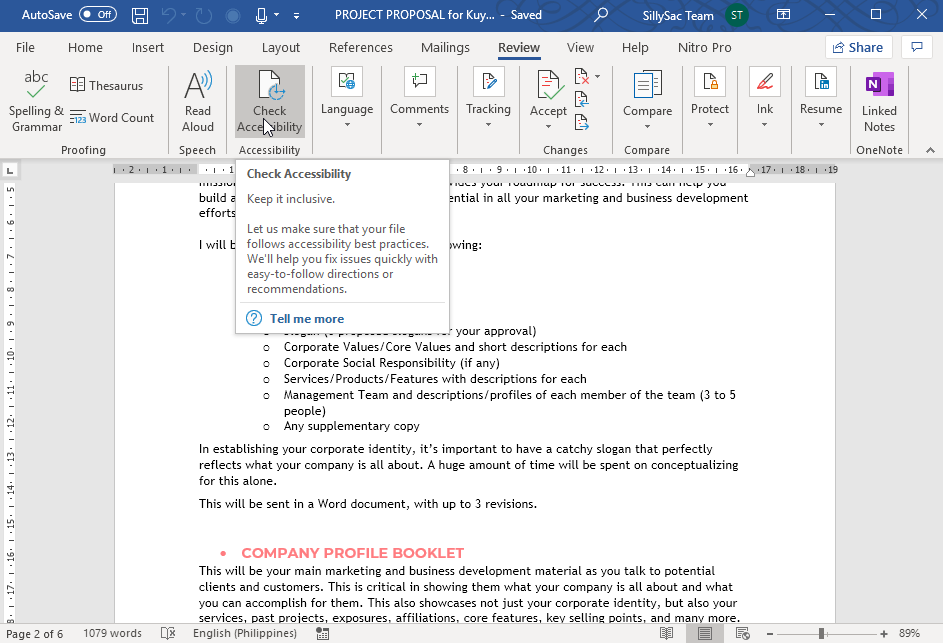
To use the Accessibility Checker feature for any of your Office programs, you have to go to the Ribbon and select the Review tab. Then, under this, select Check Accessibility.
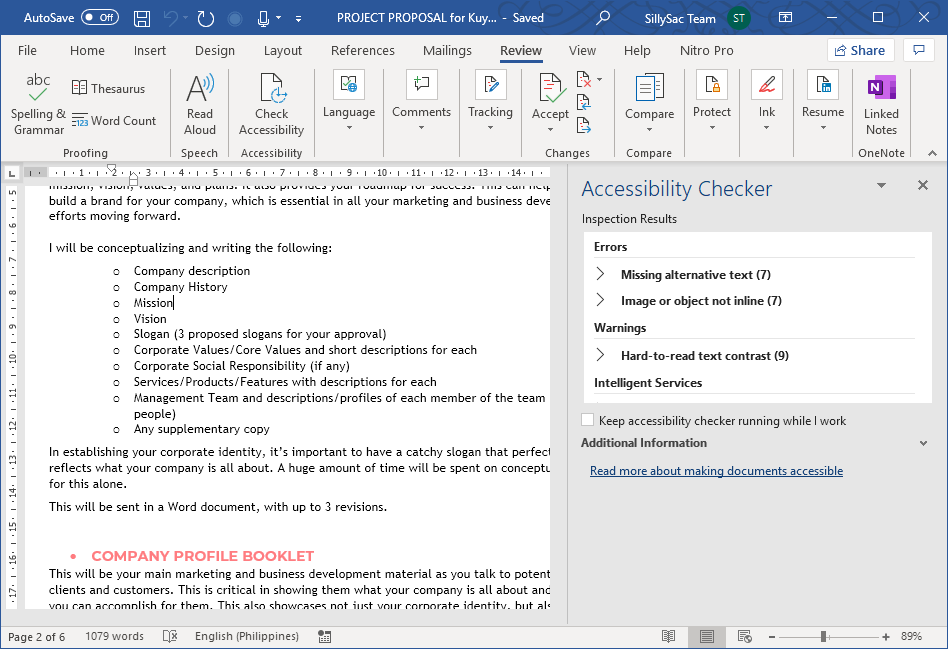
This runs the accessibility checker tool. Afterward, it will show you the Inspection Results, wherein you will see a list of errors, warning, and tips. You will also be shown how-to-fix suggestions for each of these issues.
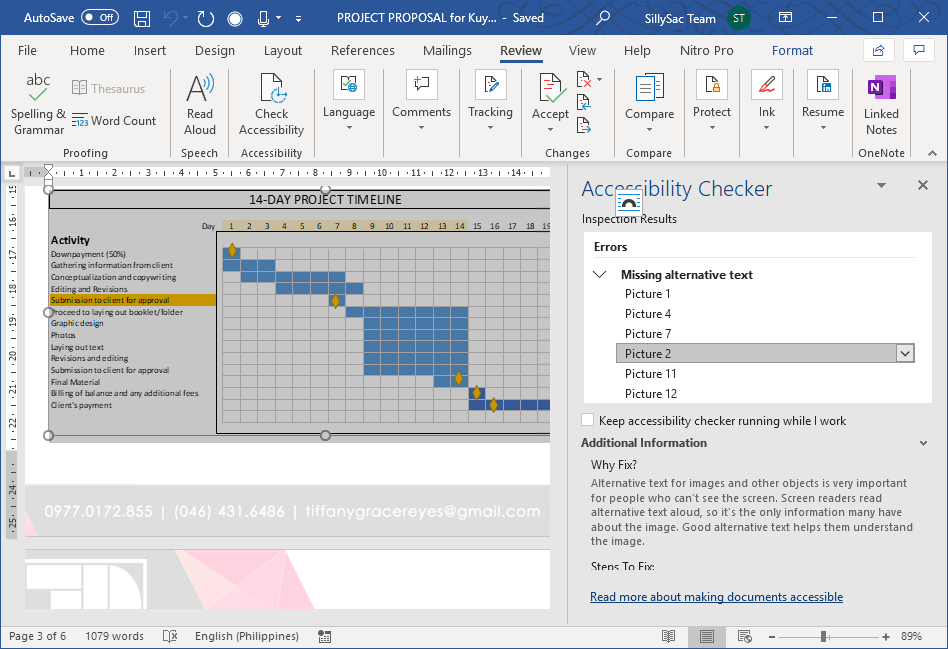
To easily fix the issues, you can select an issue by clicking on the down arrow next to it. Then, a drop-down list will show, where you can choose Recommended Action. You can apply the fix with a single click by selecting an action, or you may check if there are more options to provide you with more actionable fixes.
Meanwhile, if you want to keep being notified of accessibility issues while you work without manually checking every document, you can tick on the Keep accessibility checker running while I work checkbox under the Accessibility Checker Inspection Results box.
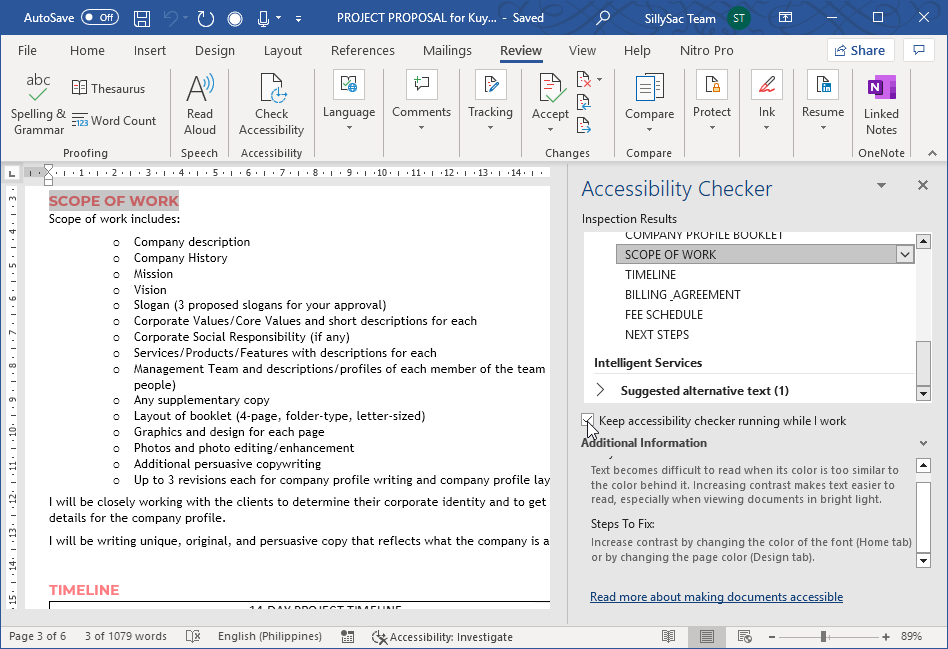
This choice adds the Accessibility button on your status bar so that it checks and tracks accessibility issues in real-time while you’re working. You may do the same process on your other Office programs. Then, whenever you want to check for accessibility issues, just select the button in the status bar for easy access.