Enhance Your PowerPoint Presentations with Miniature Slides
PowerPoint presentations have long been the go-to medium for sharing information in professional and educational settings. However, traditional linear presentations can sometimes feel monotonous and difficult to navigate. Incorporating miniature slides into your PowerPoint presentations can significantly enhance audience engagement and improve the flow of your talk. This article will explore the benefits of using miniature slides for non-linear presentations and provide a step-by-step guide for two different methods to create them, catering to different versions of Microsoft Office.
Summarizing your Presentation with Miniature Slides
One common issue with PowerPoint presentations is the overuse of bullet-style summaries, which often fail to capture the essence of complex diagrams or detailed results. This can lead to confusion, as audience members may have questions about specific aspects of a slide that are not easily addressed in a bullet point format.
Miniature slides that updates automatically when changed, offer a solution to this problem by providing a visual summary that retains the key elements of the original slides, allowing for more effective communication and easier navigation during the presentation.
How to Insert Minuature Slides within an Existing Slide?
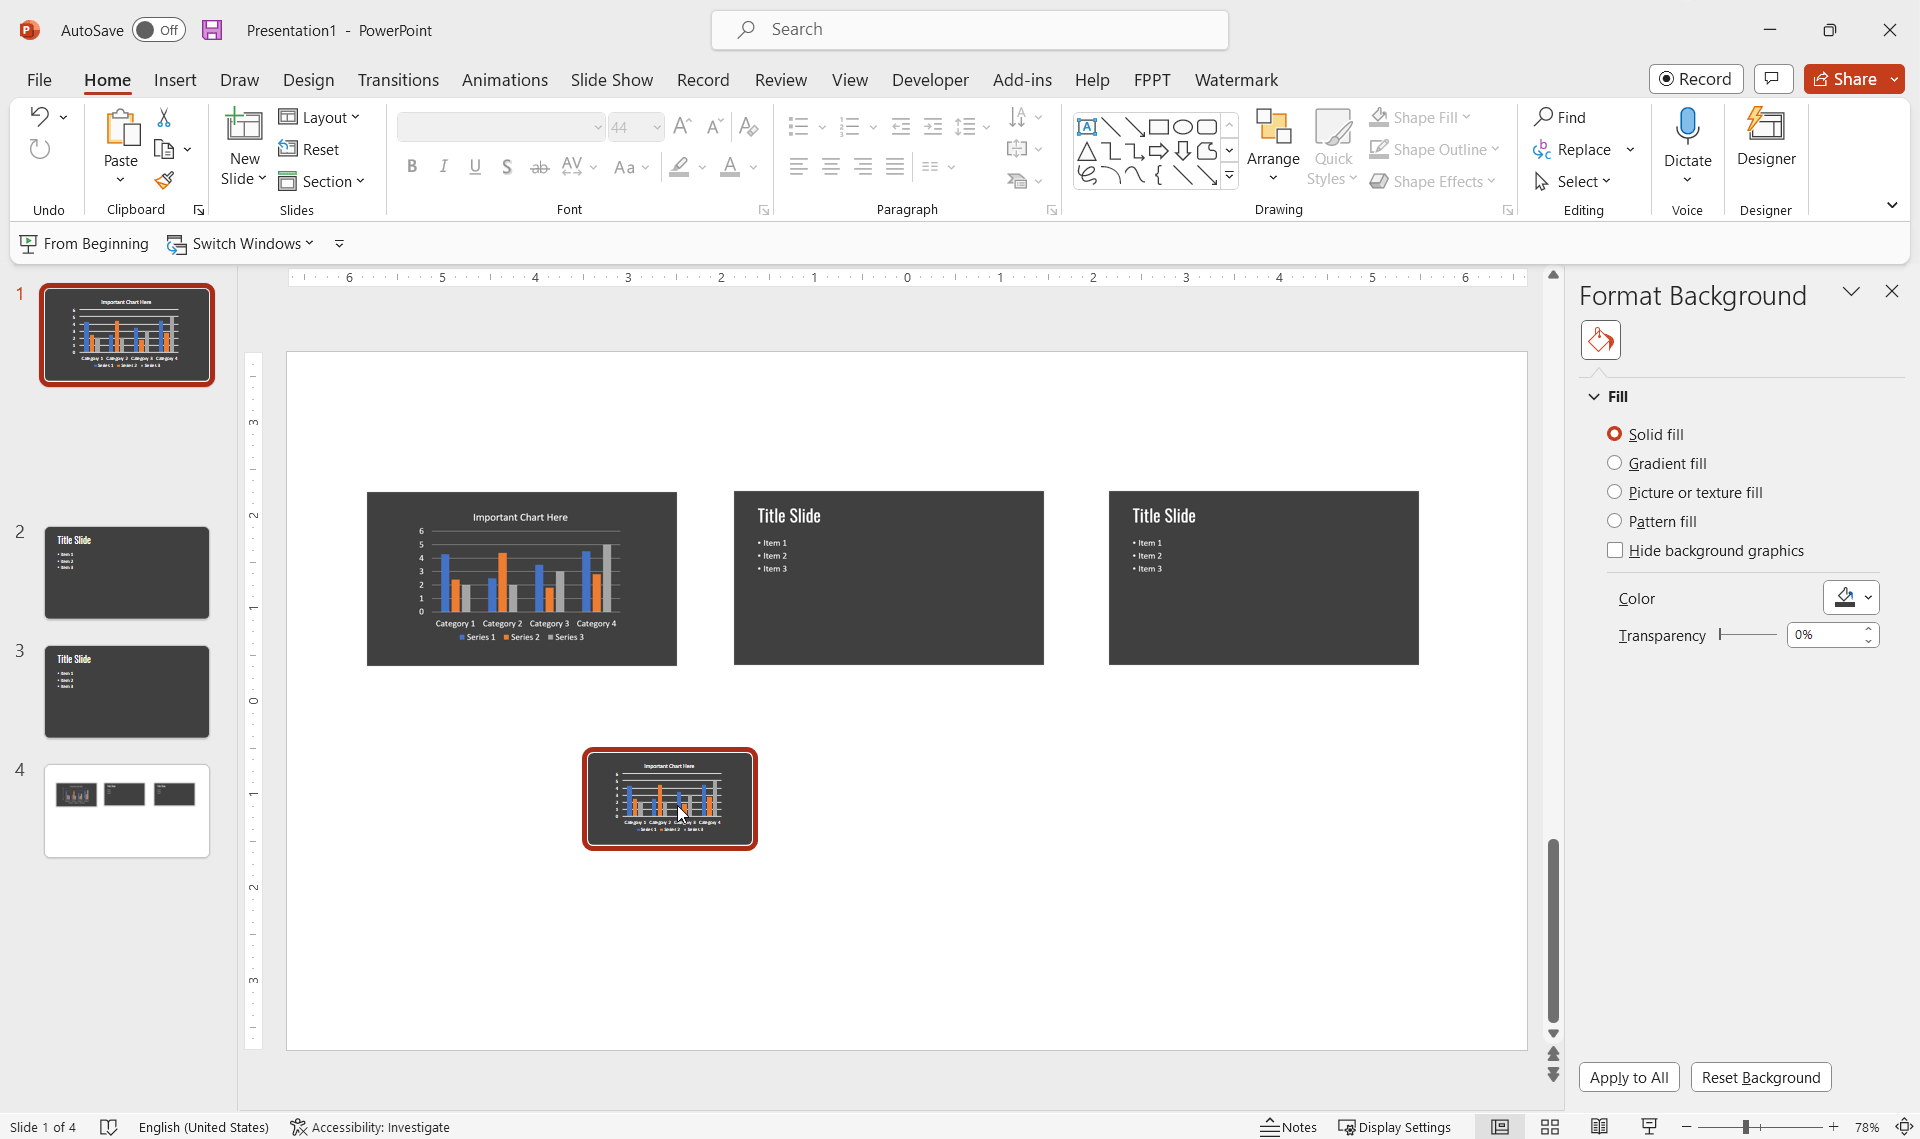
If you have an Office 365 subscription, creating miniature slides is a breeze. This subscription includes Office 2016, which has a built-in drag-and-drop feature for creating clickable thumbnails:
- In edit view, simply drag a slide from the slide list on the left onto an overview slide.
- PowerPoint will automatically create a thumbnail, which you can resize as needed.
- The thumbnail is automatically clickable and will take you to the corresponding slide when presenting.
Note that this method only works if you have Office 2016 with an Office 365 subscription. If you purchased Office 2016 outright, you’ll need to follow the alternative method below.

For those without an Microsoft 365 or Office 365 subscription, you can still create miniature slides by manually saving images of each slide in your presentation:
- Save your presentation as a set of slide images using the “Save As…” option.
- Choose the PNG file format.
- When prompted, select “all slides in the presentation.” PowerPoint will create a subfolder with the presentation name, containing an image of each slide.
- Insert each slide image onto your navigation slide.
- Right-click on the image, choose “Link..,” then select “Place in this document” and the slide to jump to when the image is clicked.
By following these steps, you can create engaging navigation slides that allow for seamless transitions between topics during your presentation.
Why bothering about Minuature Slides?
Incorporating miniature slides in your PowerPoint presentations can serve a variety of purposes, making your presentations more dynamic and engaging. Here are some possible use cases for this versatile technique:
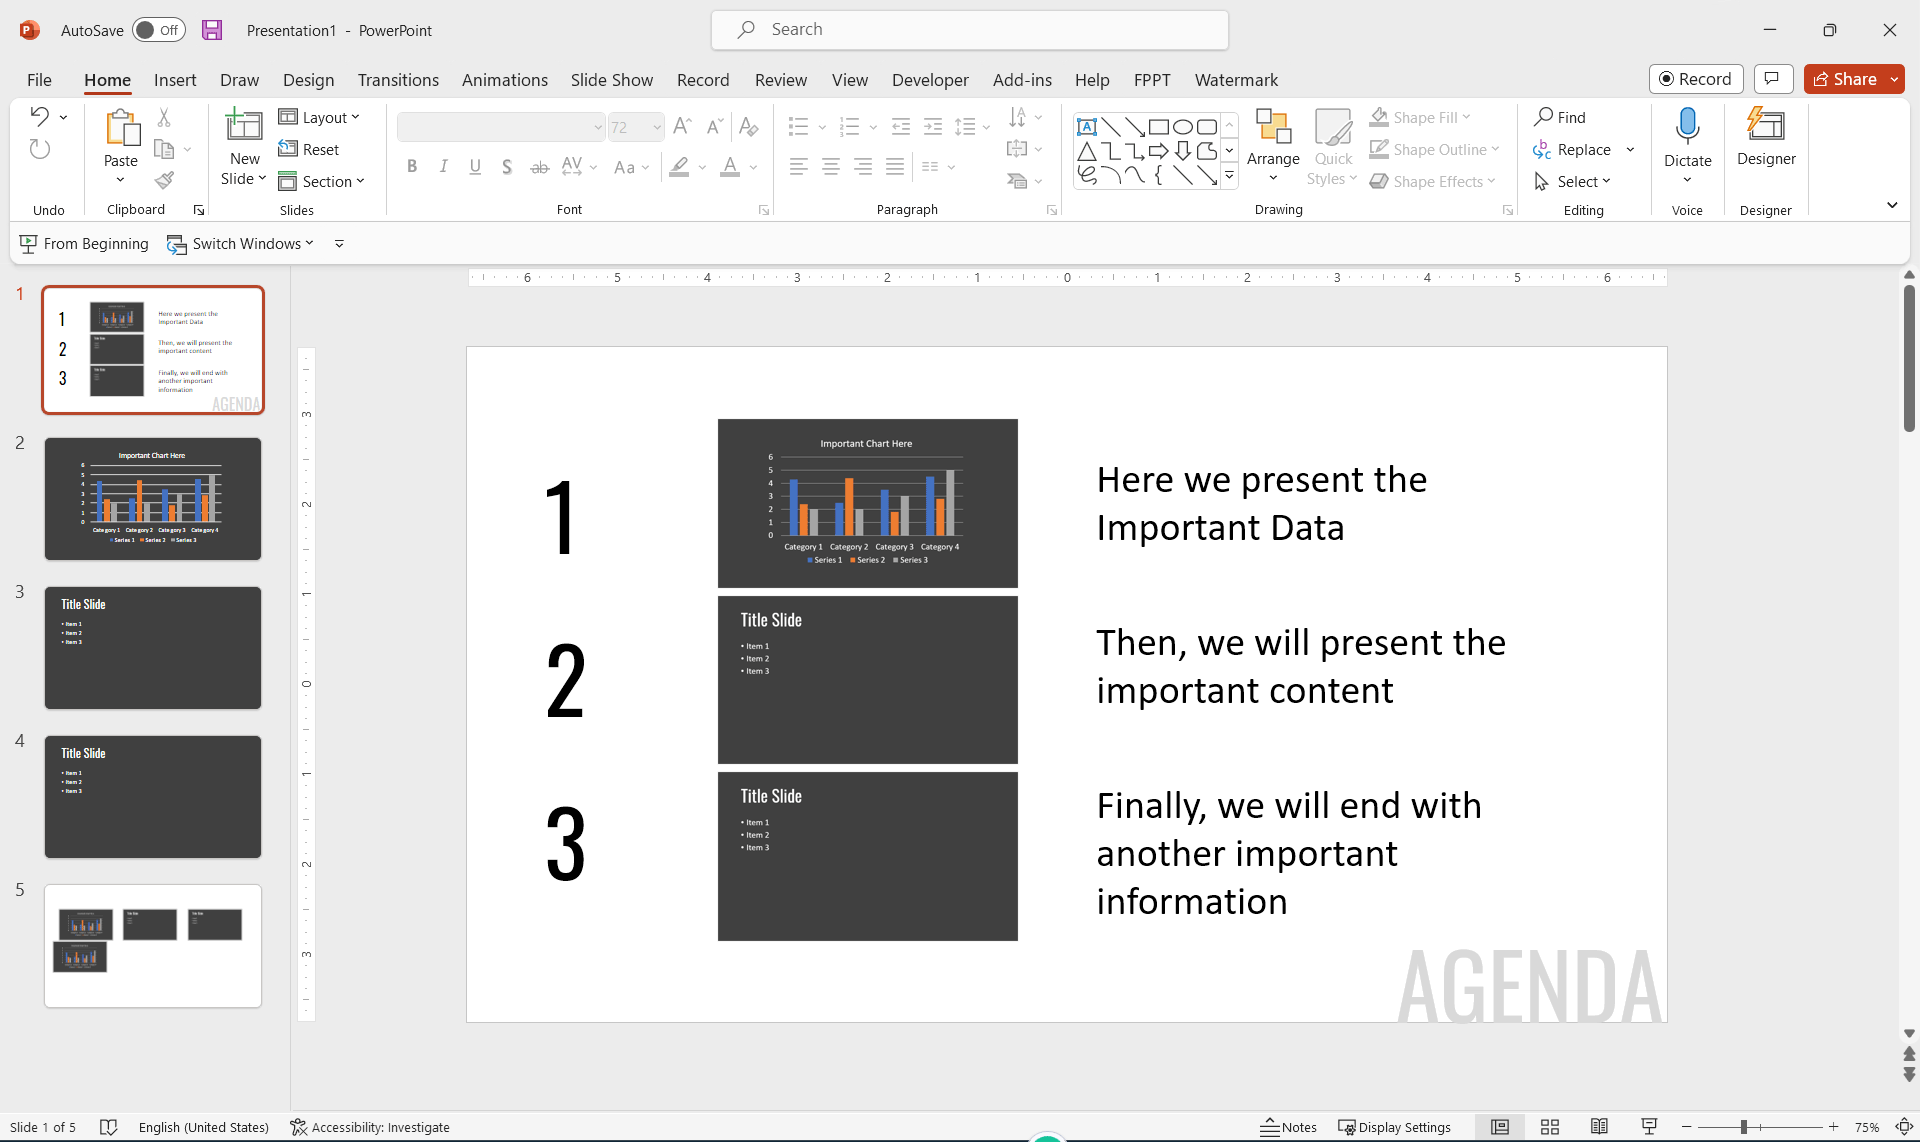
- Agenda Slide: Create an interactive agenda slide that summarizes the important information of your presentation. By using miniature slides, you can provide a visual overview of your key points, making it easier for your audience to understand the structure of your talk. With clickable thumbnails, you can quickly navigate to specific sections of your presentation, saving time and ensuring a smooth flow. You can also make your presentation more interactive.
- Non-linear Storytelling: Miniature slides can be used to create non-linear storytelling in your presentations, allowing you to adapt the flow of your talk based on audience feedback or questions. By providing multiple pathways through your content, you can create a more engaging and personalized experience for your audience.
- Visual Table of Contents: Create a visual table of contents using miniature slides to help your audience quickly grasp the overall structure of your presentation. This can be particularly useful for longer or more complex presentations, where it may be challenging to maintain audience engagement throughout. Learn here how to make a table of contents for your PowerPoint presentations.
- Comparison Slides: Miniature slides can be used to create comparison slides, enabling you to quickly and easily switch between different concepts, data sets, or results. By providing a visual reference for each comparison point, you can improve audience understanding and facilitate more meaningful discussions.
- Reference Slides: Use miniature slides as reference points throughout your presentation, allowing you to quickly refer back to key information or visuals without disrupting the flow of your talk. This can be particularly useful when addressing audience questions or providing additional context for complex topics.
By incorporating miniature slides in these and other creative ways, you can elevate the quality and impact of your PowerPoint presentations, making them more engaging and memorable for your audience.
Conclusion
Embracing miniature slides in your PowerPoint presentations is an effective way to break free from the constraints of linear slide sequences and provide a more dynamic and engaging experience for your audience. Whether you’re using the drag-and-drop feature in Microsoft 365 or manually creating images of each slide, incorporating miniature slides can greatly improve the flow and navigability of your presentations. So, the next time you’re preparing a PowerPoint, consider using miniature slides to create a more impactful and memorable experience for your audience.