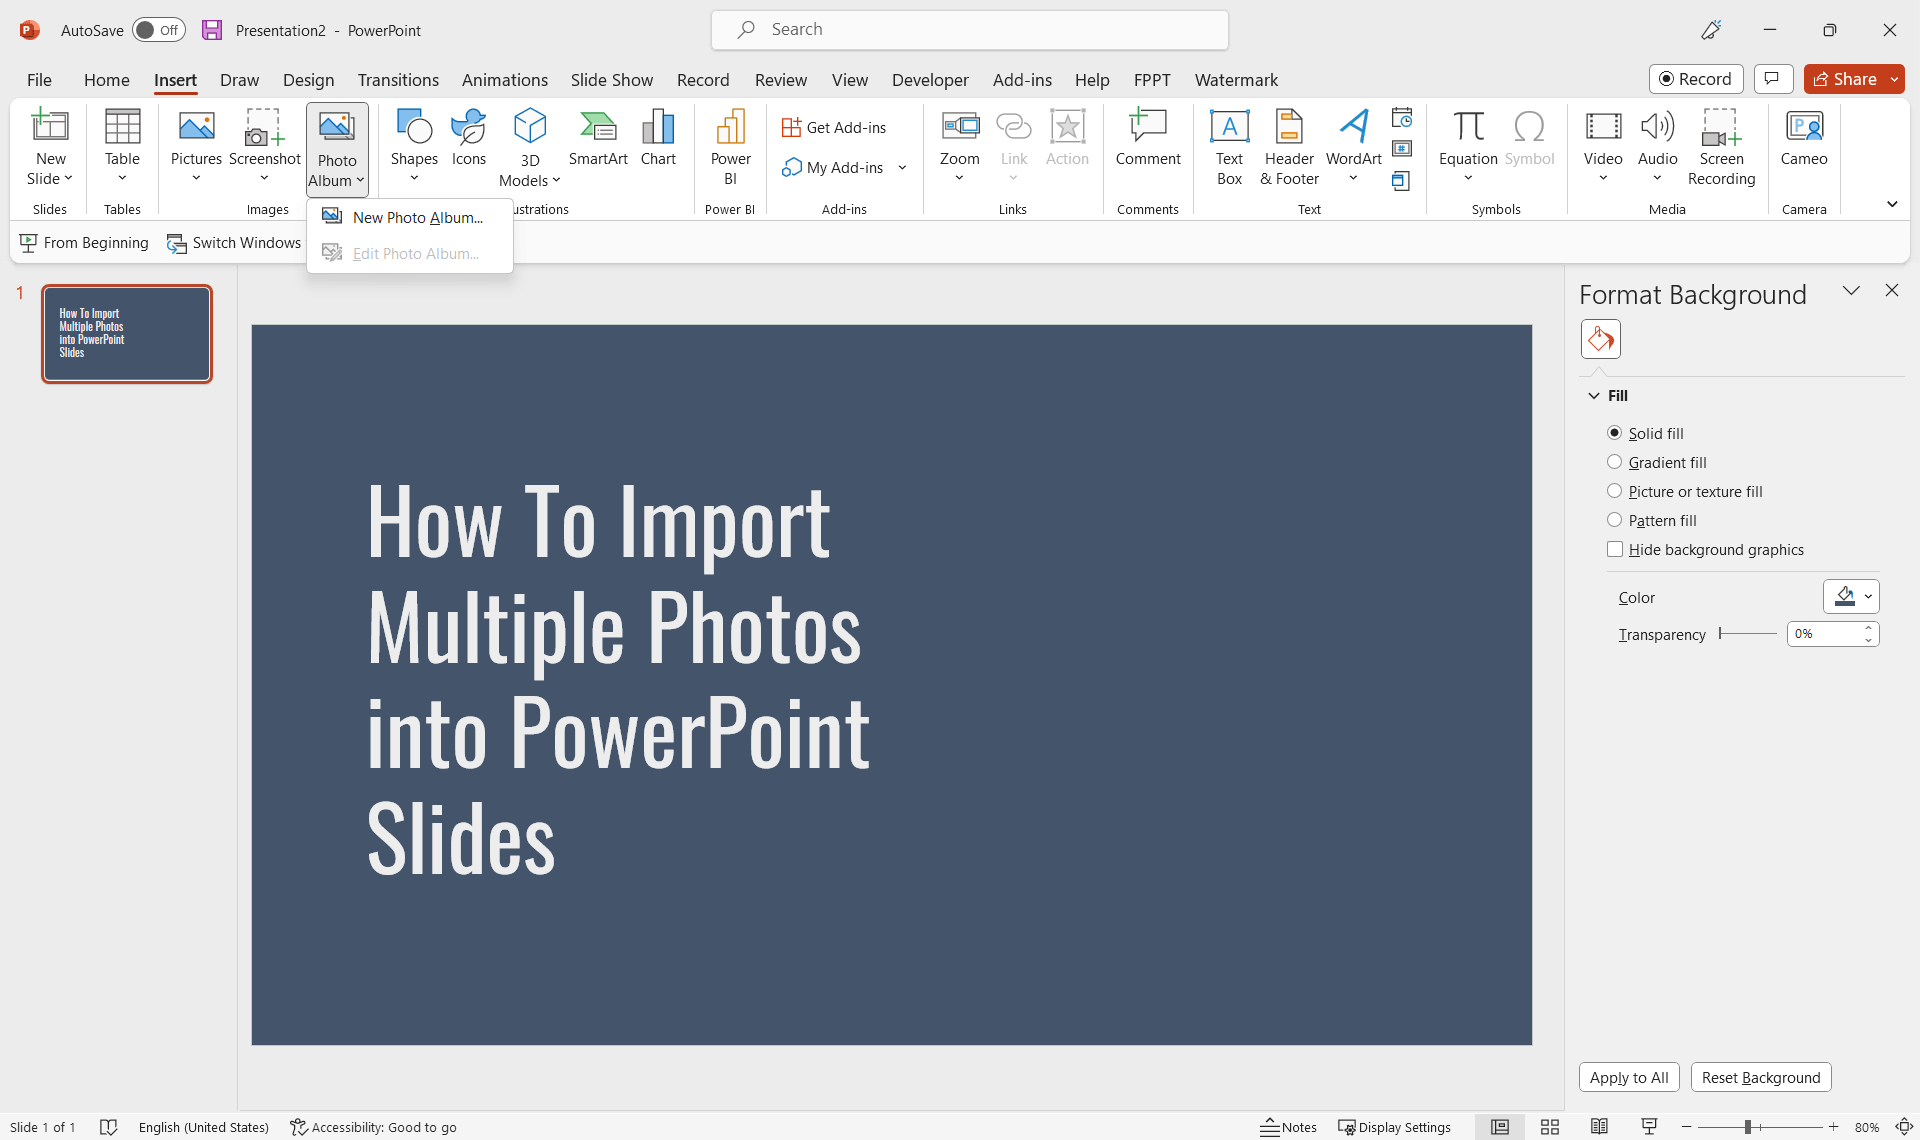
How To Import Multiple Photos into PowerPoint Slides
While preparing a PowerPoint presentation with a photo albium, importing individual images one by one to each slide can be a time-consuming process. Fortunately, PowerPoint comes with a handy Photo Album functionality that will let you save hours of manual work for inserting images into PowerPoint slides. In this article, we will discuss how to import multiple photos into PowerPoint as slides using the Photo Album feature. This will save you time and effort when incorporating numerous images into your presentation.
How To Insert Mulitple Pictures into a PowerPoint Presentation?
This pro tip was first seen in the article how to insert many pictures into individual slides in PowerPoint. The article describes a process in which using Photo Album in PowerPoint you can easily insert pictures into a PowerPoint presentation with a few clicks. So, how to insert multiple pictures into PowerPoint on different slides? Below you can read a step by step guide on how to insert the images as PowerPoint slides.
Step 1: Open PowerPoint and Create a New Presentation
Launch Microsoft PowerPoint and create a new presentation by clicking on “File” in the top left corner and selecting “New Presentation.” You can also use the keyboard shortcut “Ctrl + N” to achieve the same result.
Step 2: Go to Insert -> Photo Album
To import multiple images to PPT slides, navigate to the “Insert” tab on the PowerPoint toolbar, also known as Ribbon. Locate and click on the “Photo Album” button, which is usually found in the “Images” section. This will open a dropdown menu where you can select “New Photo Album”. For testing purposes, you can use any of our PowerPoint backgrounds or download one of our free PowerPoint templates.
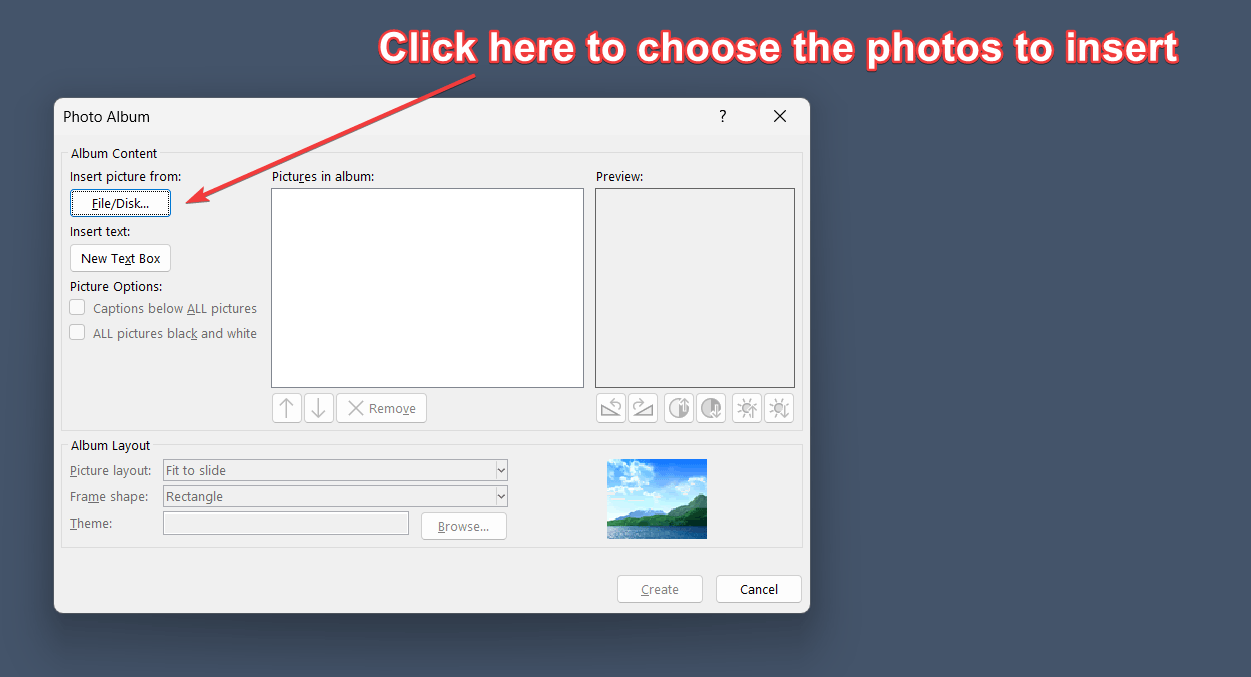
Step 3: Insert Photos into the Photo Album
A new window will appear, titled “Photo Album.” Here, you can add photos to your album by clicking the “File/Disk” button.
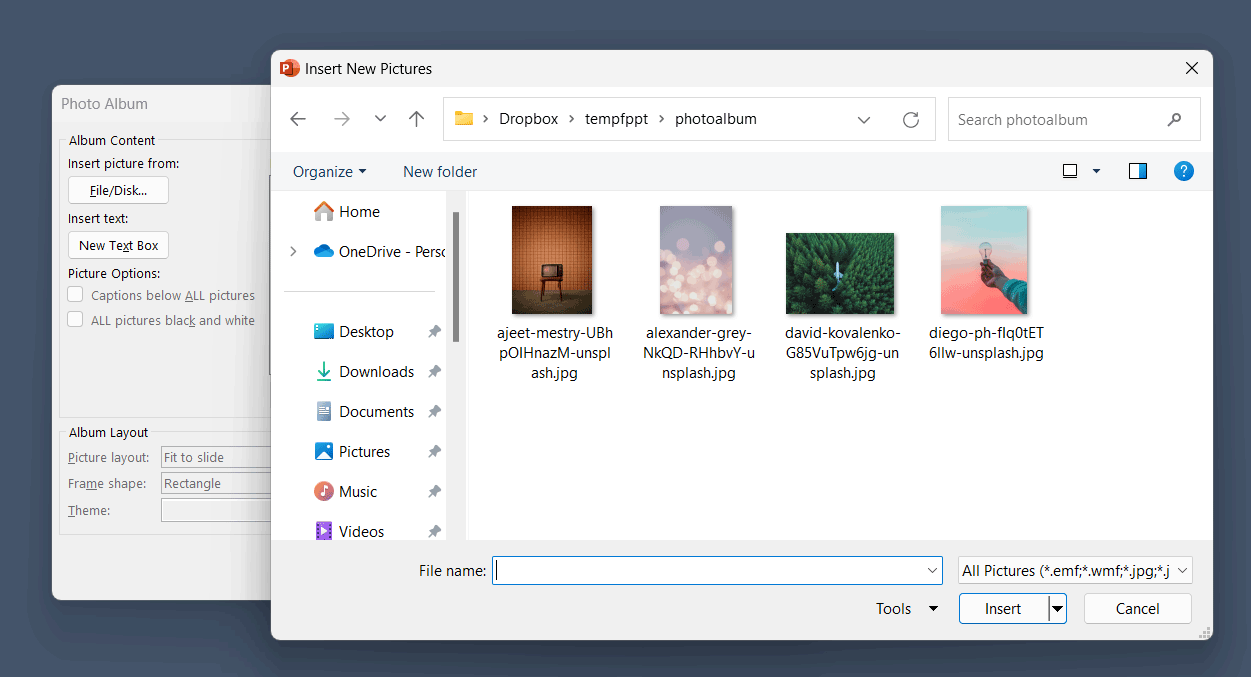
This allows you to browse your computer for the images you wish to insert. To import multiple pictures into PowerPoint on different slides, simply hold the “Ctrl” key and click on each photo you want to add to your presentation. Once you’ve selected all the desired images, click the “Insert” button.
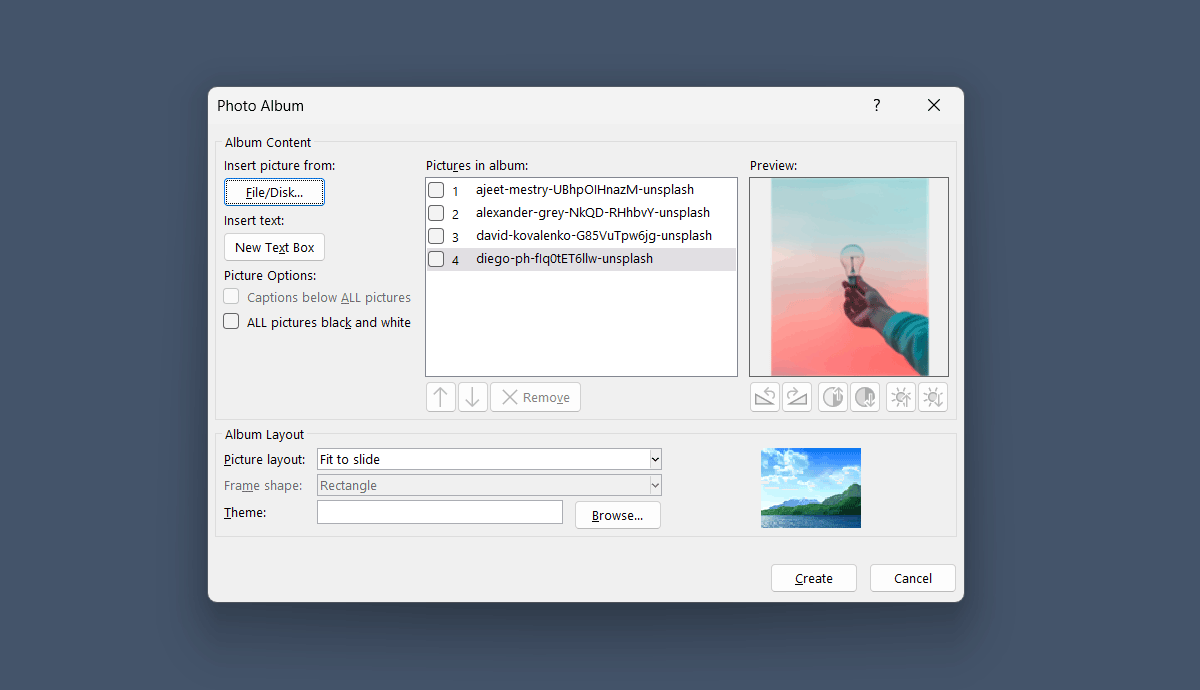
Step 4: Organize and Edit Photos
In the “Photo Album” window, you can rearrange the order of your images by selecting a photo and using the up and down arrows. You can also edit individual images by clicking the “Edit” button. This will open the “Edit Pictures” window, where you can rotate, crop, or adjust the brightness and contrast of each image.
Step 5: Customize the Photo Album Layout
You can also choose the Album Layout in PowerPoint. For example, if instead of inserting one picture per slide, you want to insert multiple pictures per slide, then you can choose a different picture layout. The screenshot below shows how to make this selection. Furthermore, you can also choose a custom theme if you want to give the album a customized style.
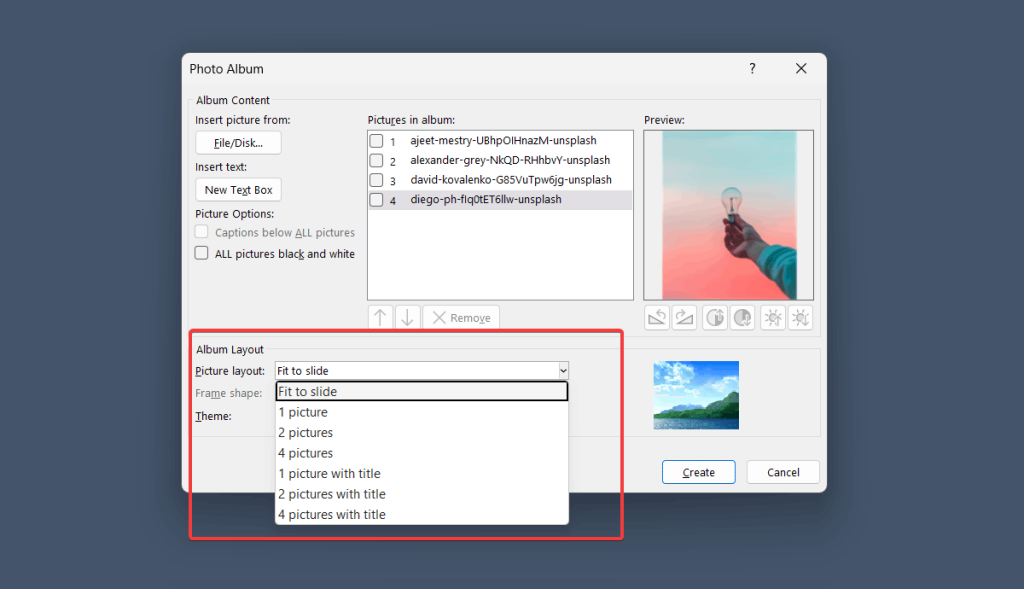
Once you’ve organized your photos and made any necessary edits, you can customize the layout of your PowerPoint slides. In the “Album Layout” section, choose from a variety of layouts, such as “Fit to Slide” or “1 Picture with Title.” You can also apply a frame shape to your images by selecting an option from the “Frame Shape” dropdown menu.
Step 6: Import Images as Slides
When you’re satisfied with your photo album’s appearance, click the “Create” button in the “Photo Album” window.
PowerPoint will automatically insert multiple pictures into your presentation on different slides. You can now add titles, text, and other elements to your slides as needed.
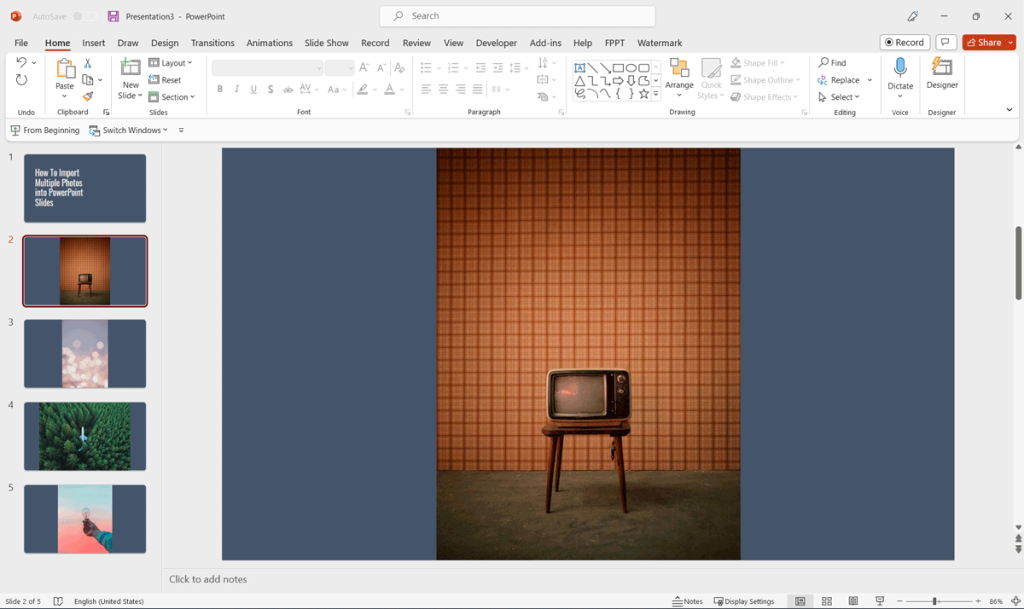
As you can see in the screenshot above, we have imported multiple photos into slides of a PowerPoint presentation.
Frequently Asked Questions
Yes, you can add captions or descriptions to the images in your photo album. In the “Photo Album” window, select the image you want to add a caption to and click on the “Caption” button. A text box will appear below the image, where you can type your desired caption or description. The caption will be displayed below the image on the corresponding slide in your presentation.
Yes! After creating your photo album, you can apply a new theme or modify the slide background by navigating to the “Design” tab on the PowerPoint toolbar.
Here, you can choose from a variety of pre-designed themes, download one of our free presentation backgrounds, or you can customize the slide background by selecting “Format Background.” This allows you to change the color, gradient, or pattern, as well as insert a custom image as your slide background.
Yes, you can update your photo album or add new images to an existing album. To do this, navigate to the “Insert” tab and click on the “Photo Album” button. Instead of selecting “New Photo Album,” choose “Edit Photo Album” from the dropdown menu. The “Photo Album” window will appear, allowing you to add, remove, or rearrange images in your existing album. Once you’ve made your desired changes, click the “Update” button to apply the modifications to your presentation.
Conclusion
The Photo Album feature in Microsoft PowerPoint is a valuable tool for those looking to import multiple photos into PowerPoint slides. By following these simple steps, you can quickly and easily create a visually engaging presentation without the hassle of manually inserting individual images.