Becoming a Clipart Surgeon for PowerPoint Presentations
Last updated on May 13th, 2025
In this article, we will explain how to become a clipart surgeon, yes, exactly that, a clipart surgeon in PowerPoint. This will allow us to modify our graphics and slides and adapt shapes to our specific needs.
We can insert cliparts into our presentations easily using the Insert Clipart feature in PowerPoint. In this article we explore how to do that, and edit the shapes in the PowerPoint graphics to adapt them to our specific needs.
For an updated article, please refer to the PowerPoint Stick Figures articles, in which we explain how to download stick figures for PowerPoint presentations, or create your own ones with AI using ChatGPT and MidJourney.
To become a professional clipart surgeon you’ll need to use the group operations in PowerPoint and shape tools. First, we start adding a simple clipart.
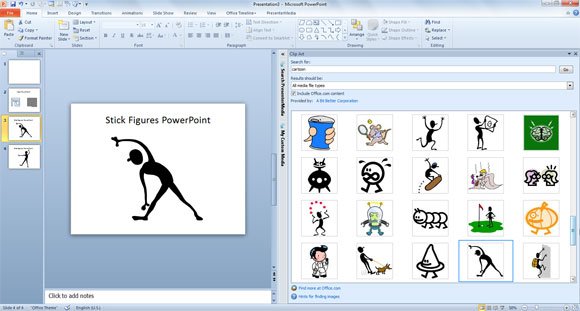
Now you can right click on the clipart image and then choose Group menu and Ungroup. You will be asked to convert the imported image to Microsoft Office Drawing object. Accept the deal and then you are ready to start moving the individual shapes like the arm, the legs, and the head. You can learn how to use group functionality in PowerPoint using CTRL-G.

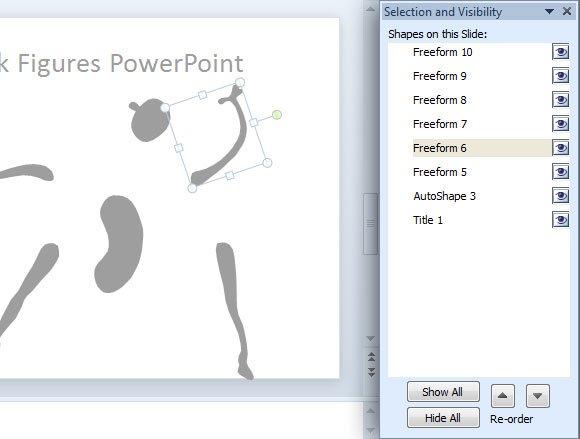
Here we have a slide example showing the clipart or figure with all the elements disconnected.

Now you can rearrange the shapes on this slide to form another different figure. A good tip to change the order of shapes or access every shape in the slide is to use the Selection and Visibility pane. This is accessible from the Format menu, under Arrange submenu and then Selection Pane…
In this final example we modified the character clipart to represent an Oriuken gesture like in Mortal Kombat characters.
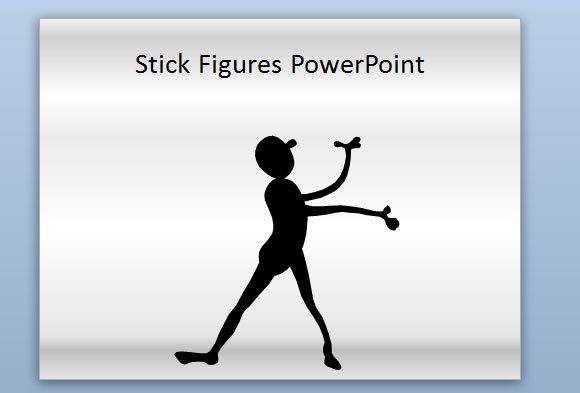
As we can see, by manipulating the shapes in PowerPoint, we can create variants of our original graphic. This can help us in preparing our presentations.