Movavi: Advanced Screen Recorder with Video Scheduling Feature
Last updated on August 20th, 2024
The use of screen recording software has become quite common over the years, as many people now like to create tutorials for their YouTube channels, to assist subordinates for just-in-time learning at the workplace, to record webinars and remote meetings, as well as to create video presentations. To ensure your videos are of top-notch quality and easy to process after completion, a good video recording tool is essential. One such tool is Movavi Screen Recorder.
How to Record Screen using Movavi Screen Recorder
Movavi Screen Recorder can be used on desktop OS including Windows and Mac. It also provides a Chrome extension which makes Movavi easy to use across multiple operating systems. This screen recorder also has a scheduling feature to set parameters for a recording at a set time.
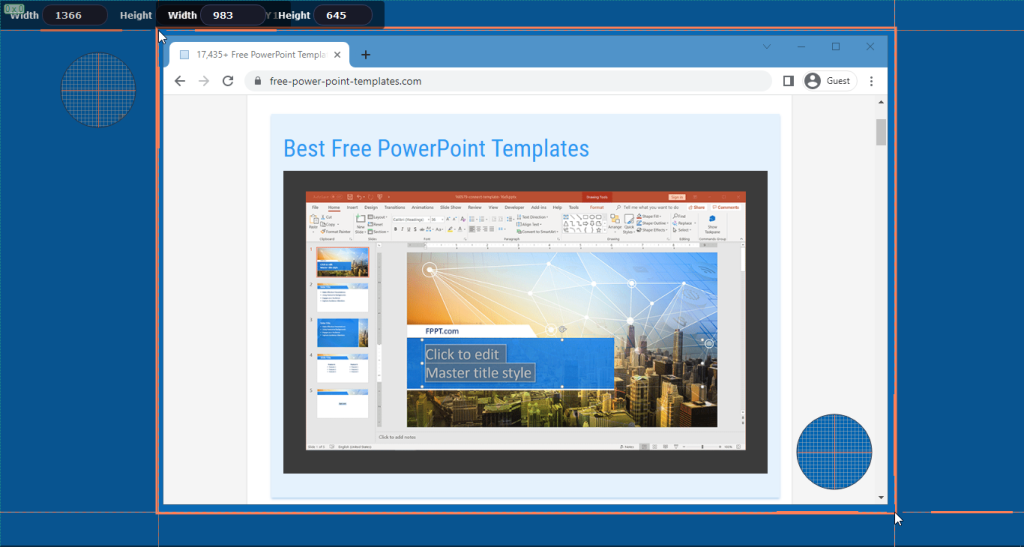
Step 1: Launch Screen Recorder
To get started, launch Movavi Screen Recorder and select the area to capture. Click the Start Recording button to initiate screen recording.
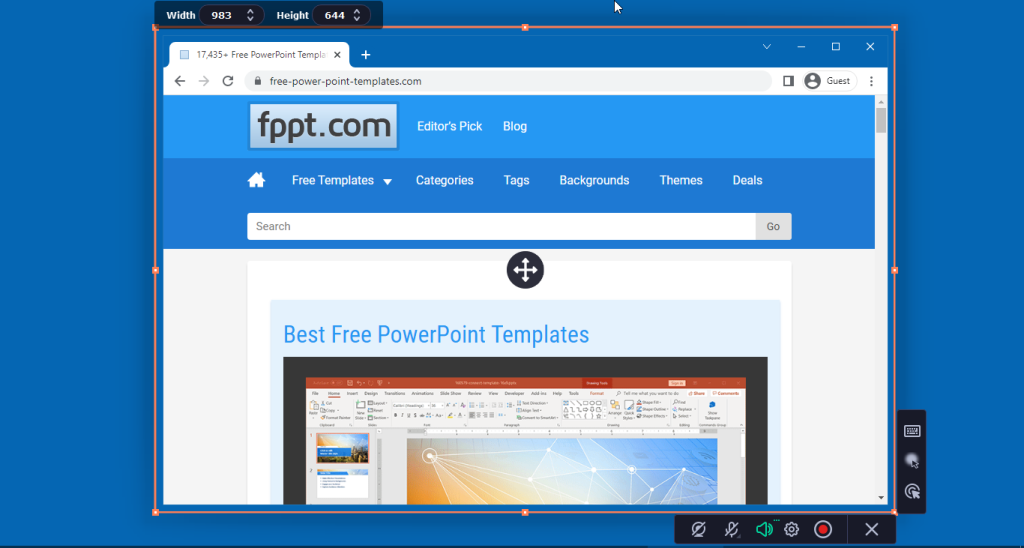
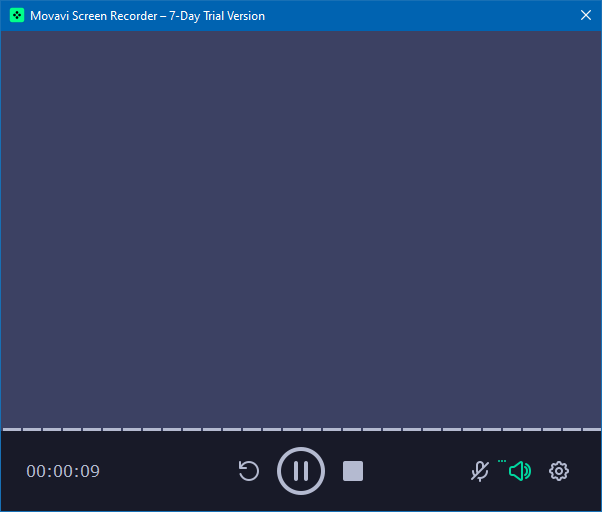
Step 2: Start Recording Your Screen
Before or during the course of the recording, you can choose to enable or disable the audio or cam according to need. Like conventional screen recording software, the video can also be paused and resumed anytime using the Pause button.
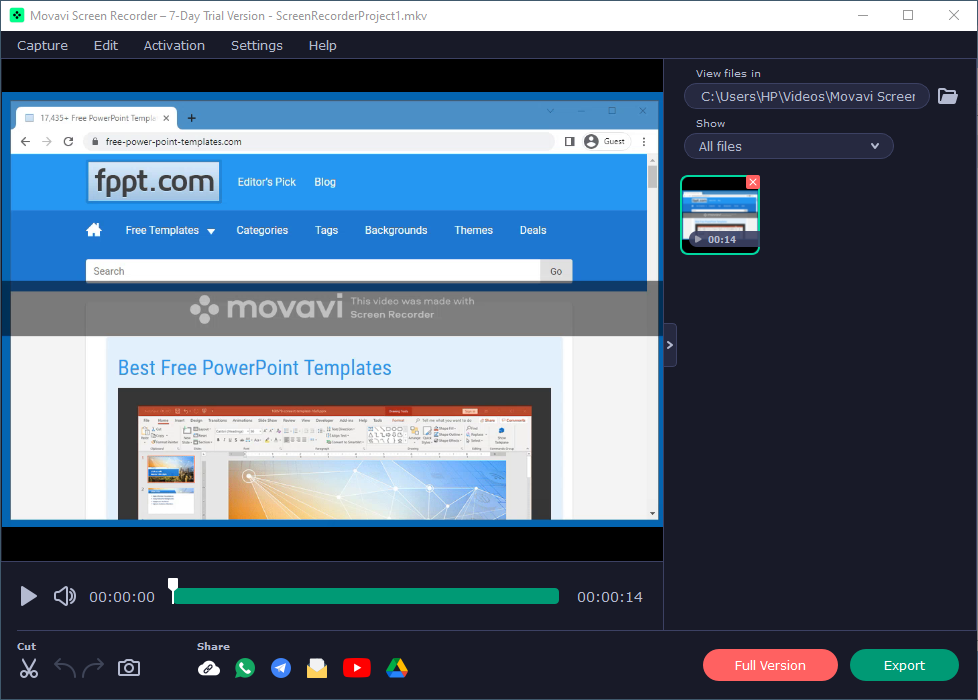
Step 3: Edit Recorded Video
You can also edit parts of the video to cut out elements you don’t need. Use the Cut option to select and remove bits of the video before exporting it for a refined version of your recording.

Step 4: Export and Share Video
Once your recording concludes, stop to end the recording using the Stop button. This will make the video ready to be exported. Then, you can upload it online, share with your colleagues or use it in your presentations. The available options enable exporting the video to a preferred video format or you can share it online.
Did you know you can use PowerPoint as a Screen Recorder tool? In our article, how to use Screen Recorder in PowerPoint we explain how to use it as a alternative to Movavi or other screen recording tools.
The video exporting options include MP4, MOV, MKV, AVI, WEBM, and GIF. You can also export the recorded content as an MP3 audio file. Unlike most other screen recording tools, Movavi Screen Recorder has quite an impressive rate of rendering the video using the Superspeed option. It uses hardware acceleration to speed up the time needed to render the video recording.

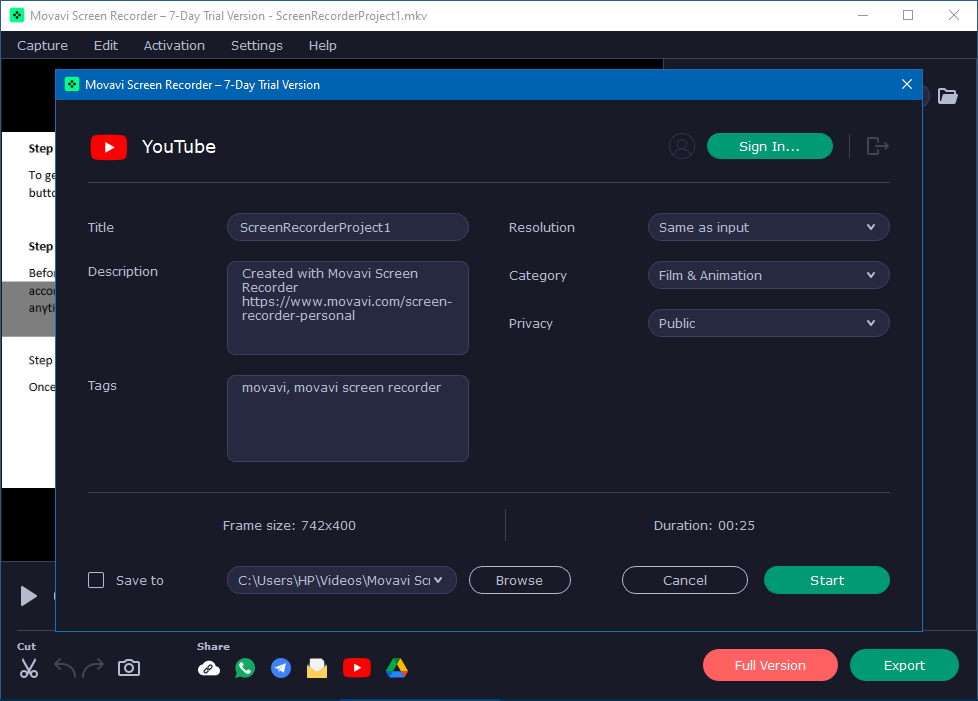
The Advanced options can be used to adjust the resolution, frame rate, sample rate, and channels. Once you are satisfied with the settings, click Export to save the video to your device.

You can also save your videos via link, WhatsApp, Telegram, Email, Google Drive or upload them to YouTube. This feature enables directly saving and uploading your screen recording to the cloud for instant sharing.
Take Screenshots, Record Webcam or Audio Narrations
Other than video recording, Movavi Screen Recorder also provides the option to instantly take screenshots, recording webcam video, and audio narrations.
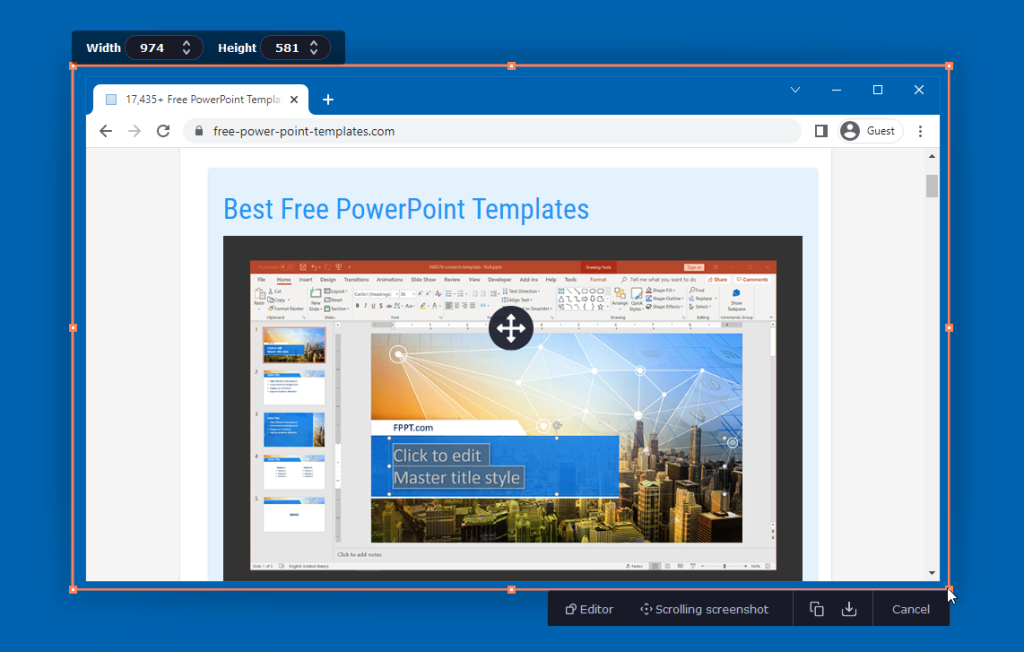
Take Scrolling Screenshots
Using the simple option given on the menu button or by using the F8 hotkey, you can instantly take a screenshot of a selected area of the desktop. Once initiated, the screenshot tool enables you to select an area via drag and drop to instantly grab a screenshot. The screenshot tool is unique because of its ability to take scrolling screenshots to capture content that you might require scrolling down to capture. This enables capturing more than just what is immediately visible on screen.
Record Webcam and Audio Narrations
You can also quickly record a video message by recording your webcam footage. This option is available via Widgets from Movavi Screen Recorder menu.

To record narrations and transcriptions, you can use the audio recording feature to grab mic input using Movavi Screen Recorder.
Movavi Screen Recorder Settings
Configuring the settings of your screen recorder to change the default hotkeys, file output location, effects, and other options can give you a more personalized touch when recording videos. This can also be helpful in improving productivity and workflow. To change Movavi Screen Recorder settings, click the Gear icon from the menu bar.
General Settings
The General tab in the screen recorder can be used to disable or enable the countdown, show/hide the recording panel, change the menu language, enable/disable frame blinking during captures, allow window panes selection, capture separate streams, and enable/disable sound notifications.

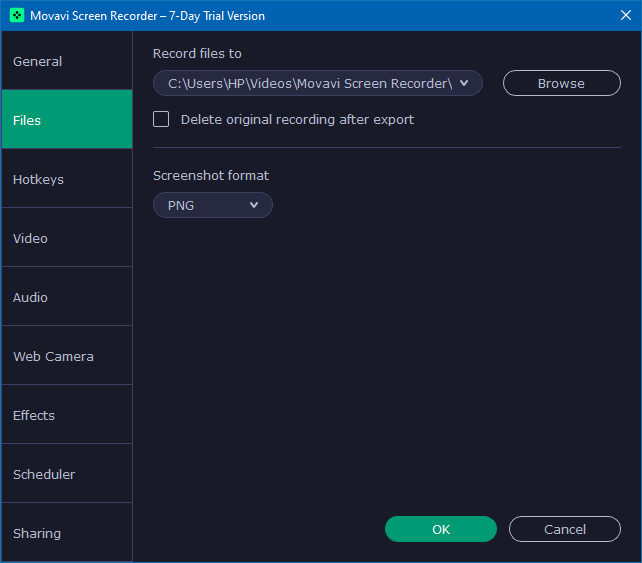
File Settings
To change the default location of the output folder, head over to the Files tab. From here, you can also delete the original recording after export, and change the screenshot format (PNG, JPG, or BMP).
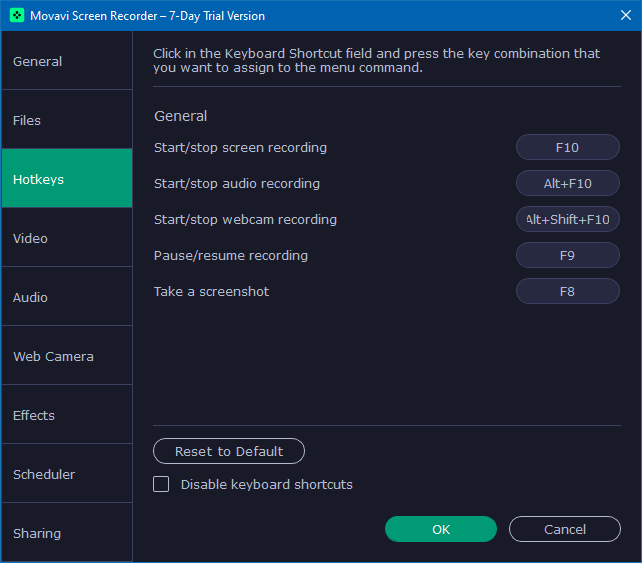
Custom Hotkeys
To configure shortcuts for various functions you can make adjustments from the Hotkeys tab. This section provides default hotkeys for taking screenshots, as well as screen, audio, and webcam recording options.
Hardware Acceleration
If you intend to set a default framerate or enable hardware acceleration or speed up video conversions, the Video tab provides options to help you do just that.

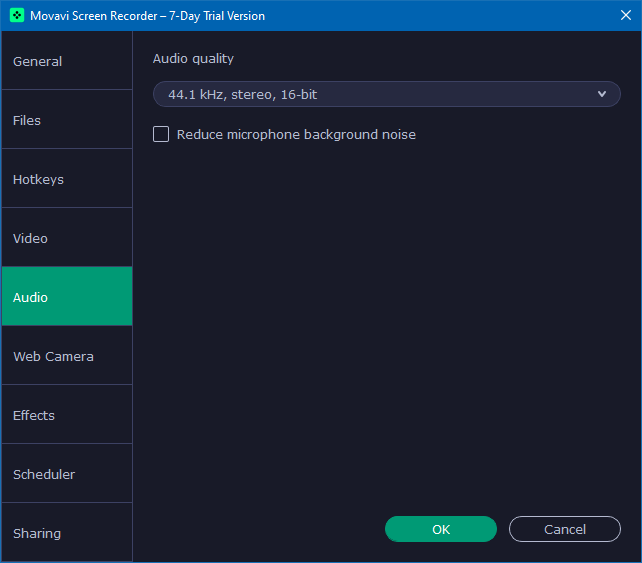
Audio Noise Reduction
The Audio tab delivers options to help you reduce noise and adjust the audio quality.
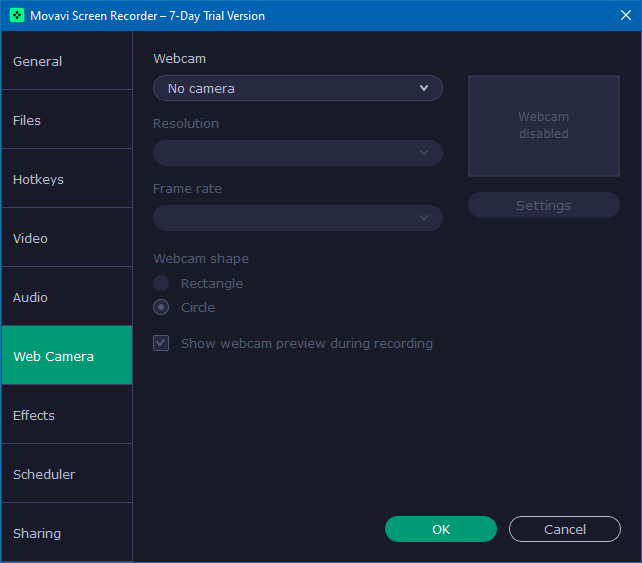
Webcam Settings
If you’re having a problem with your camera, you might want to head over to the Webcam tab to make adjustments. There is also an option to switch between a rectangular and circular webcam frame.
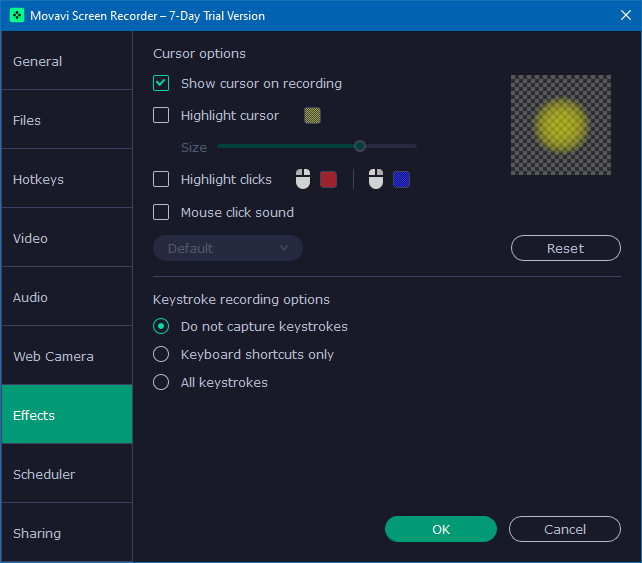
Mouse and Keystroke Effects
Some people prefer showing the mouse pointer and highlighting certain aspects like mouse click in a video. These features can be controlled via the Effects tab. From this section, you can enable or disable the cursor during recordings and also highlight it by selecting a preferred color. Other options allow you to enable or disable the mouse click and keystroke sound.
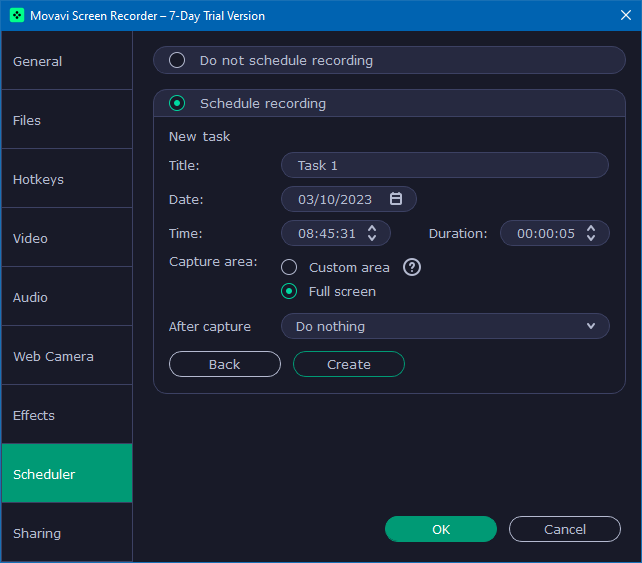
Schedule Recordings
You can schedule recordings using Movavi Screen Recorder by using the Scheduler tab. To schedule a recording, go to the Scheduler tab and select Add Task. Select the title, date, time, duration, and capture area to schedule your tasks. Additionally, the system can also be scheduled to sleep or shut down once the scheduled recording is complete. This feature can be particularly useful if you are waiting for an online meeting or webinar to start which you might not be able to attend but want to record.
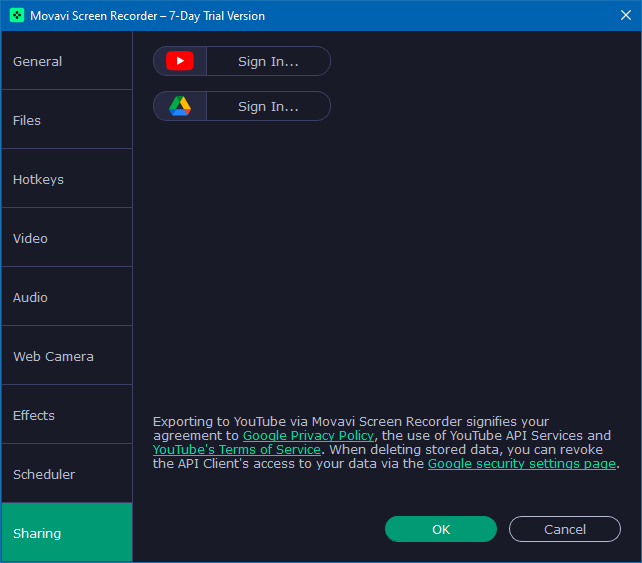
Online Video Exporting Options
Other than the sharing options available when exporting the video, you can login to a Google Drive or YouTube account via the Sharing tab.
Movavi Screen Recorder is an advanced screen recording tool for making professional-looking screencasts, with features that also enable recording voice narrations, video messages, and taking scrolling screenshots. Besides the features listed in this article, Movavi also has many other interesting features that worth checking, for example the annotation feature while recording the video. Not only does Movavi Screen Recorder record screencasts while ensuring good video quality but it also helps accelerate the rendering time to make your videos ready for use in no time.