Method to Diagonally Split Cells in Word
If you want to reformat your tables in Microsoft Word quickly, you can create diagonally split cells. This is a line that goes from the top of one side of the cell to the bottom of the opposite side, or the other way around. This creates a single diagonal line going across a single cell in a table. Split cells allow you to create an additional column or row on a cell so you don’t have to create additional rows or columns in the table and change the whole formatting. However, not everyone knows how to use a diagonally split cell or how to go about doing it in Word. So here’s a method to diagonally split cells in your Word document.
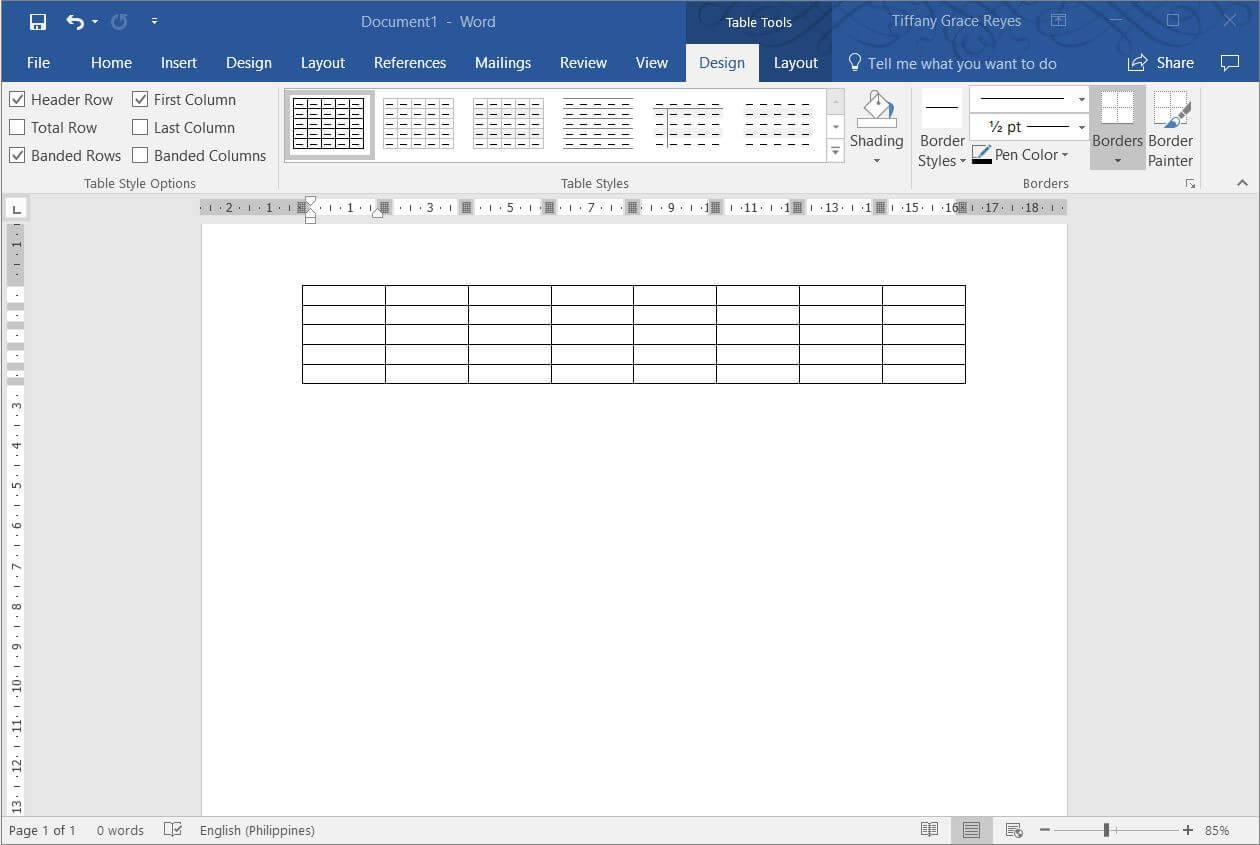
Insert a Table in Word
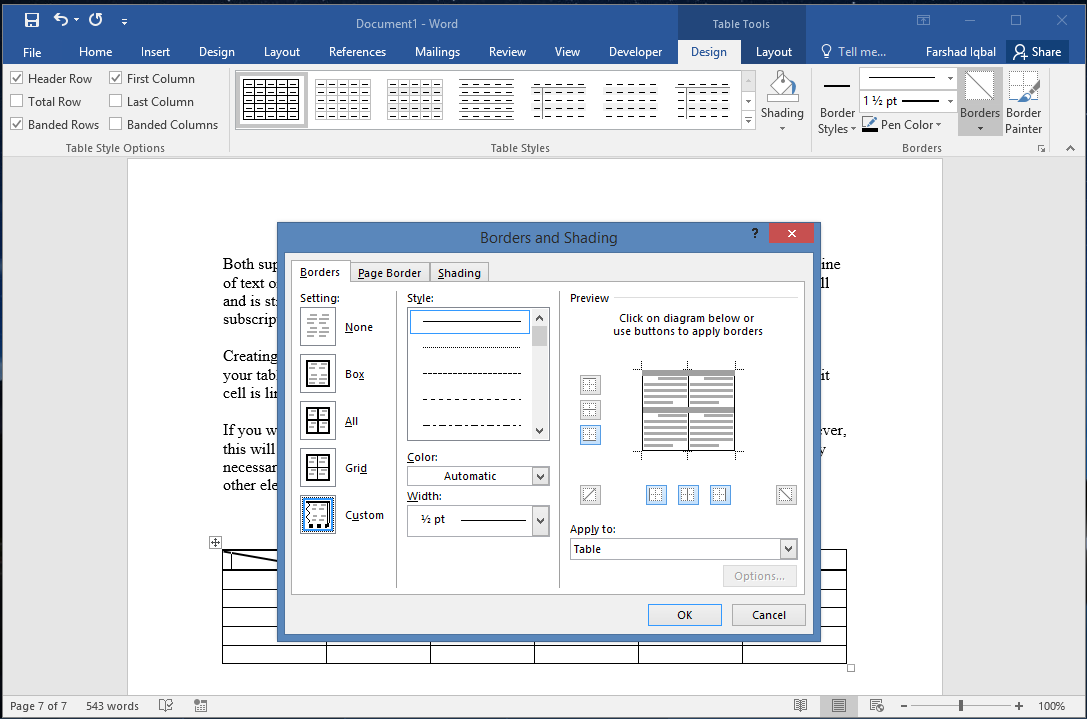
To create a diagonally split cell in Word, first insert a table in your document. Then, select the cell you want to diagonally split. Then, go to the Design tab under the Table Tools, go the Borders option.
Under the Borders option, you can see the many ways you can split cells and how to format borders. For diagonally split cells, you will see two options: diagonal down border and diagonal up border. You can choose either one depending on your need.
Add Data to Your Diagonally Split Cell
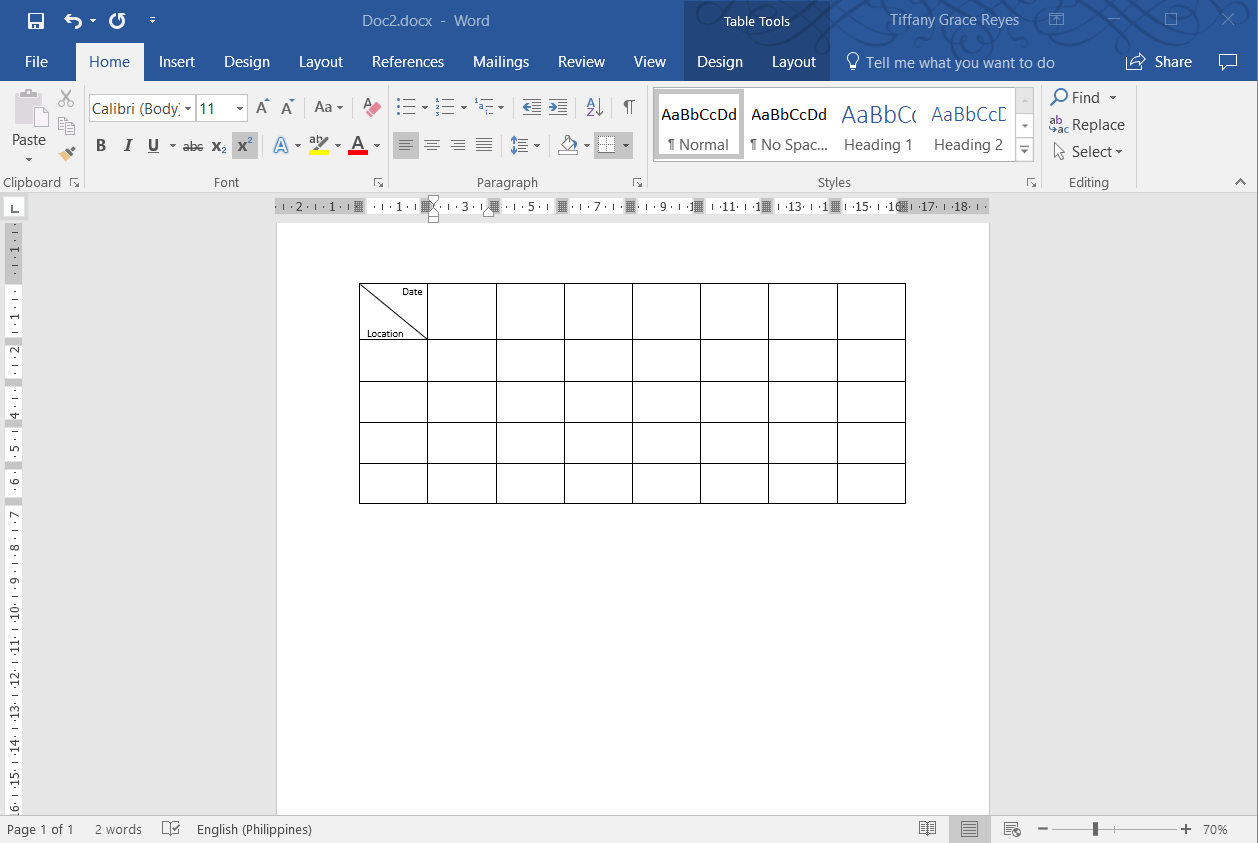
Now you have to remember that a diagonally split cell has a cosmetic function. It allows you to add an extra row or column on one cell without affecting the rest of the table, such as adding additional rows or columns.
The trick with a diagonally split cell, however, is to make sure that your data, whether it be text or number, be easily readable. In order to do this, you have to click the cell you have just split. Then, go to the Home tab in the Ribbon. On the Font toolbox, look for the subscript and superscript font tool in Word. This should be next to the strikethrough text style.
In the lower corner of the split cell, click the subscript button and enter your text. Then, use the space bar to create spaces to transfer to the other side of the split cell. Here, click the superscript button and type the text you want into the upper part of the split cell.
Both superscript and subscript fonts have a relatively more minor font. Whether you have a long line of text or not, it’s best to adjust your font sizes accordingly to ensure that your text fits well and is still readable. If the alignment breaks, decrease the space between your superscript and subscript texts.
Creating a diagonally split cell in Word is a hack that allows you to change the formatting of your table. Remember, the amount or length of text or numbers you can type into this split cell is limited compared to horizontally or vertically split cells.
If you want to add more text, you can also use a text box and insert it into the split cell. However, this will make managing the table much more difficult. You can only do this hack when essential and if you have the time to fix the formatting whenever alignments break or when other elements in your table become affected.
Alternatively, you can learn how to split these cells in other programs, for example in Microsoft Excel to cell divide in two, or in PowerPoint if you have a PowerPoint Table and want to split or divide in two.