How to Insert a 3D Model in PowerPoint
Last updated on June 10th, 2024
To insert a 3D Model in PowerPoint, go to Insert menu, and click 3D Model button.
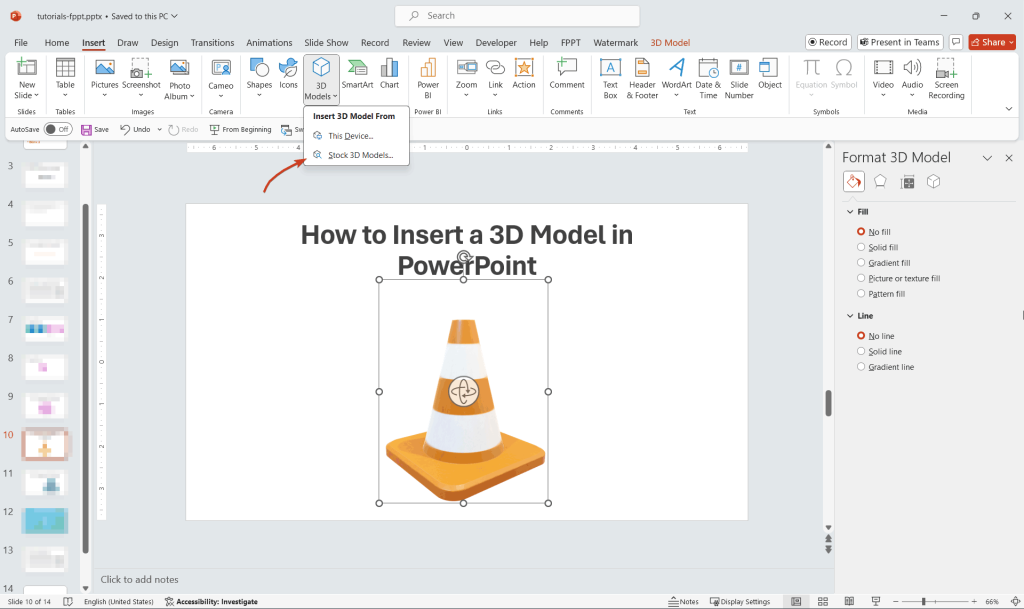
This will open a new dialog box to browse the 3D model collections.
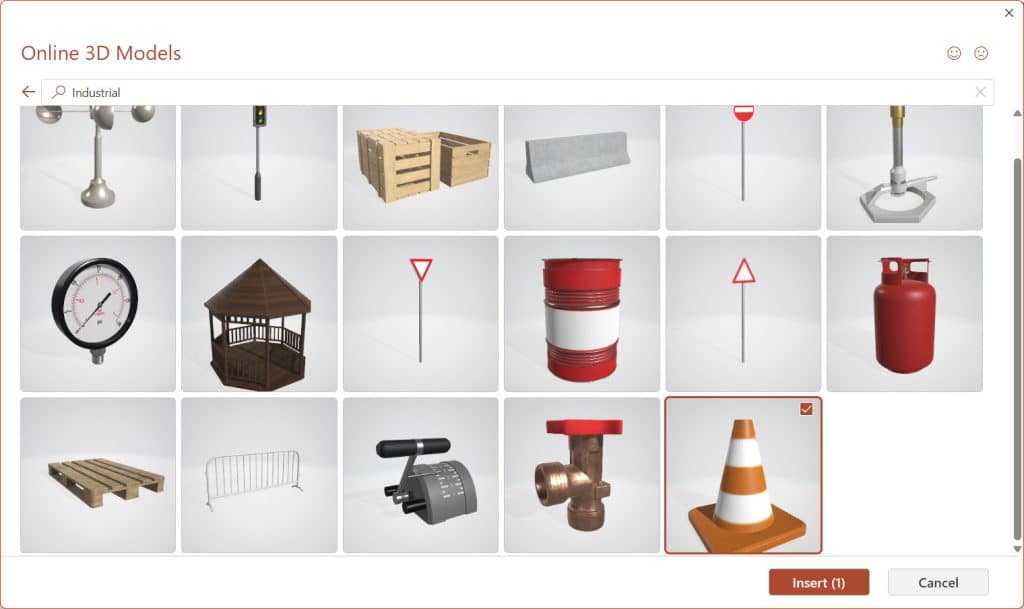
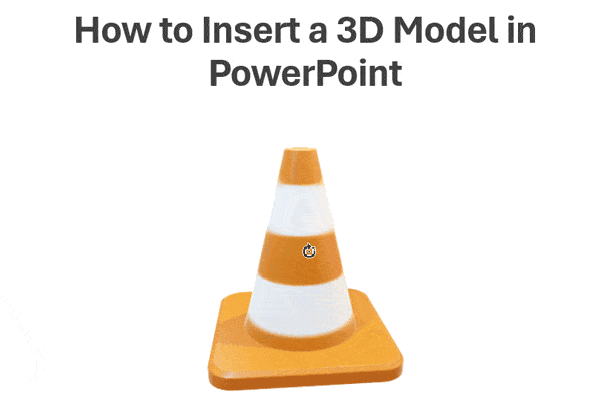
In our example above, we’ve inserted a 3D traffic cone in our presentation slide.
Once in the slide, you can rotate the 3D Model to any desired angle and location. Drag the center of the 3D object and move it to the desired place.
You can also adjust the 3D options from the Ribbon. A new 3D Model tab will appear, as we can see in the image below.

From this new 3D Model tab, you will be able to change the view (to any desired location, e.g. top view, side view, etc.) and change teh alignment, order and pan & zoom options for the 3D object.
Creating 3D Objects in PowerPoint with Shapes
If you want to create your own basic 3D models with shapes, then you can still use PowerPoint shapes. This video explains how to create 3D Objects in PowerPoint using Shapes. By using basic shapes we can get 3D objects with perspective including cylinder, prisms, and any other variant.
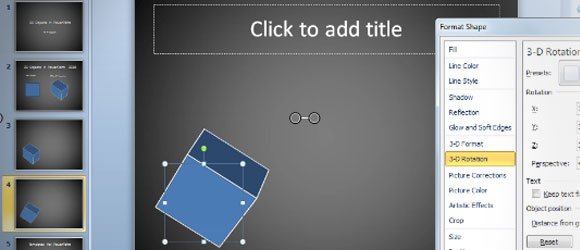
This video will help to understand how to design 3D objects using PowerPoint and 3D Format nad 3D Rotation options in Format Shape.
Alternatively you can download free 3D Shapes for PowerPoint presentations to make awesome 3D objects for presentations or learn more about 3D PowerPoint templates with animations.