How to Make a Picture Full Screen in PowerPoint
The purpose of this article is to explain how to make an image fit the whole slide so that when running the slide show, the image is shown as full screen in PowerPoint. For the demonstration, we have downloaded one of the free PowerPoint backgrounds available at SlideHunter.com, but you can use virtually any image you want. There are many other resources to download free images or use your pictures.
Using Full Screen Image in PowerPoint (Step by Step)
How do you make a picture fill the whole slide in PowerPoint? Before we delve into the steps, it’s important to note that images are typically in either JPG or PNG formats. There are multiple techniques to resize and adjust them to fit the entirety of your slide for a full-screen display.
1. Inserting and Adjusting an Image on a PowerPoint Slide
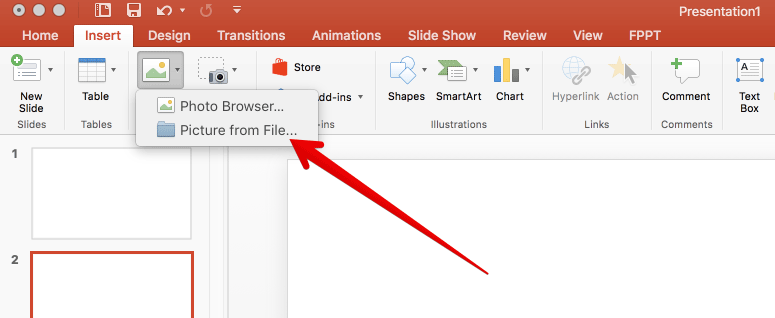
The process is very simple, just drag the corners of the image to the corner of the slides (it is recommended to hold the shift key so the image won’t lose the proportions). If you are using the same format or aspect ratio for the slideshow and the pictures, the image should fit the slide perfectly.
2. Expanding the Image to Fit the PowerPoint Canvas
Sometimes the aspect ratio of your image might not align with the format of your slide. In such cases, you’ll need to enlarge the image to exceed the slide borders, ensuring it fully covers the slide.
As mentioned earlier, this method is straightforward as you only need to resize the picture in PowerPoint by dragging the image corners.
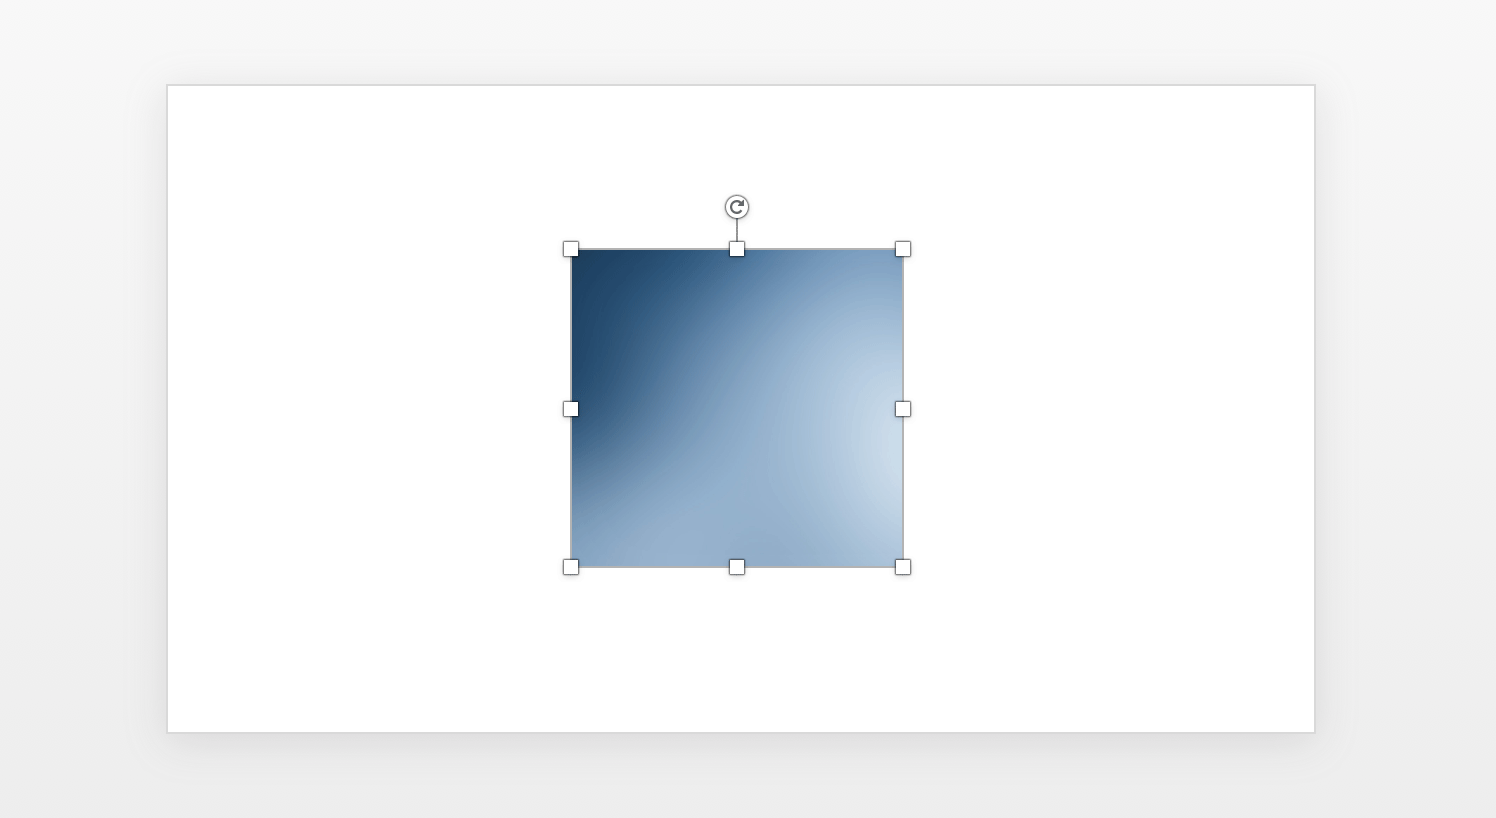
For instance, let’s assume you have a square image, but your slide uses a 16×9 aspect ratio.
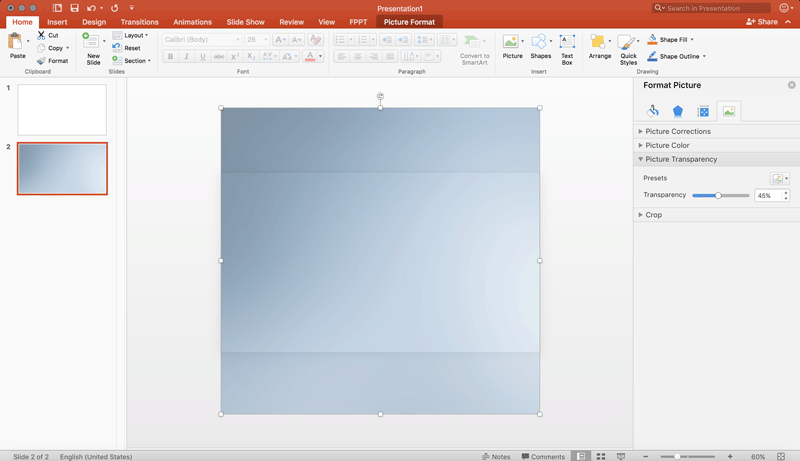
- First, insert the image onto your slide.
- Next, resize the image to extend beyond the slide borders.
You can hold the shift key in order to preserve proportions. The following image shows an example how we made the background image to fit the slide when the image is a squared picture and the slide is configured to use 16×9 aspect ratio. First of all, we inserted the background into the slide.
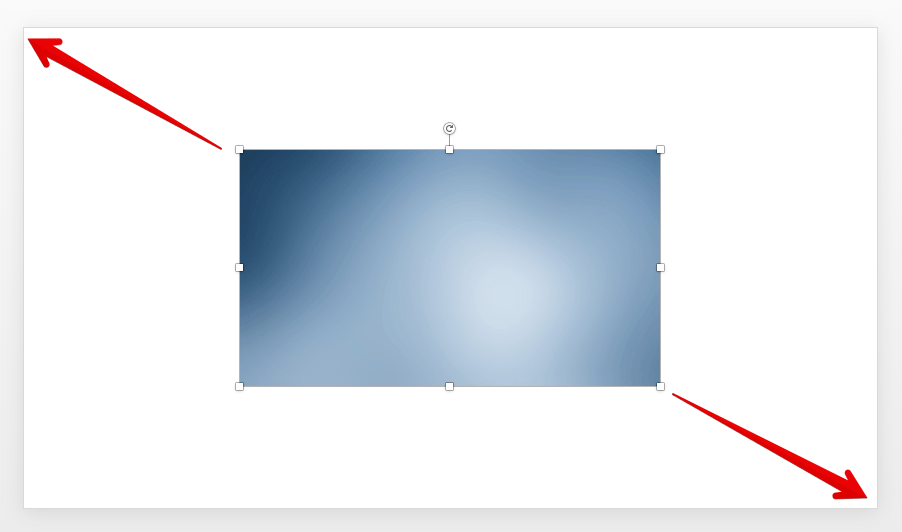
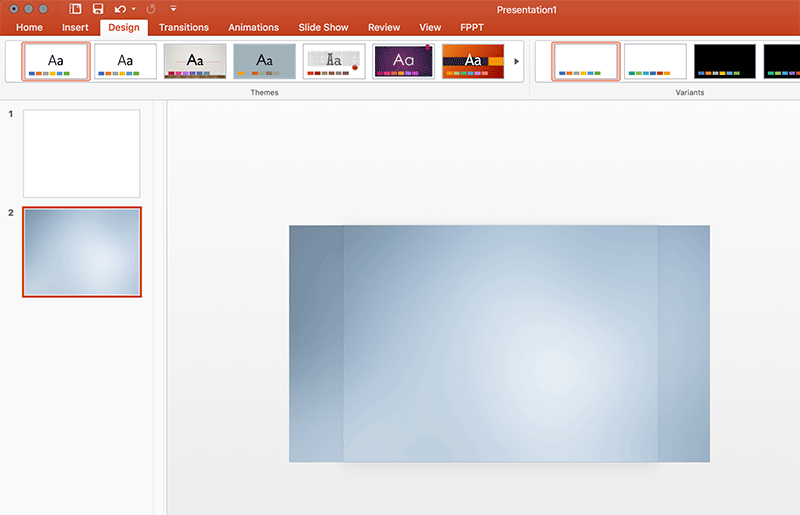
Then, we resize the picture to go beyond the slide borders, as shown below:
The above process can be applied similarly to a 16×9 image background fitting a 4×3 presentation.
Pro Tip: How to make PowerPoint full screen? You can use the key F5 to play the slideshow and make the PowerPoint appear in the full screen of your display or projector.
Why Use Full-Screen Images in PowerPoint?
Some may question the need for full-screen images in a PowerPoint presentation. Presenters often find that expansive images are an effective technique, as they can capture audience attention more effectively and helps toward the audience engagement.
Now that we have learned how to make the picture full screen in PowerPoint, let’s see some creative ideas on how you can apply this technique in your presentations. Using full-screen images can greatly enhance the visual appeal and effectiveness of your PowerPoint presentations. Here are a few creative ideas on how you could apply this technique:
- Make Picture Full Screen on Click in PowerPoint: Using animations and triggers, you can set an image to become full screen when clicked during the presentation. This can be especially effective when you want to reveal detailed data, infographics, or diagrams for closer examination.
- Interactive Image-based Quizzes: By employing full-screen images and hyperlinks, you can create an interactive quiz within your PowerPoint presentation. For example, each image could be a question, with clickable areas leading to different slides based on the answers.
- Progressive Image Reveal: You could use a series of full-screen images, each revealing a bit more of the whole image as you progress through the slides. This can add an element of suspense and encourage audience engagement.
- Image-Based Storytelling: Full-screen images can also be used for a visual storytelling effect. Sequential slides with evocative full-screen images, accompanied by minimal text, can be used to narrate a compelling story or illustrate a concept.
- Comparison Slides: To emphasize contrasts or comparisons, use two different full-screen images on successive slides. By rapidly flipping between the two slides during the presentation, you create a “before-and-after” or “comparison-contrast” effect.
- Virtual Tour: If you’re presenting about a particular location, you can use a series of full-screen images to provide a virtual tour. With careful selection and sequencing of images, you can guide your audience through the location as if they were physically moving through it.
Conclusions
In this article we can learn how to make an image fit full screen. If you use the methods described above, it is possible that the shapes are in front of other objects already inserted into the slide. In this case, you’d need to move the objects to the background. Go to Picture Format menu in the Ribbon and then click Selection Pane to reorder the shapes, or click Send to Background option while having the background image selected.