How to Make a PowerPoint Template in Microsoft PowerPoint (DIY)
Last updated on December 3rd, 2024
PowerPoint template design can be easy to make by anyone who needs to prepare a presentation. You can download free resources around the Internet to decorate your presentations and design your own templates. Here we will learn how to make a PowerPoint template in Microsoft PowerPoint (DYI).
Step 1 – Create a blank presentation
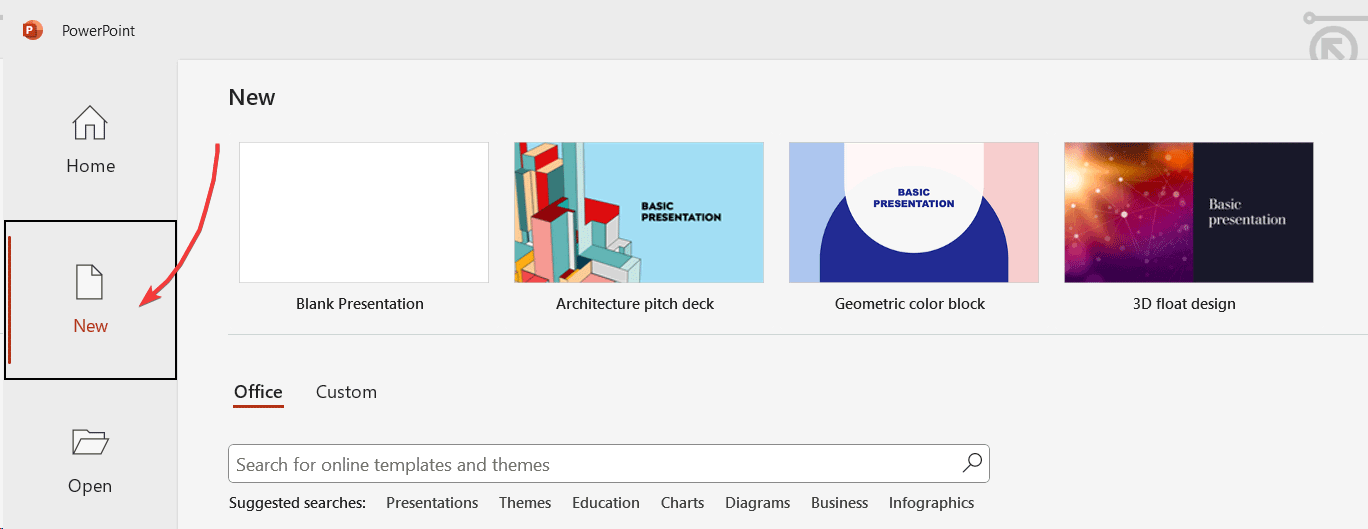
Start creating a blank presentation. You need to open PowerPoint and then click on File -> New. Here will appear a menu with available themes and templates, just click on Blank presentation.
Step 2 – Choose and download the background
You can download backgrounds from different sites. Sxc.hu is a free resource where you can download free images.
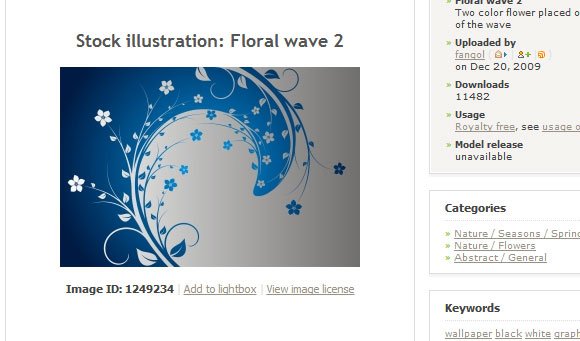
Once you download it as JPG, save to your hard disk and make it available to be chosen later when we replace the default PPT background.
Step 3 – Go to Slide Master
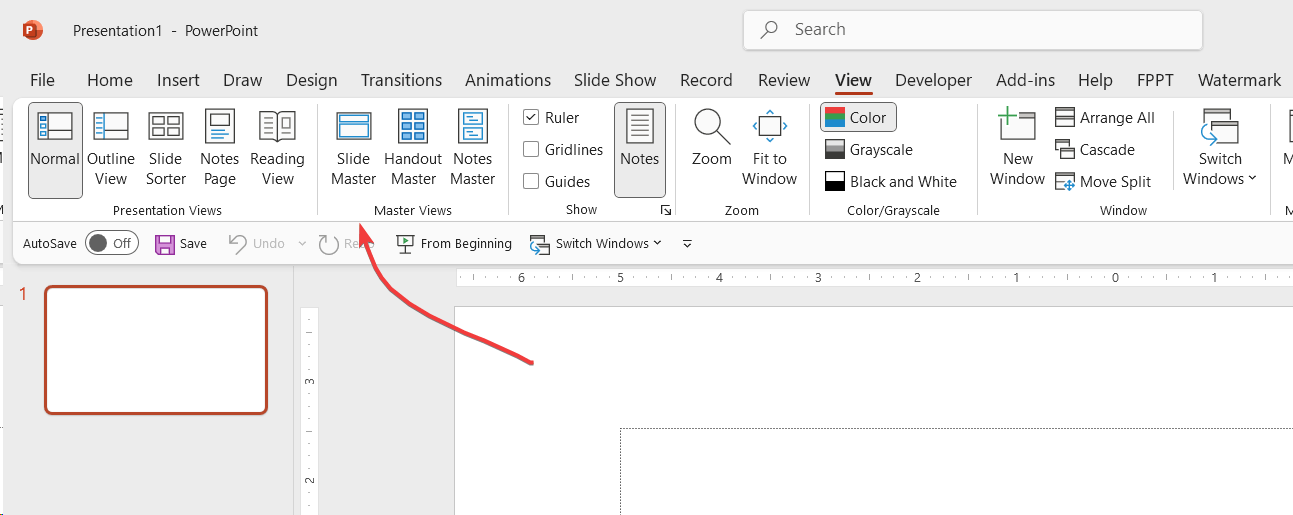
Slide Master is where we can configure the PPT template. Go to View ribbon and then choose Slide Master button to open the Slide Master view.
Instead of learning how to design a template for PowerPoint, you may consider downloading ready made and free PowerPoint templates and backgrounds for your presentations. At FPPT we have more than 17,000 free resources and slide templates for PowerPoint.
Step 4 – Change PowerPoint template background
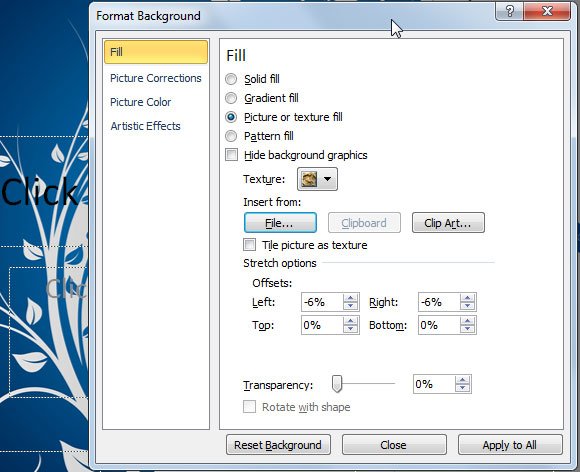
Now, make sure you choose the right layout (title and content) from the left pane and right click anywhere in the background. Then click on Format Background and here we will configure the presentation template background. Click on Fill and then Picture or texture fill. Now click on File to choose the JPG background that you previously downloaded. You can also use other images, but make sure that the background image is not very large in size, otherwise the PPT file will increase its size once saved. We already learned how to reduce the PPT file size by compressing all the pictures.
Then, apply the background to all the slides.
Step 5 – Change content area and layout
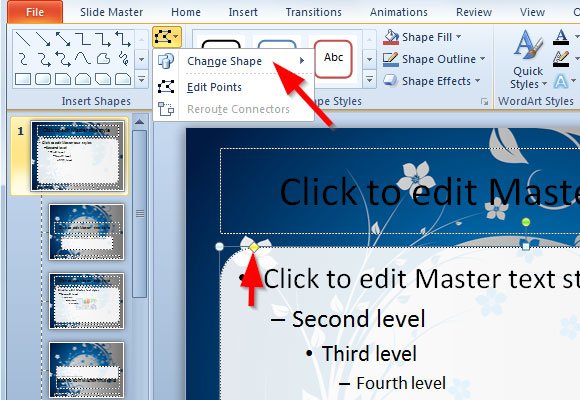
Now you can change the default content layout to make it with rounded borders or any other shape that you like. Make sure to select the content area and then click on Format ribbon to find the Change Shape option as shown in the image below.
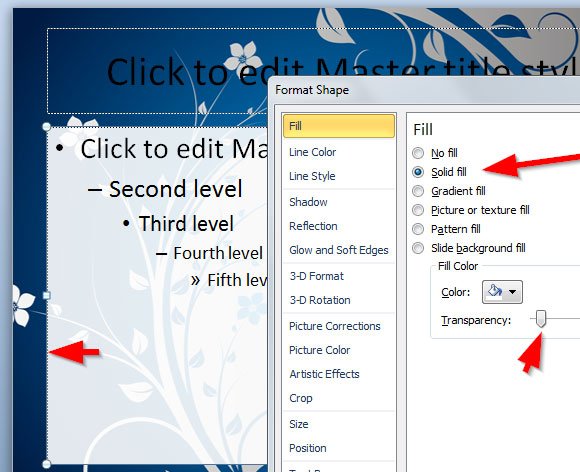
You can control the rounded border amount by dragging the yellow diamond. Now, enter the Format Shape options by right clicking on the content area and choose Solid fill. Will will apply a new solid background to this area so we keep a good contrast between the text and the image background. You can also change the transparency amount to achieve the same result we have here.
Step 6 – Change title area
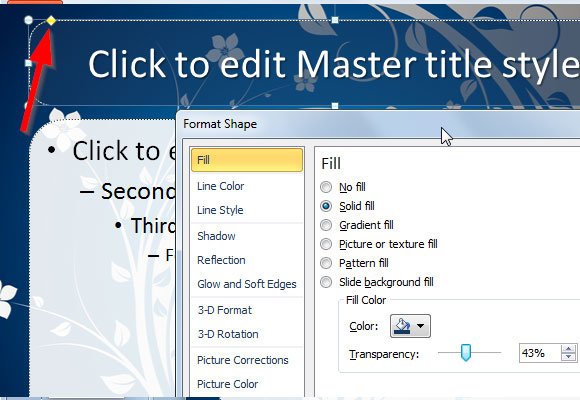
Now, do the same for the title. Instead, you can use a black or dark color instead of white, which will make your template to look slightly more elegant. Add the transparency to the title as shown in the image below.
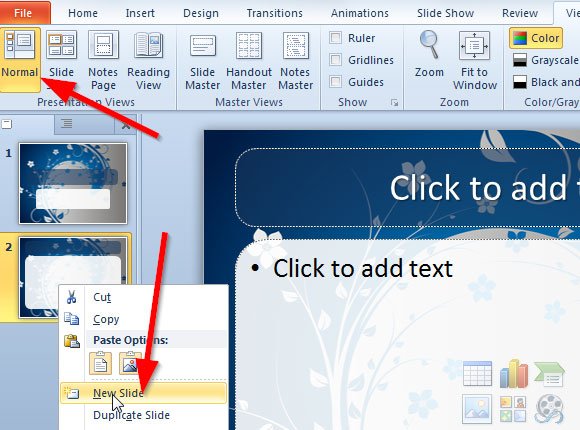
Step 7 – Go to Normal View and Save the template
Finally, we need to go back to the Normal view. Go to View ribbon and then click in Normal button. Now you can start using your template, but do not forget to save it to .potx so you can reuse it later.
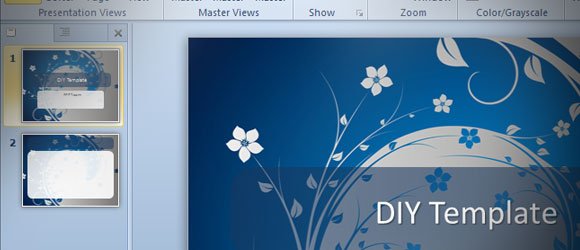
At this point you can add more slides to your presentation to see how it looks. Notice that in the image below we used a presentation title and then added a title+content layout area. You can do the same for other layouts available in the Slide Master, or even create your own custom layouts in PowerPoint template.
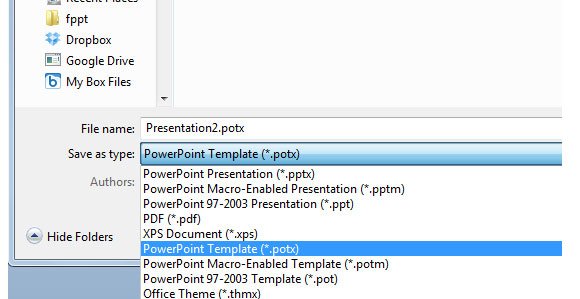
How to save the template? Just need to go to File and then click on Save As. You will need to choose PowerPoint Template .potx as the output format so the files can be reused later and automatically detected as a template by MS PowerPoint.
If you need to insert a picture placeholder, you can do it in the presentation template as well, by using placeholders. In our article how to insert picture placeholder in PowerPoint we explain how to do it.