How to Group Pictures in Word

Over the decades, Microsoft Word has improved its features allowing you to input text and incorporate many kinds of objects into the documents. These objects, such as images and shapes, can be easily formatted, customized, and manipulated. So whether you are preparing reports, analyses, manuscripts, brochures or any other document, you can easily make it more attractive and informative at the same time with the help of these shapes and images.
Here we show you how you can group pictures and shapes in Word.
It can be very difficult to manipulate images and shapes, as well as other objects, if they are scattered throughout a page, or even throughout pages and pages of documents. Therefore, you need all the help you can get to make the most out of Word and come up with a great document.
This is why grouping is very helpful. With this feature available in Microsoft Word, you can work with multiple shapes or pictures as if they are a single entity. You can resize, move, or even rotate them all together with one move. This is very helpful if you have complex images or drawings that are incorporated into your document.
Group Images and Shapes in Word
What’s great about this grouping feature in Word is that you can still ungroup and regroup them whenever you need to. You can also work with individual objects in the group by selecting the group and clicking the single item you want to modify to select it. By grouping images, shapes, and other objects together, you can easily move or resize them. You can also copy and paste them all together, thereby saving you a lot of time and energy. Furthermore, you can add shape fills or other effects to the object and they will be applied to them.
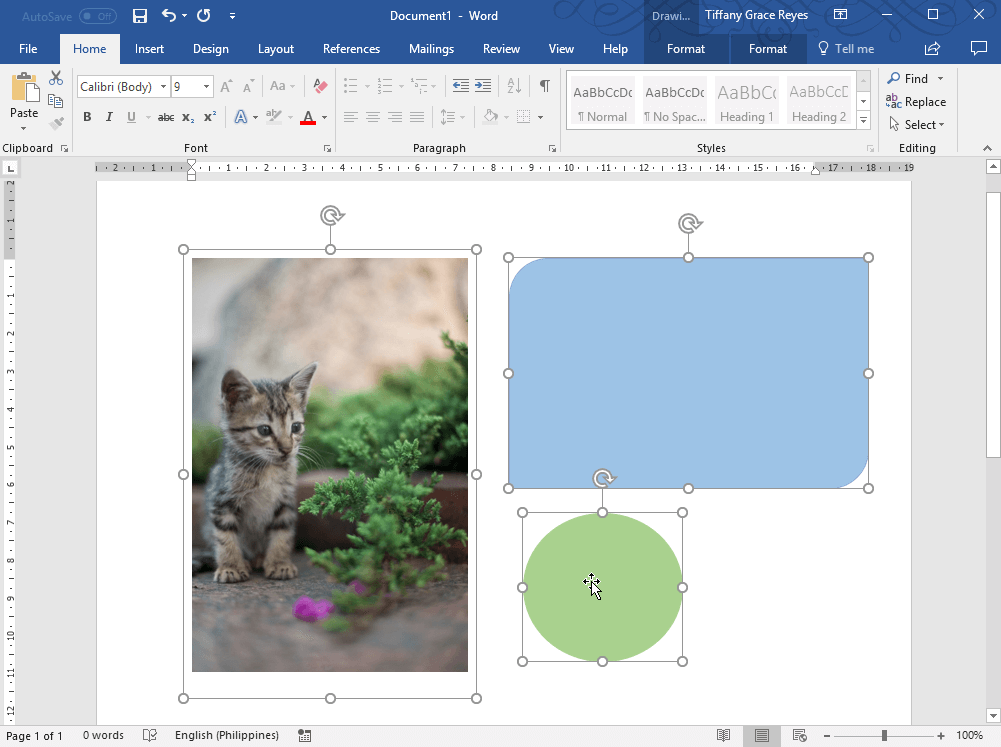
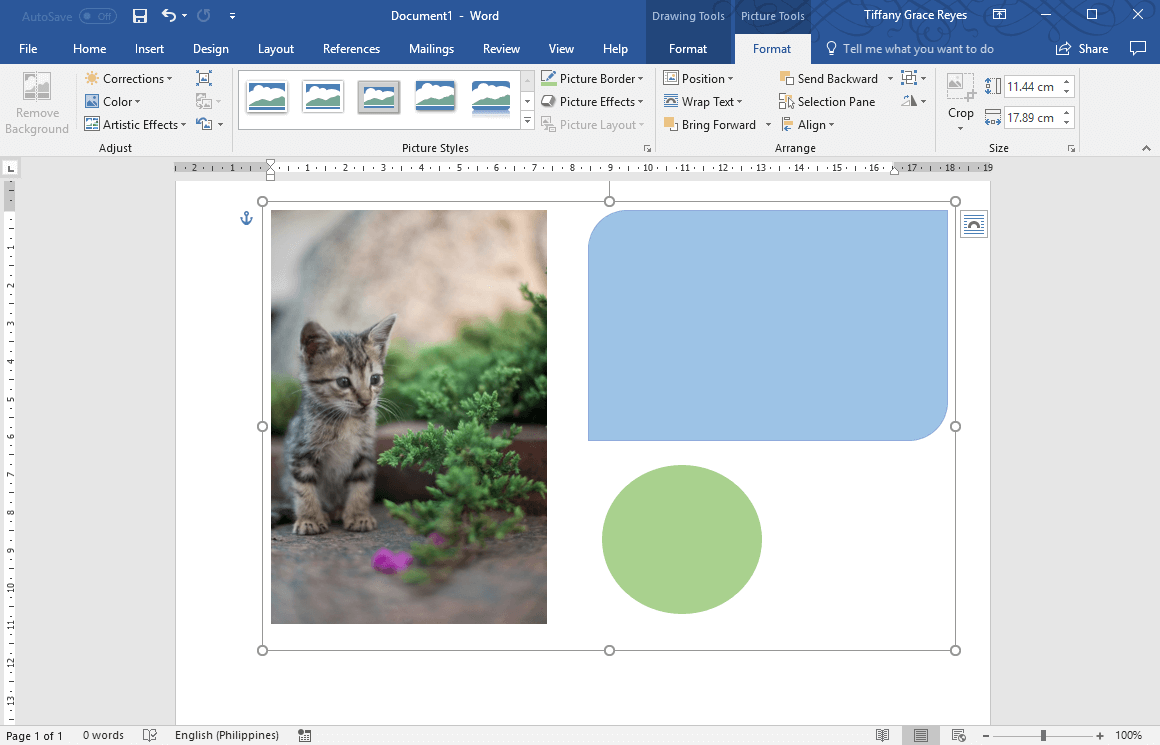
To group images, shapes, and other objects together open a Word document. Choose the objects you need to move or modify. To do this, simply press and hold CTRL while you click each of the objects. Remember, the group function is only enabled when you select more than one object.
Once you’ve selected the shapes, images, and other objects that you want, you can group them by doing any one of the following:
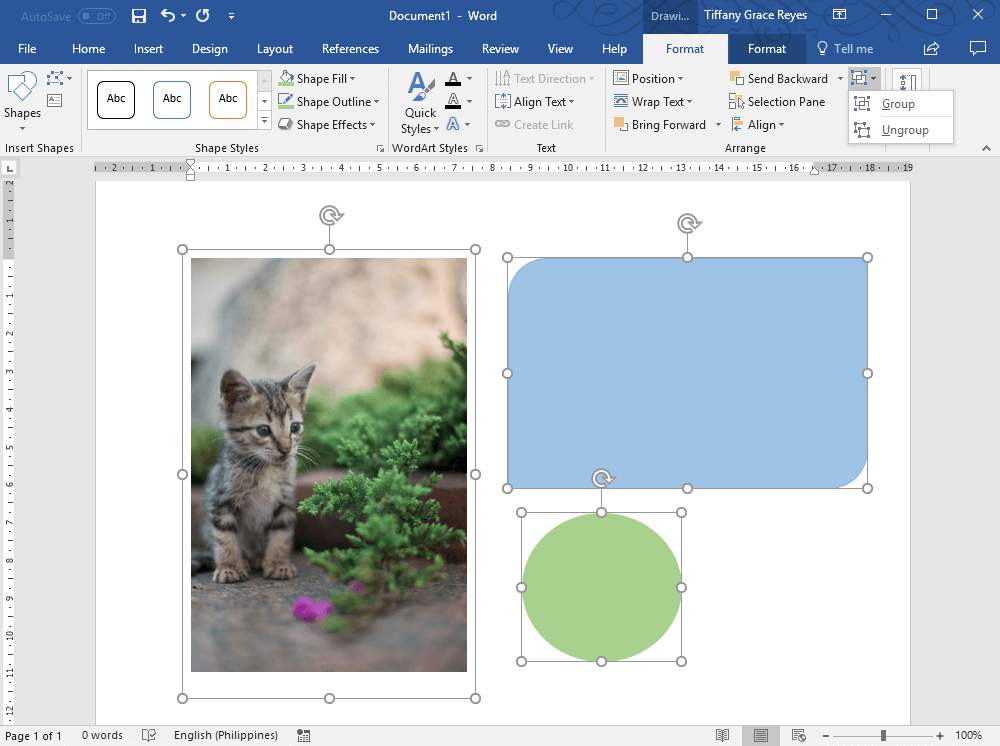
- Drawing tools. Go to the Drawing Tools tab and under Format, click Group -> Group.
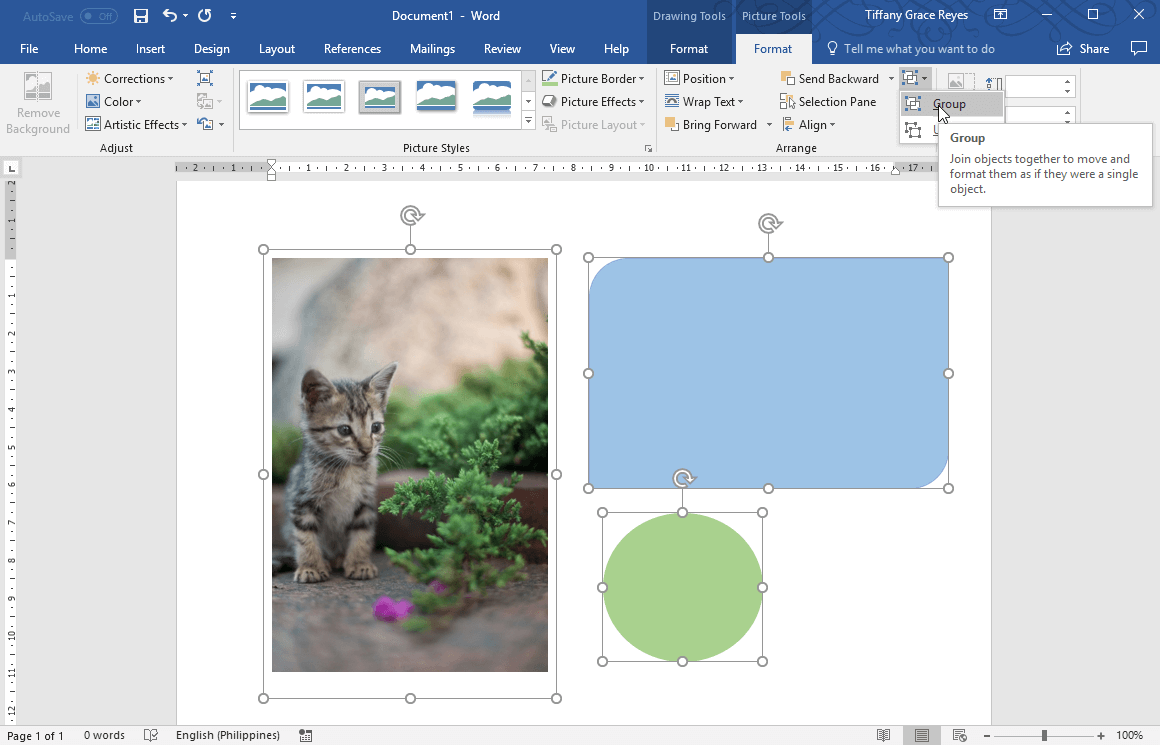
- Picture tools. Under the Picture Tools, go to Format and there, click on Group -> Group.
Both the Drawing Tools and Picture Tools are contextual tabs, which means they only appear on the Ribbon when you select an object.
Use Images and other Objects to Enhance your Word document
Using images, shapes, and other objects on your Word document can add a pop of color or a refreshing sight to an otherwise page of dull blocks of text. And, by grouping objects together in a Word document, you can easily manipulate them or move them around the document.
Just remember to use the Wrap Text option when handling object groups, because you have to set your text wrapping to anything except for In Line With Text, as this will reformat your page as well as the rest of your document. Furthermore, if you want to group icons together and they are in SVG format, you first have to convert them to shapes first. Then, you can work on each item in the group by selecting the group and then the item or object you want to manipulate or move.
To ungroup these objects, simply go to either the Drawing Tools or Picture Tools tabs, Click Group -> Ungroup.