How To Create a Screensaver from a PowerPoint Presentation
Last updated on April 26th, 2024
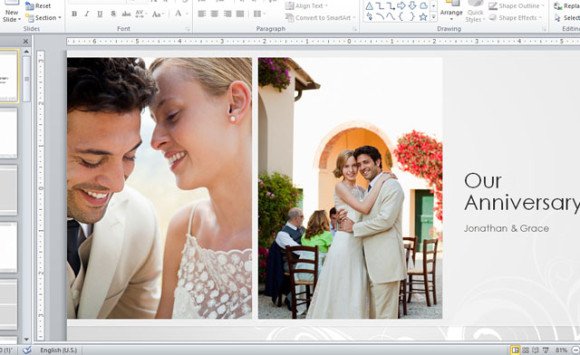
You may have worked on a presentation at school or at work, which you are proud of and you want a reminder of that amazing presentation you did on your computer screen. You may have also created a presentation of your wedding last summer or of your vacation in some exotic beach, and you want to showcase it all the time on your desktop computer as a reminder of a fond, exciting and happy memory.
Similarly, at work, you may have worked on a great project or have produced reports worthy of praise and you want to make it your company or your department’s screensaver. As a business owner, you may also want to reinforce a message or remind your staff of your company goals by using your company’s mission statement as your office-wide screensaver.
Whatever the reason may be, you can easily convert your PowerPoint presentation slides into a screensaver. There are many third-party applications that offer conversion and some even charge some money for it.
However, if you follow the instructions in this post, you won’t have to pay or download any application or program. You can easily set a slide or two—or even your whole presentation—into a screensaver that you can always see on your desktop.
How to Create SCR File from PowerPoint?
You can create a screensaver from your PowerPoint slides or presentations without the need for the animations and transitions that you have set in your original presentation. You can do this by using Microsoft PowerPoint. All you have to do is to save your slide or presentation to a folder on your hard disk.
You just have to save your slide or presentation as a .BMP file and then create a screensaver using that file. Read further to know the specific steps.
The Steps to Create a Screensaver from PPT
- Save your slide or presentation as a .BMP file
- Open the PowerPoint presentation. If you want to select a specific slide, select it in the normal view.
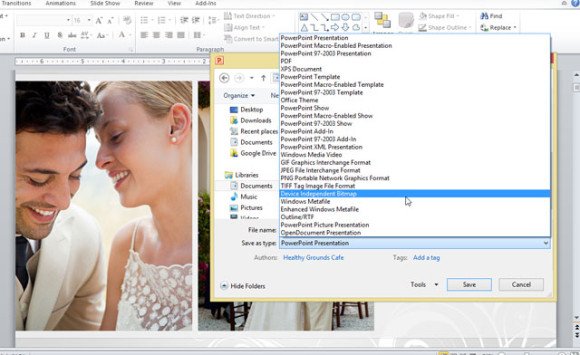
- Now, open the File menu and click Save As. Once done, select an empty folder or create a folder to save your presentation or slide.
- In the Save as text box, click Device Independent Bitmap, followed by Save.
- Click Every Slide or Current Slide Only and hit OK.
- Close your presentation
Create The Screensaver
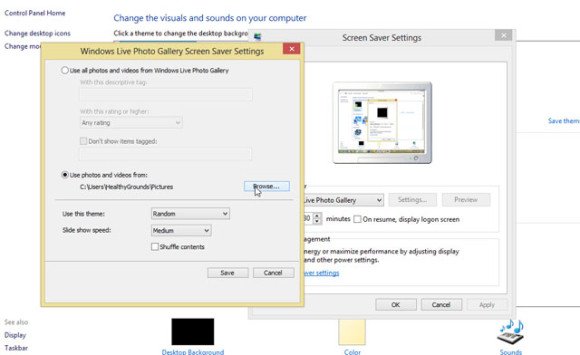
Click Start, click Control Panel, and then click Display, or clock Appearance and Themes, and then click Display.b. On the Screen Saver tab, click My Pictures Slideshow, and in the Wait box, set the amount of time you want to elapse before the screensaver starts to be displayed.
-
- Under Screen Saver, click Settings.
- Under How often should pictures change? Set the interval you want between pictures. If you are making a single slide a screensaver, move the slider to Less (three minutes) to avoid a distracting flicker on the screen during transitions.
- Under Use pictures in this folder, go to the folder where you have saved the presentation or slide.
- If you saved a single slide, clear the Use transition effects between pictures and Allow scrolling through pictures with the keyboard checkboxes.
- Click OK.
- To preview your new screen saver, on the Screen Saver tab, click Review.
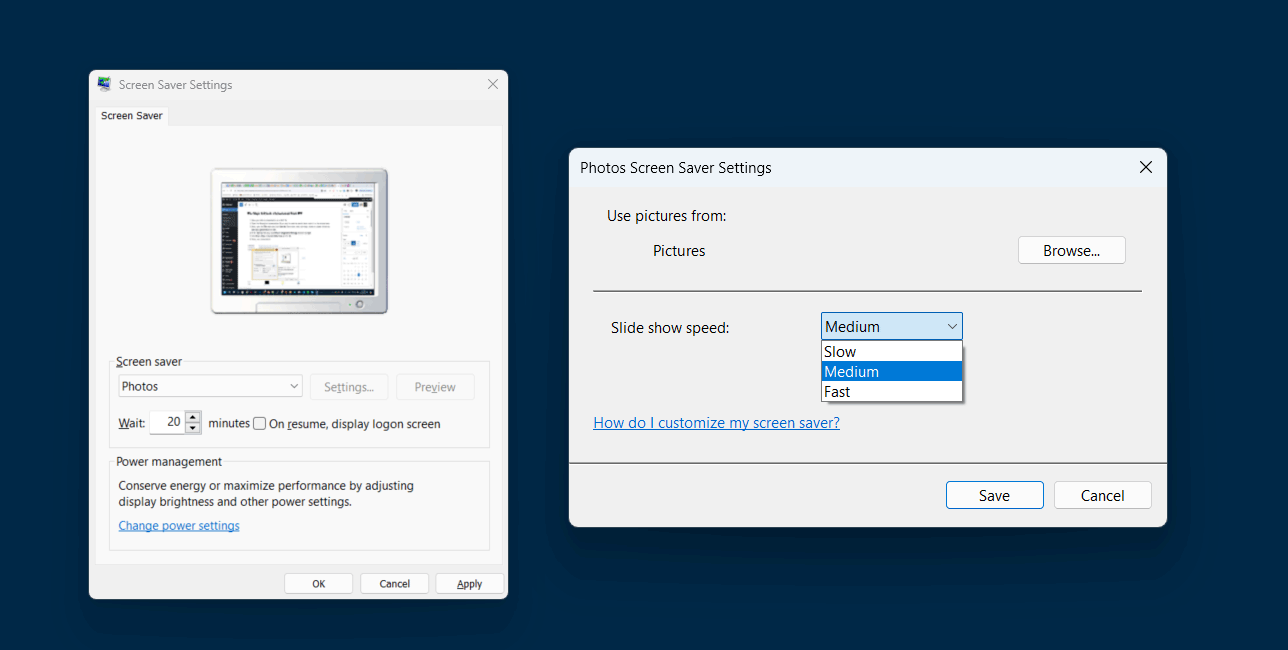
Unlike older versions of Windows, in Windows 11 you can configure the slideshow speed, and also configure to Shuffle pictures.
Following this approach, we have created a custom screesaved from the slides in a PowerPoint presentation file. You can use it for multiple purposes, from personal presentations like weddings, funerals or photo albums in an event, to complete business presentations in which you need to present slides or photos as a screensaver.