How to Add a Dotted Line in PowerPoint
In today’s digital era, business presentations have become a cornerstone of professional communication. PowerPoint, the ubiquitous slide presentation software from Microsoft, is often the go-to tool for this purpose. One might presume that basic tasks in PowerPoint, such as adding a simple dotted line, are trivial to implement, or a dashed line, too. However, even seasoned professionals may find themselves stumped by such seemingly simple procedures.
To guide you through this process, this article provides an easy, step-by-step guide on how to add a dotted line in PowerPoint.
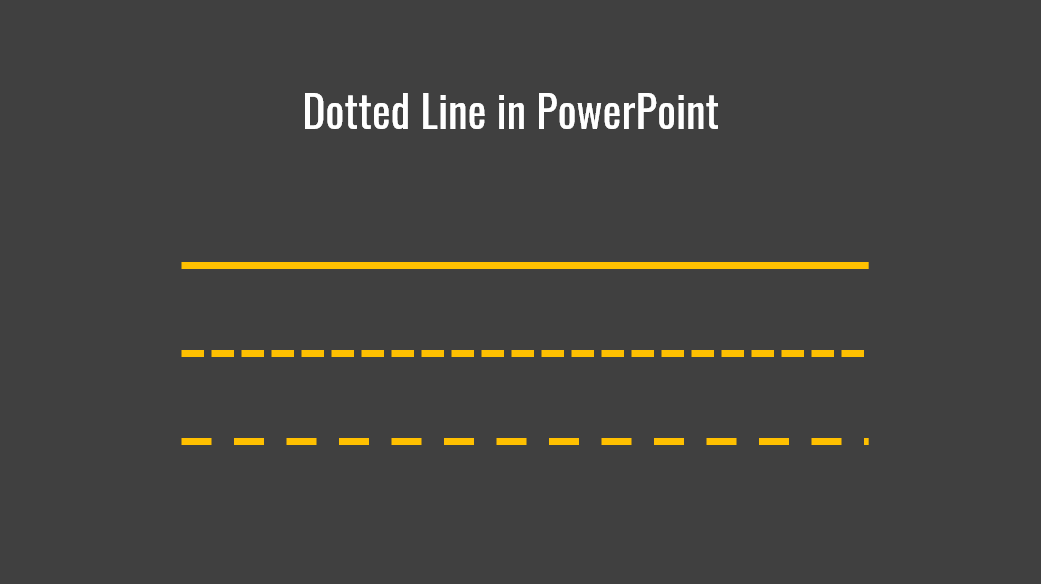
The ability to add dotted lines to your PowerPoint presentations allows you to create distinct sections, highlight important data, or guide the viewer’s eye in a specific direction. This simple yet effective graphic element can drastically enhance your presentation, making it more visually appealing and informative.
Step-by-step Guide: Adding a Dotted Line in PowerPoint
Here’s the step-by-step guide on how you can add a dotted line in PowerPoint:
Step 1: Open your PowerPoint Presentation
To insert dotted line in PowerPoint, first launch PowerPoint on your computer and open the presentation where you wish to add the dotted line. Navigate to the specific slide where you want the dotted line to appear.
Step 2: Insert a Line in a PowerPoint slide
Go to the ‘Insert’ tab located at the top of the screen. Click on ‘Shapes’ in the toolbar, a drop-down menu will appear. This menu includes several shapes and line types. Choose the ‘Line’ option from the ‘Lines’ section. The cursor will change to a crosshair symbol, indicating that you can draw a line on your slide.
Step 3: Draw the Line
Click where you want the line to start on your slide, then drag the cursor to where you want the line to end. Release the mouse button, and the line will appear.
Step 4: Changing the Line to Dotted
With the line selected (it will show handles around it when selected), navigate to the ‘Format’ tab on the toolbar. Click on the ‘Shape Outline’ button, and a drop-down menu will appear. Hover your mouse over the ‘Dash type’ option, and you’ll see a variety of line styles. Here, you can select the dotted line style that suits your needs best.
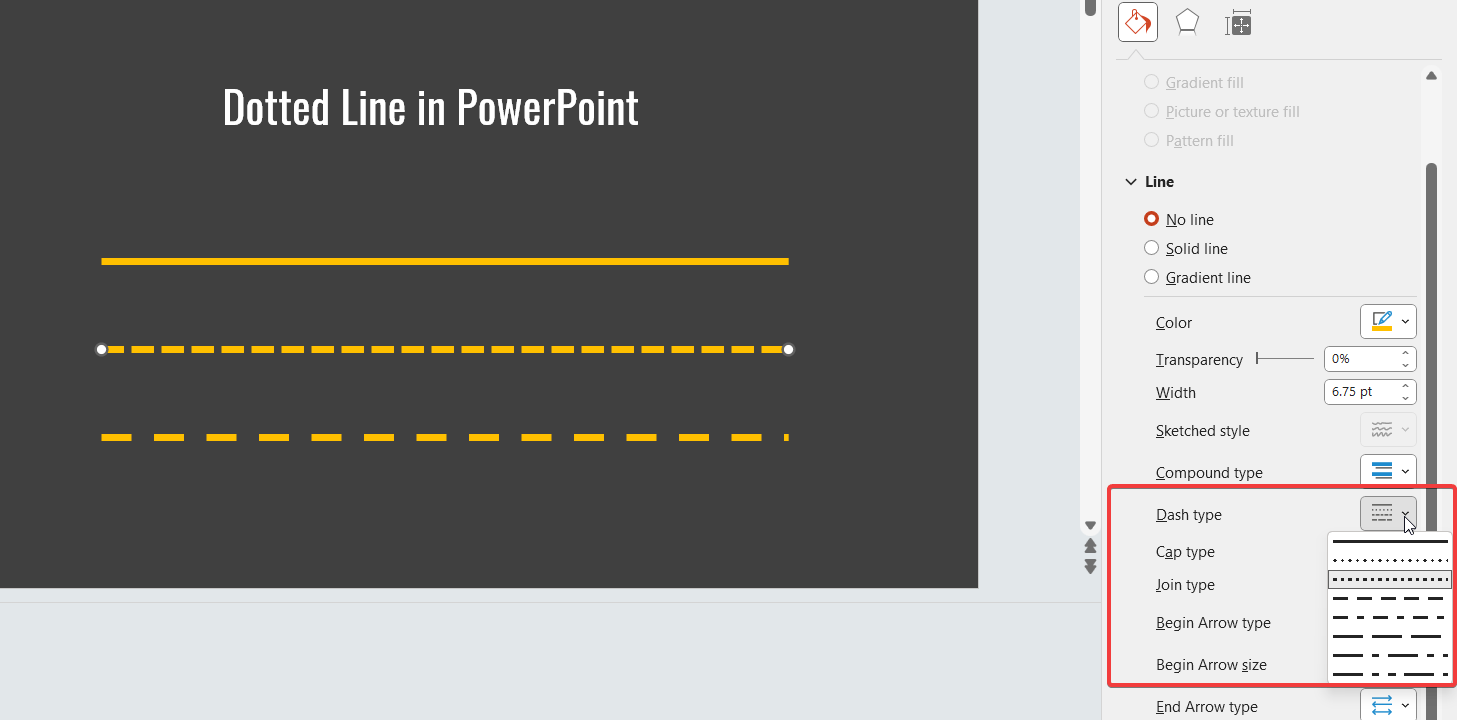
Here you can configure your line to be dotted or dashed. Notice that you can also change different line options: Dash type and Cap type. This will change the dotted line style. For example, for Dash types you can pick:
- Round dot
- Square dot
- Dash
- Dash dot
- Long dash
- Long dash dot
- Long dash dot dot
For Cap Type you can choose:
- Square
- Dot
- Flat
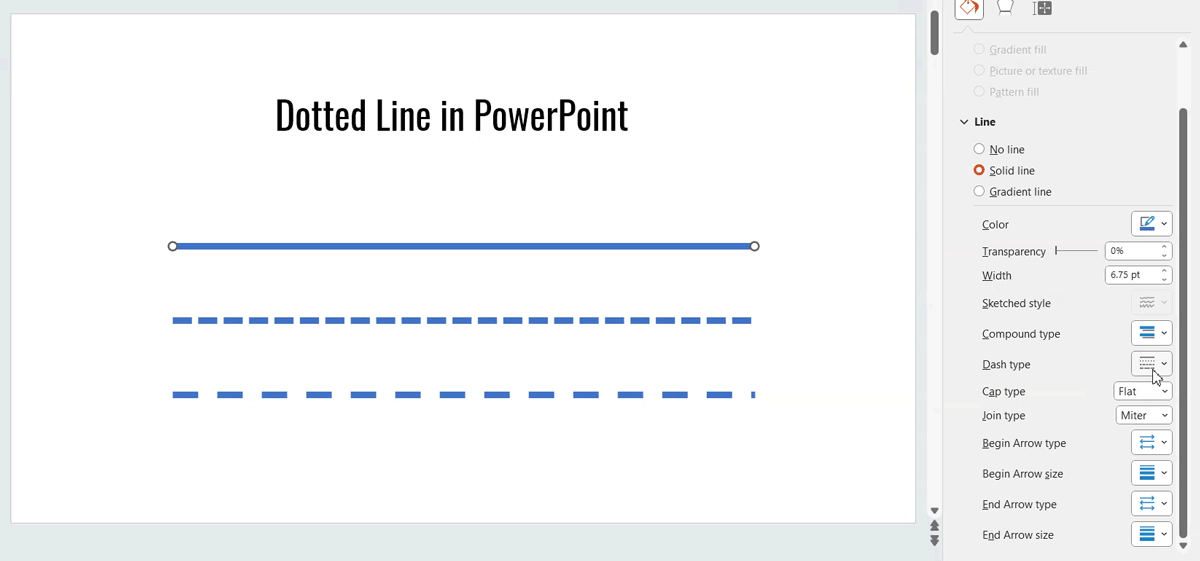
Step 5: Adjusting the Line
You can further customize the dotted line by changing its color or weight. To do this, return to the ‘Shape Outline’ button while the line is selected. Choose ‘Weight’ to change the thickness of the line or ‘Color’ to alter its color. This way, you can ensure the dotted line complements your presentation’s overall color scheme and design.
Tips for Using Dotted Lines in Presentations
Using dotted lines effectively can enhance your audience’s comprehension of the information being presented. Here are some tips to keep in mind when you insert a dotted line a PowerPoint presentation:
- Visual Guide: Dotted lines can be used to direct the viewer’s attention from one point to another or to demonstrate a pathway or process.
- Highlighting Information: Dotted lines around a text box or an image can highlight that particular section, making it stand out to the viewer.
- Breaking up slides: If your slides have a lot of content, using dotted lines to divide the slide into sections can help organize the information and make it more digestible for your audience.
As you can see, inserting lines in PowerPoint is easy and if you want to change the line type then you can do the previous tasks to make dotted lines or dashed lines in PowerPoint.
Inserting dashed lines in PowerPoint is straightforward once you know how to change the shape properties. Using this approach you can edit your slides to make visually appealing diagrams, improve your presentations or customize your presentation templates.
In conclusion, while PowerPoint offers a broad spectrum of features and tools, it’s often the smallest details that can make your presentation stand out. Mastering the ability to manipulate these elements like the dotted line is an essential step towards creating compelling, professional presentations. By following the steps outlined in this article, you should be able to add a dotted line in PowerPoint with ease, elevating the overall aesthetics and clarity of your presentations.