How to Use Mail Merge in Word
When you need to send out dozens, if not hundreds, of letters, names tags, or brochures; doing it the old-fashioned way would take ages. Good thing Microsoft Office Word has this classic feature that not many of you may know about. Word’s Mail Merge is a very useful tool that can help you produce multiple documents using information stored in a list. Here is how to use Mail Merge in Word.
With Mail Merge, you can create numerous letters, envelopes, flyers, certificates, newsletters, labels, and so many other documents that you can reproduce using different information and addressed to different people. All you have to do to use Mail Merge is to have a Word document and a recipient list, usually an Excel workbook.

Use Mail Merge to Make the Most of Word
The first thing you have to do before using Mail Merge in Word is to prepare your source data. If, for example, you are going to create a letter in Word and you need people’s names and addresses, you need to prepare the data beforehand in Excel. Mail Merge will handle combining this data with your letter.
Now, prepare the unique information in your Word document, and this should match the fields in your worksheet. For our letter example, you can set your fields as separate Field Names, namely Name, Address, and Salutation. Then, create the Form, which is the information that will be sent to your recipients. In this example, a letter. Now, create a new document in Word.
Click on the Mailings tab, click on Start Mail Merge -> Step-by-Step Mail Merge Wizard. The Mail Merge Wizard is a nifty tool that can help beginners work their way into creating mail merge documents.
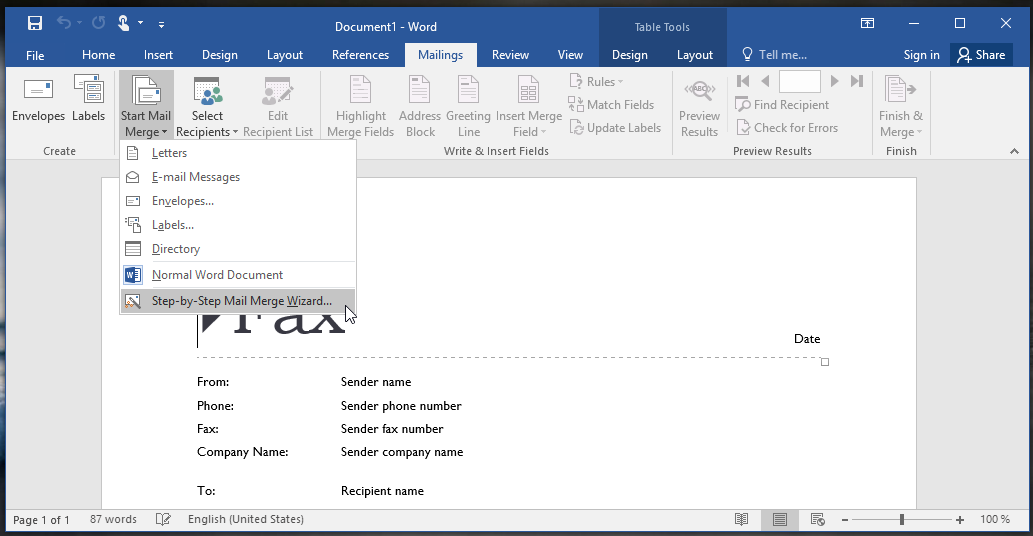
When the Mail Merge Wizard window pops up, follow the step-by-step instructions. First, choose the document type Letters, using our example. Then, click Next: Starting document.

Under Select starting document, choose the radio button beside “Use the current document”. This will use the document that you have already opened and use the information on the document. Then, click on Next: Select recipients.
Here, you can select your recipients from an existing list, from Outlook contacts, or from a new list that you will type in. You can use an existing list using your Excel worksheet. You can also create a new list and then select Type a new list -> Create.
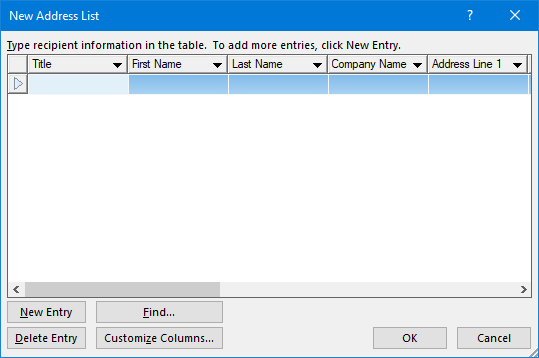
Then, a form will be pre-populated with different fields, such as title, first name, last name, company name, address. You can delete or modify the fields and cells depending on the information you want to use for your Mail Merge in Word. Just make sure to match your field names or column headers to the information that you need to be unique in your document.
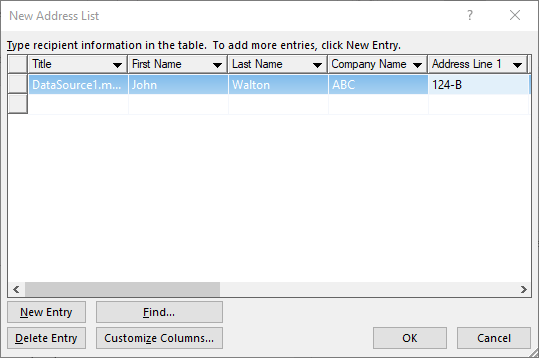
To modify, click on Customize Columns. Then, you can save the changes and then add the information on the cells. Then, click OK to save your data source. This will then be merged into your final document. A preview of your Mail Merge Recipients will be shown so you can review it. When you’re done, click Edit. Then write your letter as you normally would, then enter the merged fields.
Insert Merge Fields
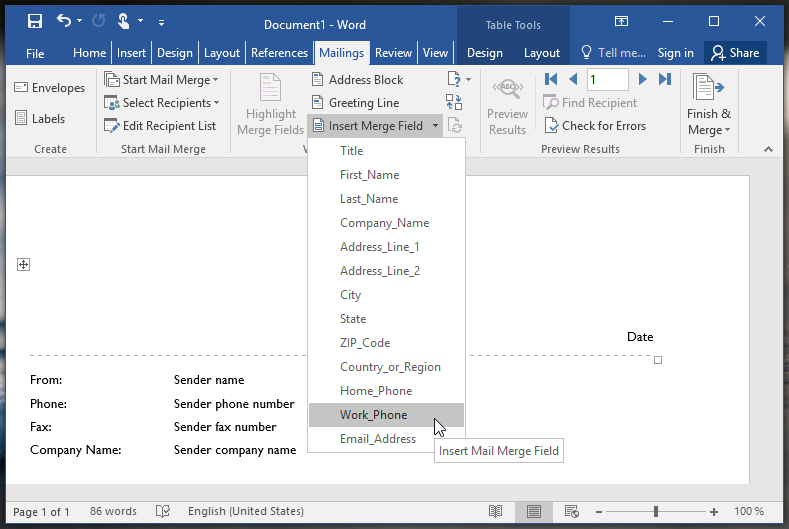
Now, to insert Merge Fields, select the Mailings tab, then click on Insert Merge Field, then choose your own merge field. Repeat this process to populate your document with the right merge fields to complete your document. Once you’ve finished, save your letter. Then, anytime you need to create another letter, just bring this up as your template. This is your Form Letter.
Now comes the moment that you’re waiting for, merging your document. Select the Mailings tab once more, then click on Finish & Merge -> Edit Individual Documents. Select the radio button that shows All and then click OK. And that’s it. You can now preview your document or print it.