How to Restart Numbered Lists in PowerPoint
Often, we’ll come across topics that have long comprehensive lists. You may not be able to present it in any other way and this can present a lot of problems for you as a presenter. Design-wise, having a long list of text can look boring. There’s not much you can do with it. Furthermore, it may easily turn off your audience come presentation time. In this post we will show you how to restart numbered lists in PowerPoint.
There has to be a way to make numbered lists easier on the eyes, more attractive, and a whole lot more captivating. By doing so, you also make it easy for you to make your text match and coordinate with your slideshow, theme or design.
Confidently Use Numbered Lists in Your Slideshows
The problem with numbered lists is that when in a slide, the more items or lines you put, the smaller the text will automatically become. While you can still read it on your computer, it may not be so easily readable for your audience who may be on the far side of the auditorium. Furthermore, too many lines of text can be boring, so it’s best to break them down into two or more slides. However, the problem now lies in the numbered lists always restarting automatically whenever you do this on each slide in PowerPoint.
Having a numbered list restarting on itself as you move your lines to another slide can be frustrating. It may also confuse your audience into thinking that the next list is separate from the ones you are discussing. You can solve this right within PowerPoint by knowing some simple tricks.
By default, PowerPoint numbers your list starting from 1 on every slide. Therefore, if you’re only to continue your list to another slide, the number will start from 1, unless you specifically customize it. Just follow these steps.
Restart Numbered List for Each Slide in PowerPoint
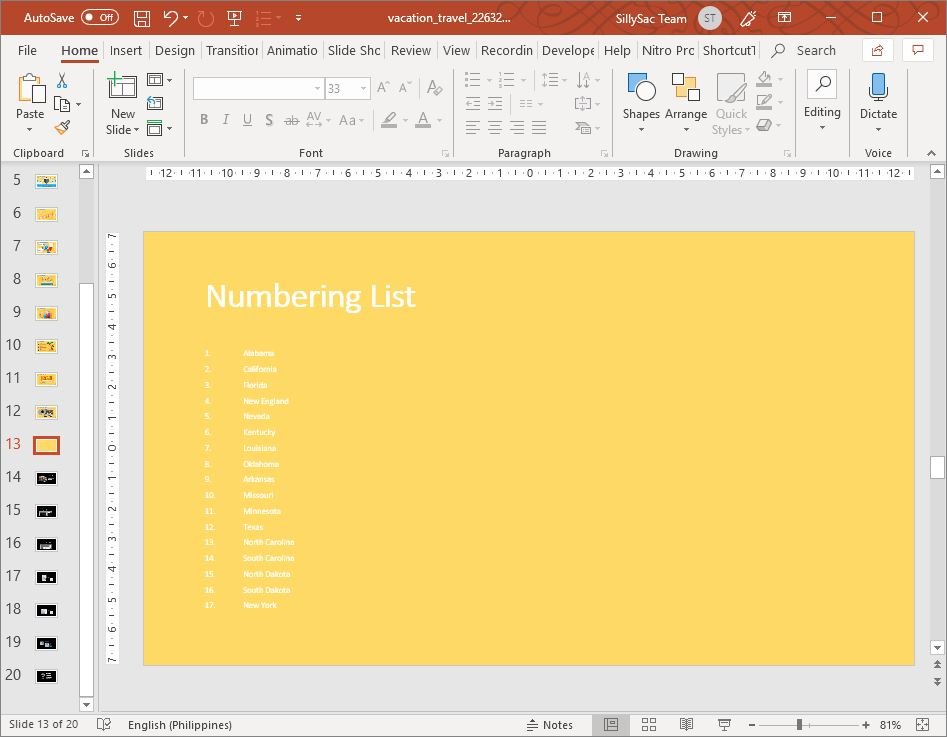
First, make sure the PowerPoint you’re working on is open. It must have your list, or if not, create one already. This is supposed to be all in one slide, so the text is fitted within the placeholder, making its size small. It will get smaller still as you add more items or lines in your list.
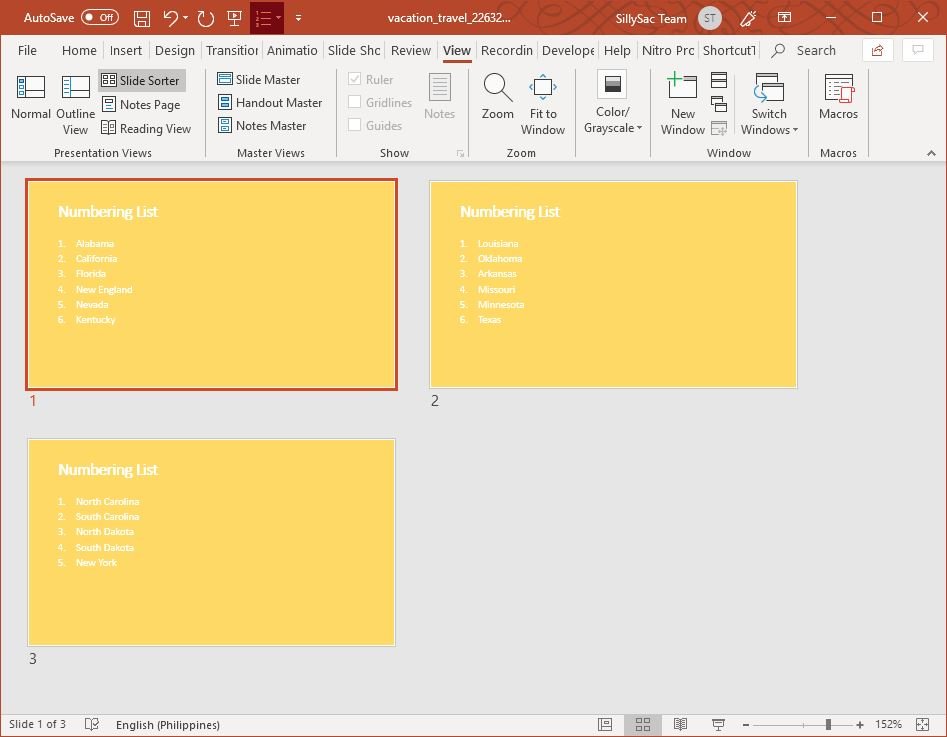
Now, go to the Slide Sorter View, under the View tab in the Ribbon. Here, your workspace will now be full of the slides you’re working on. They are displayed side by side. Select your numbered list slide. Then, Press CTRL+D twice to create two duplicates of that slide.
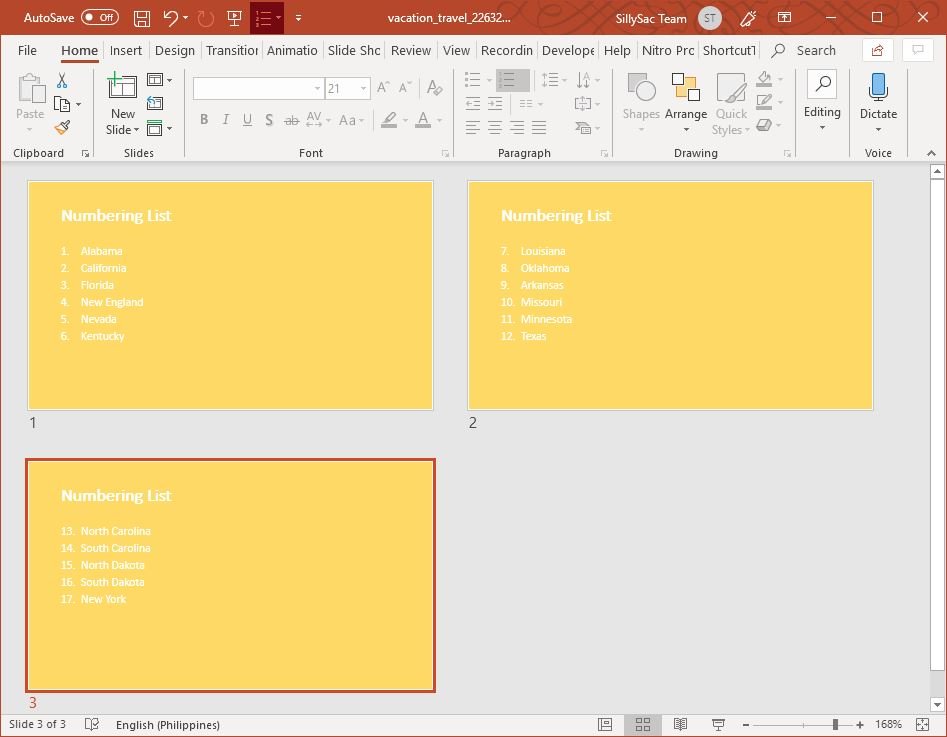
Now that you have a total of three slides with the same list, divide your content. For example, items number 1 to 5 goes to Slide 1. For Slide 2, retain only the items from 6 to 10. As for Slide 3, retain 11 to 15. You will see that the items have a continuation even if their numbering still starts from zero for each slide.
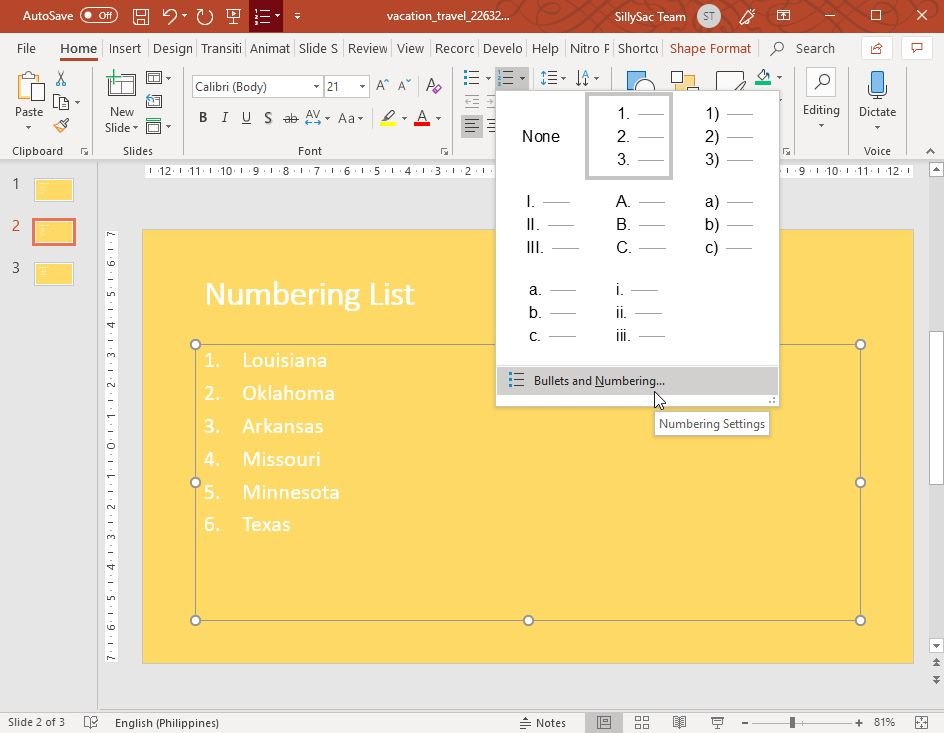
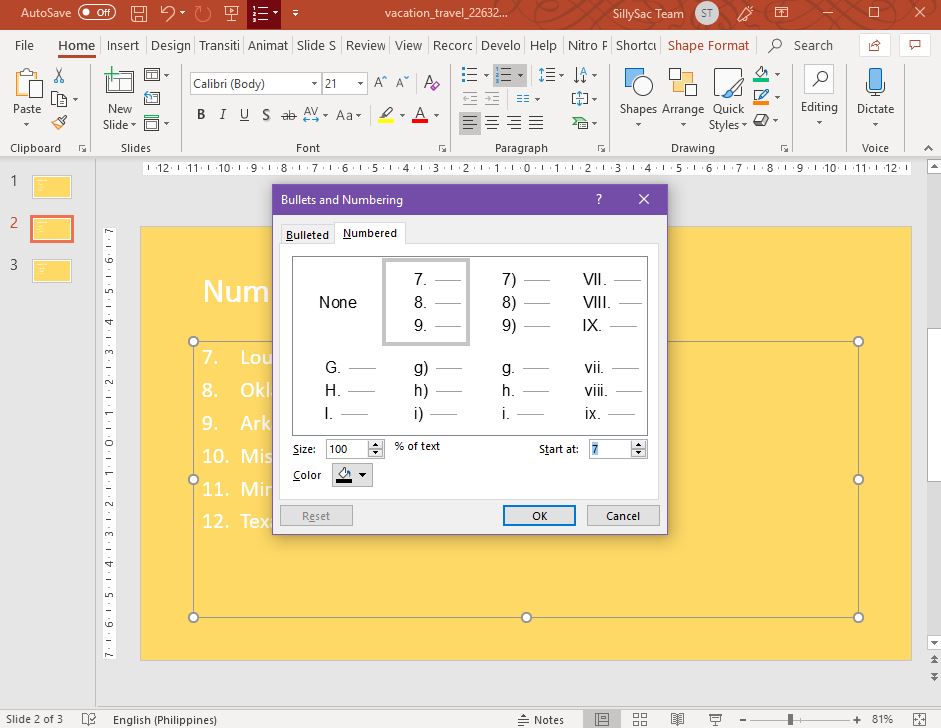
To correct this numbering, go to the second slide, which you want to change from 6 to 10 in terms of numbering. Select the entire placeholder for Slide 2, then go to the Home tab Ribbon, and click the arrow side beside the Numbering button. This will give you the Numbering drop-down gallery, wherein you can choose Bullets and Numbering formats.
Once you choose this option, the Bullets and Numbering dialog box will open and here, under the Numbered tab, you can choose the “Start at:” option which is set to “1” by default. You can change this to 6 to continue where you left off. Then, click OK to apply your changes to your second slide.
Repeat these steps for your succeeding slides, taking note the sequence of the numbered lists. You will now see that you have divided the long list into a couple more slides. This way, you can make sure every item on your list is clearly readable and fits your theme as well.