How to Remove Protected View for Office Files
If you’re always on the internet, as most people are, then you know better than to download files without scanning for viruses. Files that you get from the Internet, especially from unverified sources can be harmful and dangerous. Aside from EXE files, documents can also be dangerous. This is why apps themselves will warn you of opening documents, spreadsheets, presentations, and other files as they may contain harmful viruses. You can remove Protected View for Office files by following the steps given below.
Protected View Status on Microsoft Office Files
Microsoft Office for one, can allow you to open files from the internet, but it will not readily allow you to edit it unless you allow it to. This is why some files from the internet are in protected view. This is actually for your own protection, and it may even include the files that you have downloaded from your own email.
Still, this shouldn’t stop you from working on the file. If you’re worried about having to start from scratch because you can’t open the file you need, worry not. You can actually remove the protected view for the files you open using any of the Microsoft Office programs.
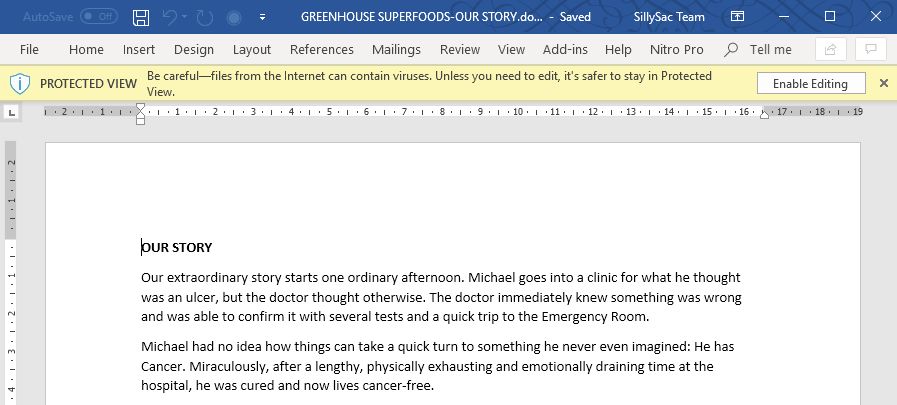
You will know that your file is in Protected View when you see a “Protected View” bar on top of your file with a message that serves as a warning, as files from the internet may contain viruses.
Remove the Protected View of an Office File
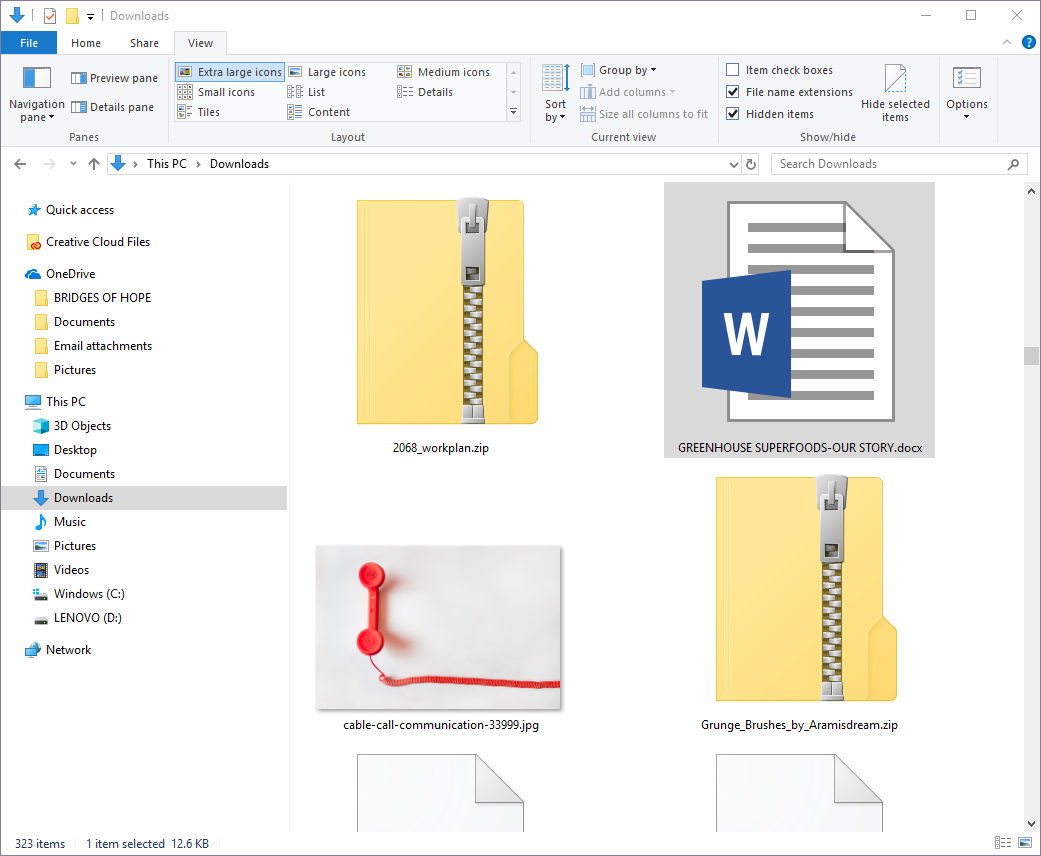
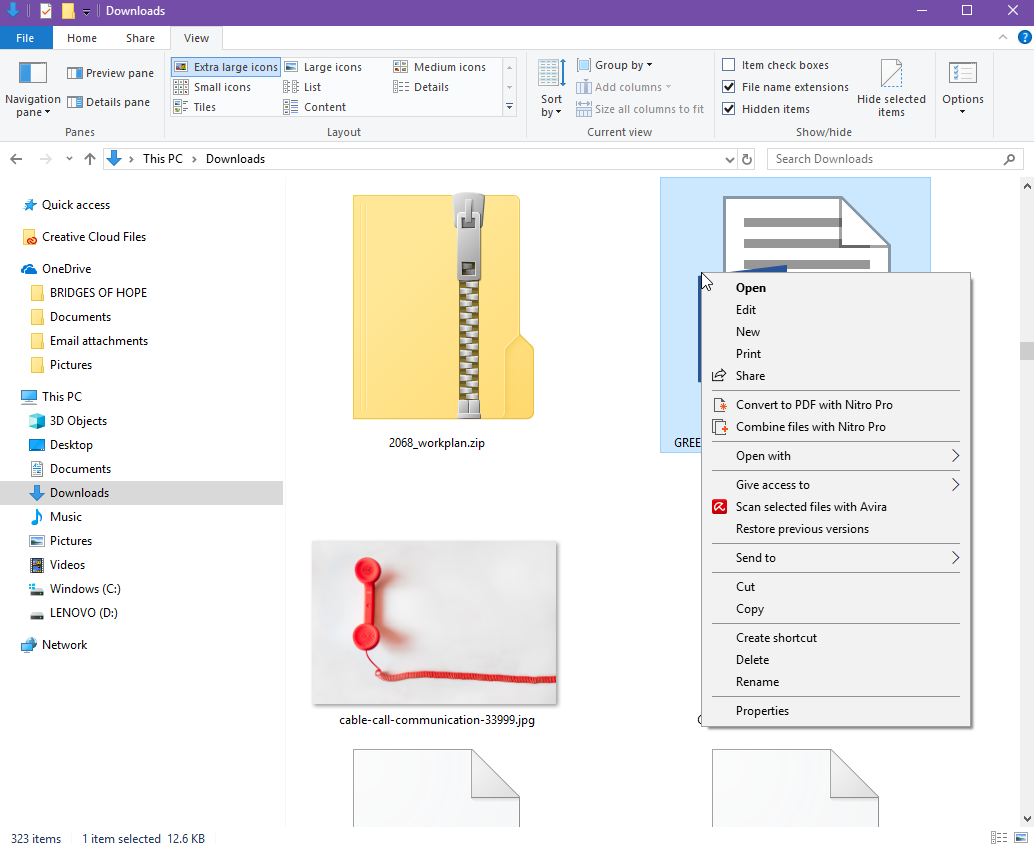
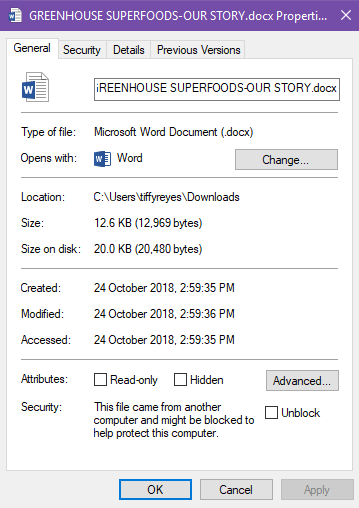
To remove the protected view status of a file you have downloaded, just go to Windows Explorer and search for the file in the folders. Once you see the file, right-click it and select Properties. A dialog box will appear, and here, under the General tab, which usually is the one you see first, look for the Security section at the bottom. Here, you can read the security message and then there’s an Unblock button. Just tick this Unblock box and click Apply -> OK.
Now, you can go ahead and open the file and you will not see the Protected View bar at the top of your document, slideshow or spreadsheet.
This function applies on the selected file alone. If you have other files who are on Protected View, you have to remove the Protected View status of each file using the process we discussed above.
Don’t worry, this step is applicable to all Microsoft Office program files. Any spreadsheet, PowerPoint presentation or document that can be opened using any Microsoft Office program can have its Protected View status disabled this way. Yes, you can use this approach to disable protected view for PowerPoint files as well. If there’s no option to do so, you have to check with the app’s settings or its own security setting if there’s another option for disabling the Protected View status of the file.
Remember, once you have removed the Protected View status of the file, you can’t bring it back. If you need to add protection to your document, you have to check with Microsoft Office for other options to protect the document, such as restricting people from editing a file or protecting the file with a password.