How to Make a Calendar in PowerPoint using Shapes and Tables
Last updated on April 12th, 2025
In this tutorial, we will be creating a calendar in PowerPoint. This task is an easy one with only a few steps unless you’re seeking to take the long way around using a table.
There are different approaches to make calendars in PowerPoint. Some of these approaches will involve the use of Excel calendar, which helps making dynamic calendars that are data-driven, then we can also choose another way of making calendars using pre-defined calendar templates for PowerPoint. Another apprach to make calendars is explained in this article about how to insert a calendar in PowerPoint.
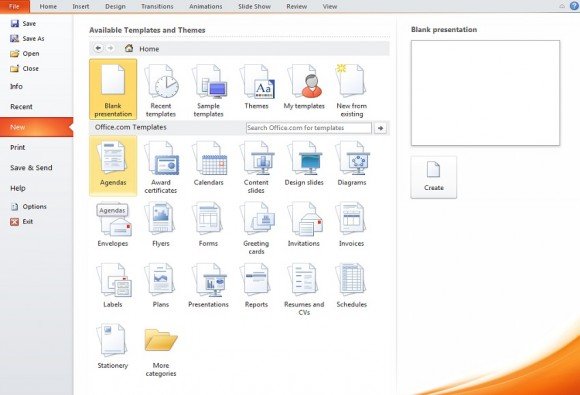
To create a calendar in PowerPoint first click on File and go down to New. Here you will see a variety of templates as well as Calendars.
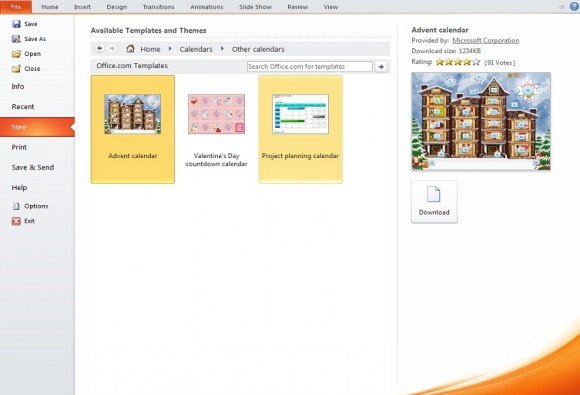
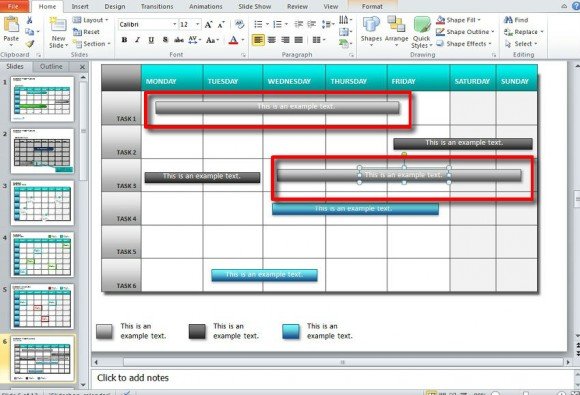
Under Other Calendars there is an interesting calendar that can be used for project planning. Double click on it.
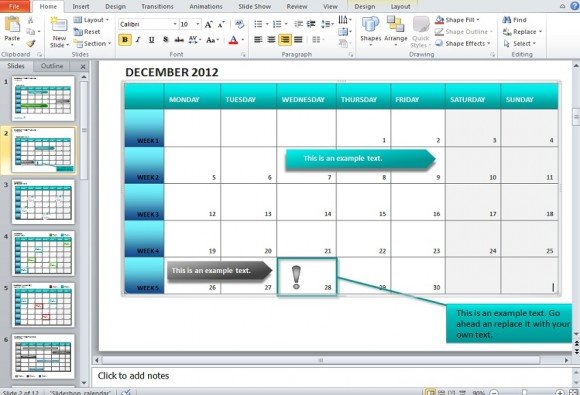
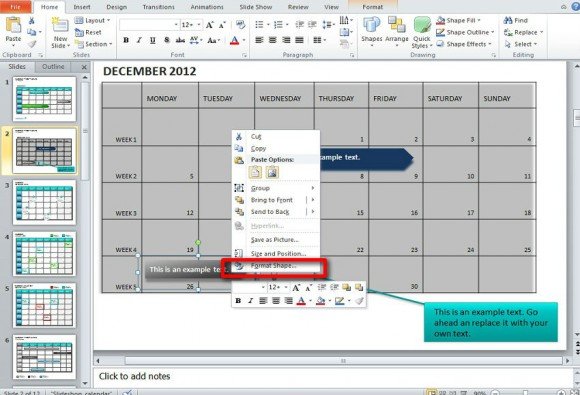
With this it lays out several kinds of calendars and schedules. If the days on a calendar are out order or out of date, you can click on a square and add the day or edit the entire calendar’s dates.
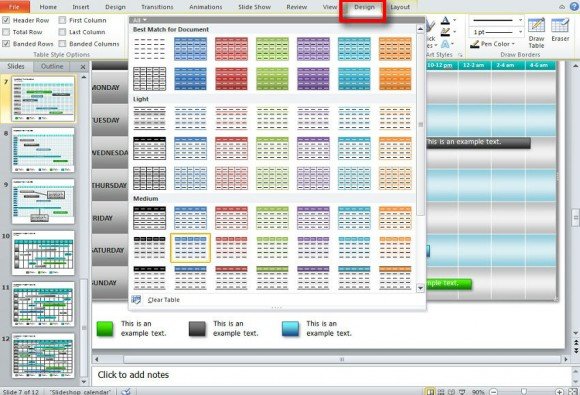
By going to design you can change the color and style of the active slide. You can also change the color of the entire calendar by selecting Table Styles.
By right clicking on a shape or object such as an arrow or focusing box and going to Format Shape and changing the color how you wish. If you need an extra shape, simply go to insert and choose one from Shapes. Right click the shape once done, go to Format Shape and edit it as you see fit.
If you select a shape and copy it, you can paste it anywhere instead of having to create a new shape and editing it to match your theme.
When you find a calendar the suits what you need and you’d like to use it more than once, you can right click on the slide and select Duplicate.

That’s all there is to creating and editing a calendar in PowerPoint. You will just need to pick a slide template and edit it accordingly. The same principles of editing text applies for the most part, so just click in a text box with default data and edit it as you need. Once done you’ll have a calendar or schedule that you can display within PowerPoint.