How to Invert a Picture in PowerPoint
PowerPoint provides a number of options to edit images. You can stylize an added image, erase image background, crop image, add artistic effects, use color correction filters and even invert a picture in PowerPoint. Inverting an image can help you flip or rotate the image to suit your presentation needs. Furthermore, it can help you avoid using advanced image editing tools, as you can simply edit the image in a few seconds within PowerPoint.
Inverting an Image in PowerPoint
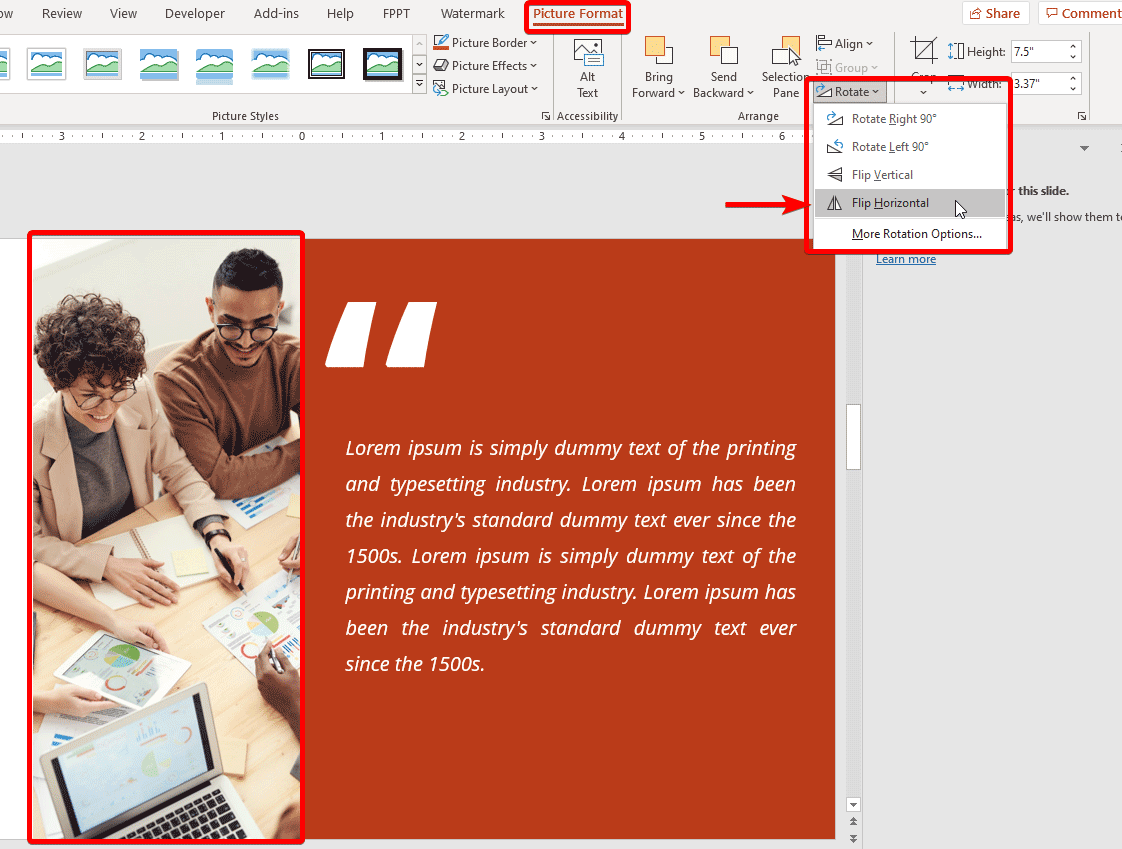
Step 1: To invert an image in PowerPoint, select it and go to Picture Format -> Rotate Objects.
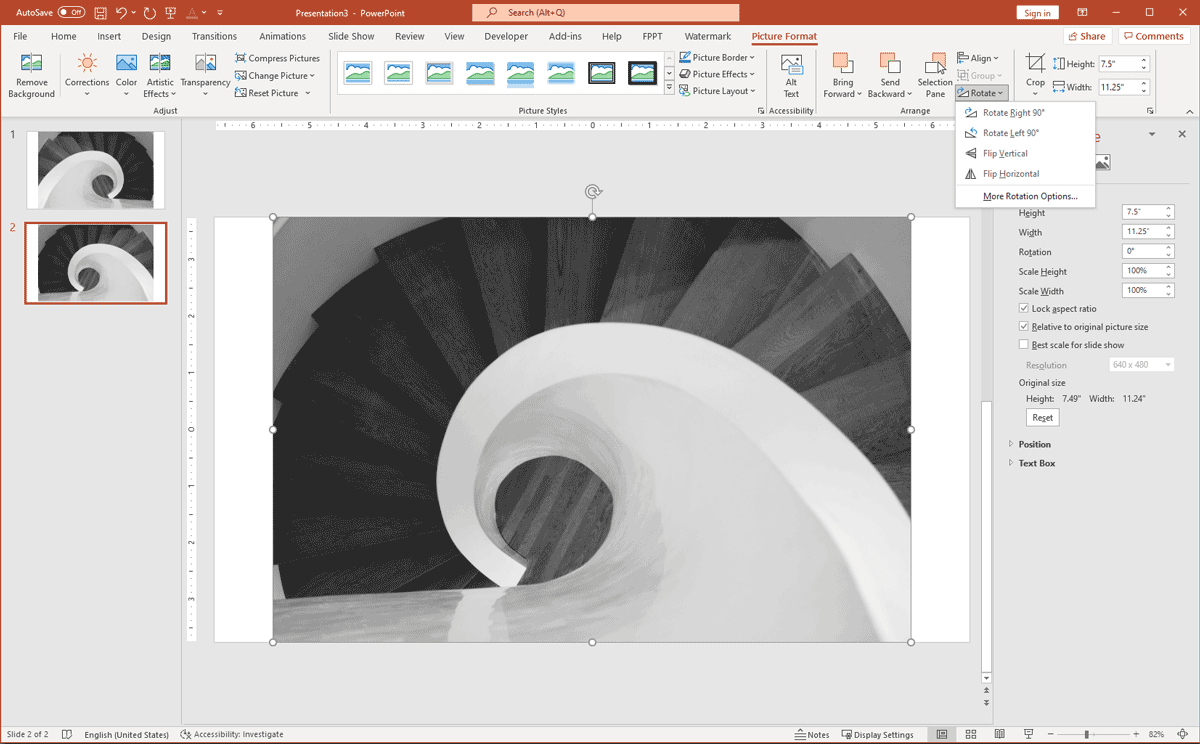
Step 2: From the Rotate Objects drop down menu you can rotate the image left or right by 90 degrees, flip it vertically or horizontally.
Advanced Image Rotation and Adjustment Options
While the aforementioned options enable you to perform basic rotation and flip for your image, you can go to the Size and Position via right-click menu to bring more rotation options from the right side pane in PowerPoint to format the picture. These options enable presenters to pick custom rotation settings for the picture, as well as enable editing the height, width, horizontal and vertical position, etc.

Reset Image to Original Format
If you want to restore the original picture size and format, you can press the Reset button via Size and Position.
The rotation option for objects in PowerPoint works the same as image rotation. For objects, go to Shape Format -> Rotate Objects. Similarly, objects have the same menu for image adjustment via editing options available from Size and Position options available in the right pane.