How to Fill a Shape with a Picture in PowerPoint
Last updated on November 9th, 2024
In PowerPoint you have many different fill options. These options are similar than filling the background of a PowerPoint slide, but you can also apply fill effects to shapes and other elements.
This article will show you how to fill a shape in PowerPoint using a photo or image. You can choose your photo from your hard disk and then apply the photo to any shape. In this example, we will use a rectangular shape in PowerPoint, but you are welcome to try with any other conventional or strange shape.
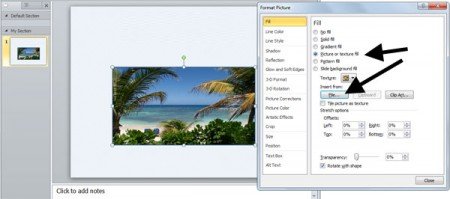
Finally you will see that the photo is applied to the shape as shown below.
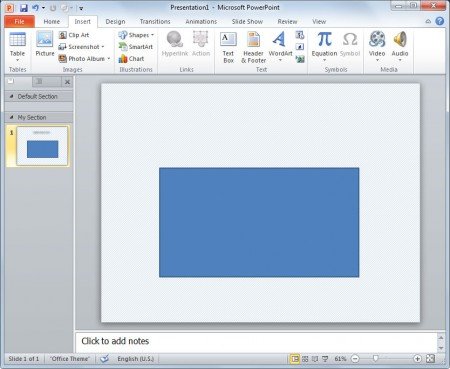
Draw a basic shape in PowerPoint slide and then right click in the shape to display the menu.

How to crop picture into shape in PowerPoint
Then choose Format Picture and then Fill. Then choose Picture or Texture Fill.
Here you can choose the file from your computer and then accept and the image or photo will be applied to the shape.

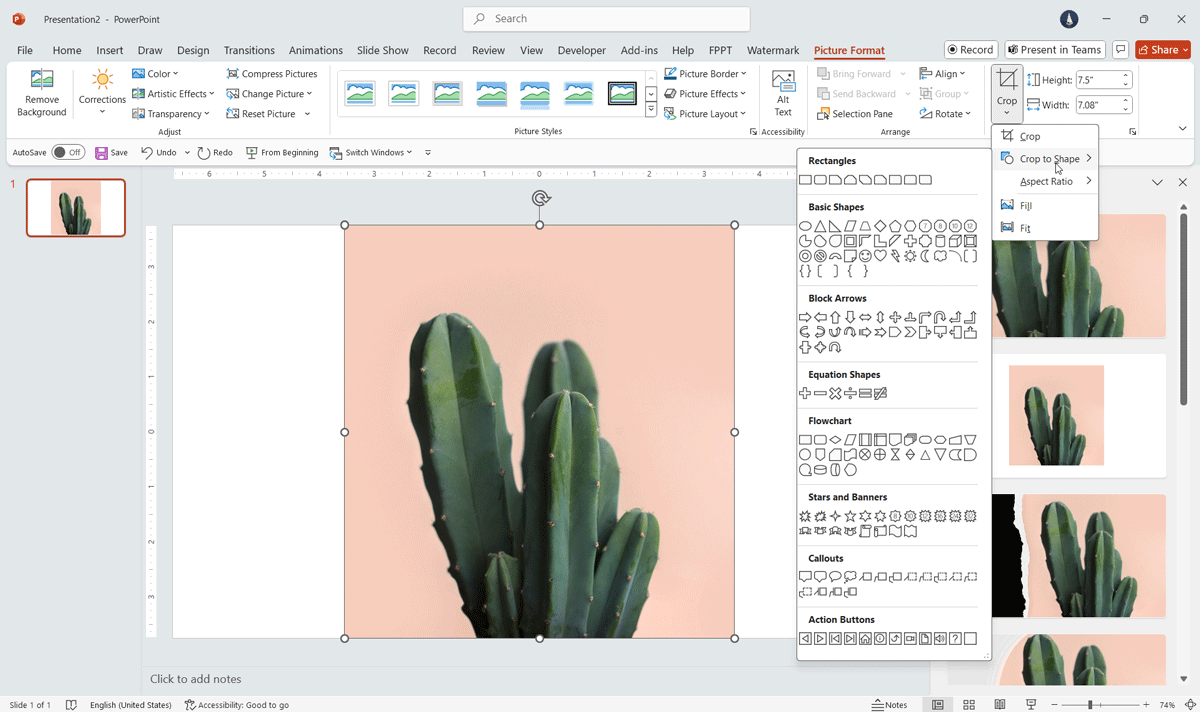
Alternatively, you can insert a picture in PowerPoint and then Crop to Shape.
How to crop picture into shape in PowerPoint?
To crop a picture into shape in PowerPoint, you can basically use the same approach.
For the sake of this article, let’s demonstrate how this works using a picture from a Stock Image in PowerPoint.
Insert the picture you want to crop into a shape. Then select it and go to Picture Format, and choose Crop. Here, click Crop to Shape and select the shape you want to use to crop the picture.

This will help cut pictures to shape in PowerPoint, similar to what we explained in our article about creating rounded corners in PowerPoint.

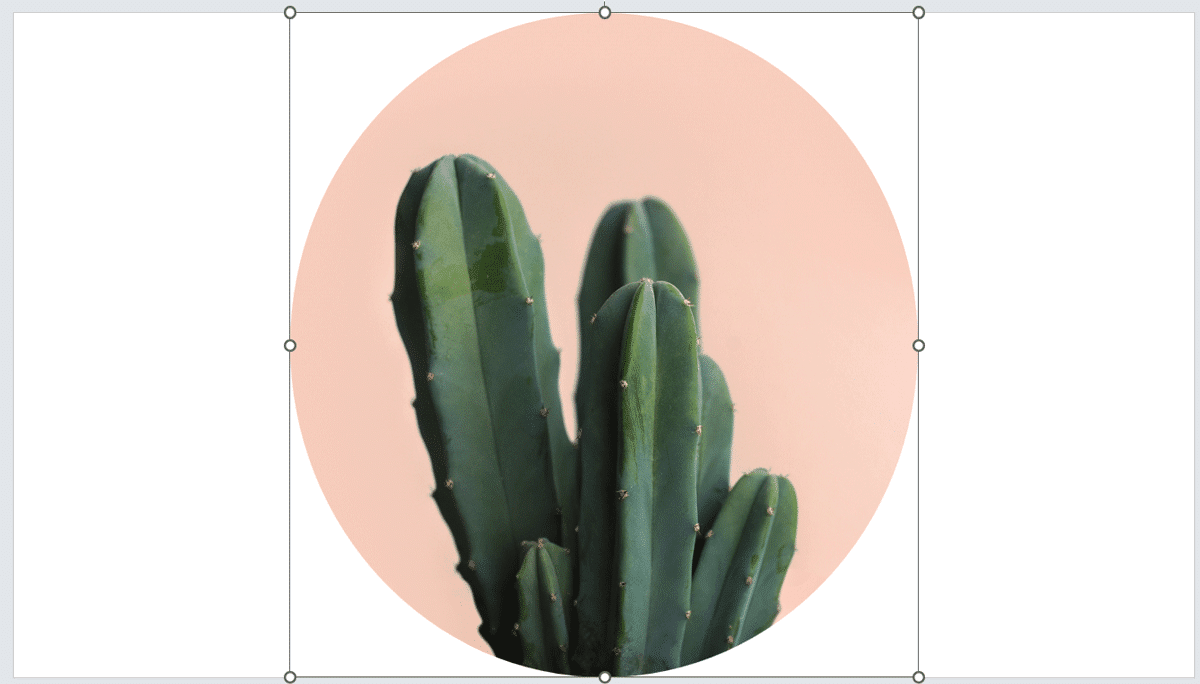
As we can see in the example above, the picture is now cropped into a Circle shape. But you can use other figures or shapes, any shape available in PowerPoint can be chosen.
