How to Configure Grid & Ruler in PowerPoint
Last updated on January 3rd, 2025
PowerPoint can be configured to use a grid system and rulers, however these options have different uses depending on your needs.
- Rulers are great to keep control about the width and height of the presentation slides as well as placing and keeping control of shapes and objects positions inside the slide. Rulers let you determine and measure where your objects are placed in relation to each other on one or more slides.
- Grids can be considered as a series of imaginary horizontal and vertical lines equally spaced over the entire slide area.
A third feature that we will consider here are snap rules, which let you snap objects to grid or to other objects. This is great to keep elements, including graphical objects, shapes, etc. equally positioned so you can keep the overall proportion and objects aligned in the slide while creating a PowerPoint presentation or a PowerPoint presentation template.
In order to configure grid, rulers and snap rules in PowerPoint, you need to click somewhere in the PowerPoint background and then choose Grid and Guides to see the grid options, or Ruler option to display or remove the rulers from the edges.
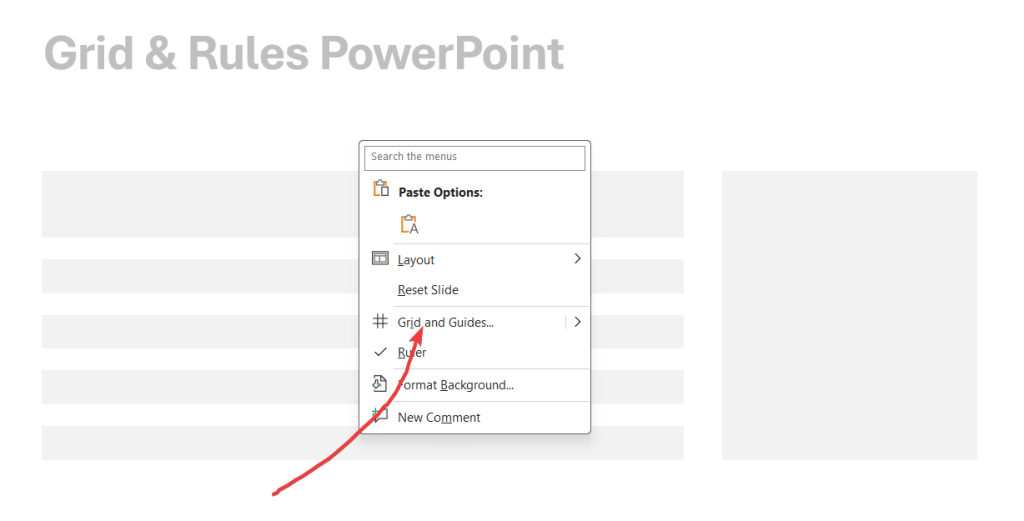
Inside the grid options you can find several options that include: PowerPoint Ruler settings, Guidelines, Guides and more. See screenshot below:
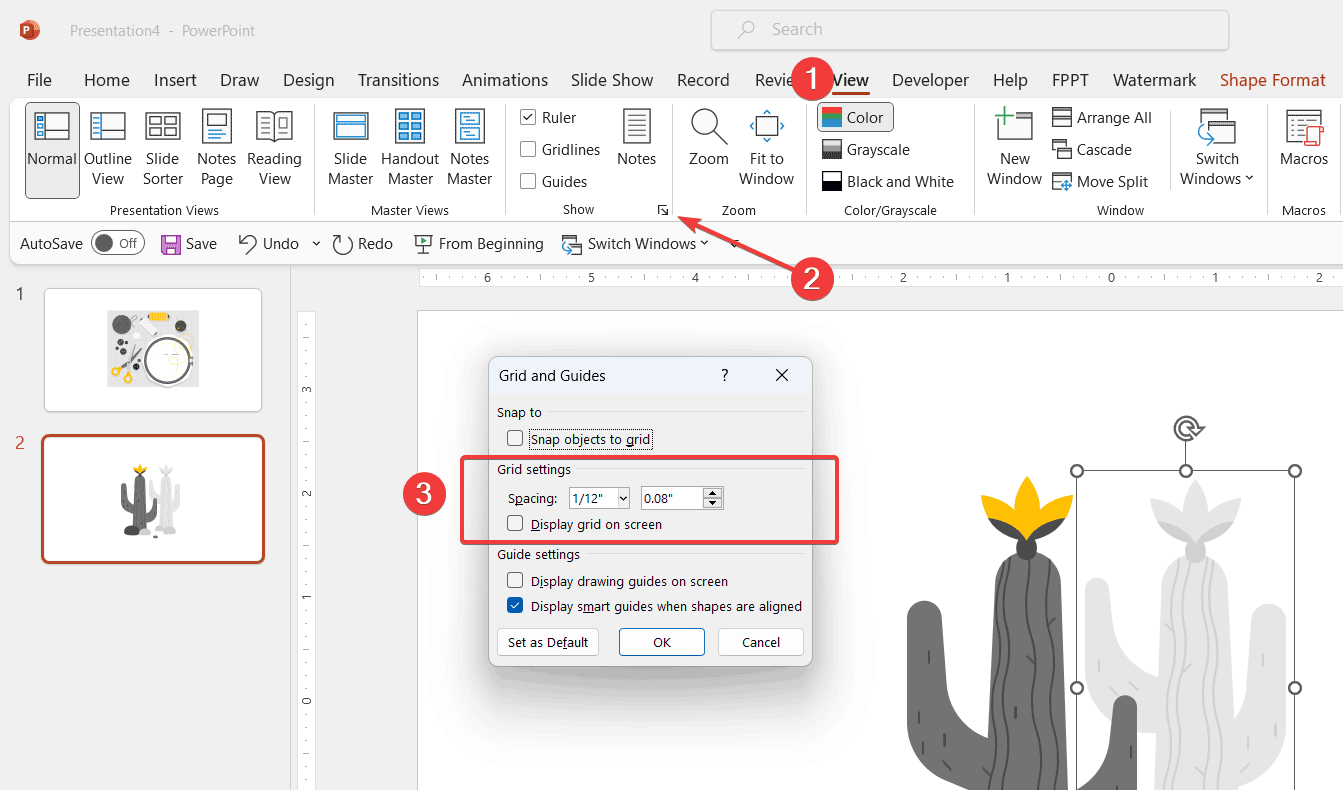
- Snap to. Checkboxes that let you choose if you want to snap objects to grid or other objects.
- Grid settings. Let you configure the grid spacing in PowerPoint and decide whether to display the grid on the screen or not.
- Guide settings. Let you choose to display drawing guides on the screen or display smart guides when shapes are aligned.
You can set up the grid system to be used as default for all future presentations or just for the default presentations.
It’s worth noting that the unit of measurement in PowerPoint is tied to the system settings, and changes must be made there if a different measurement system is desired. If you want to change the measurement unit from Inches to centimeters, or from centimeters to Inches, you’d need to do this from the system settings.
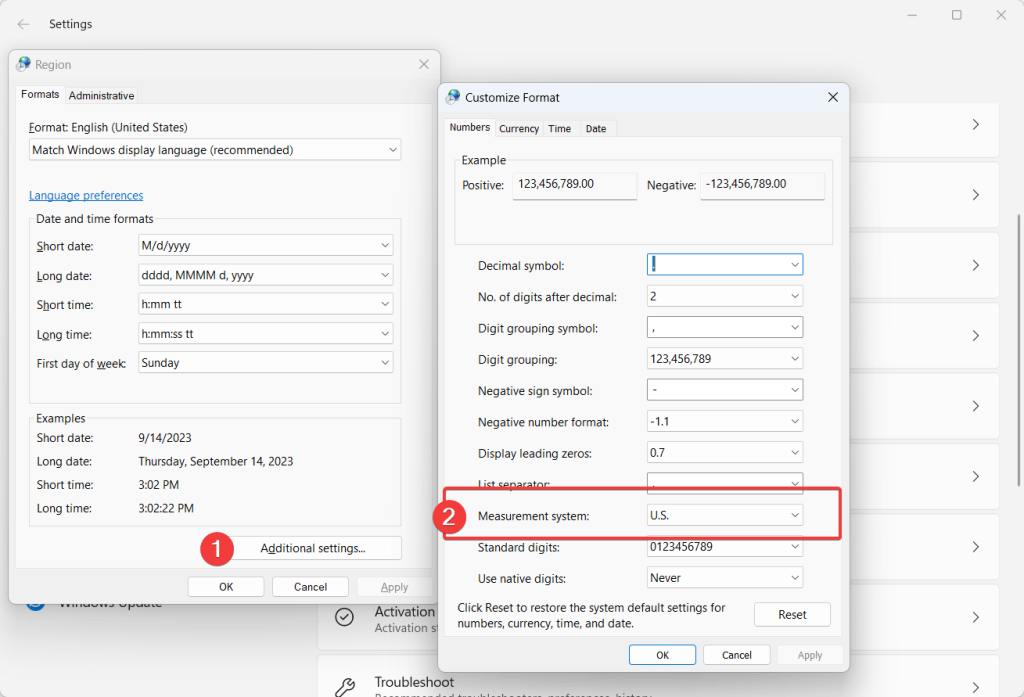
As you can see in the screenshot above, the Measurement system is currently set to US.
In conclusion, PowerPoint offers a comprehensive set of tools in the form of grids, rulers, and snap rules to aid in precise and symmetrical design of slides. Rulers assist in maintaining control over dimensions and object placements, while grids provide a structured layout for balanced design. Snap rules enhance accuracy by ensuring alignment of elements relative to each other. Accessing and adjusting these features is straightforward through the Grid and Guides option, and users can even set their preferences as a default for future presentations.