Slides for Comparison using 3D steps in PowerPoint
Sometimes we need to make comparisons in PowerPoint. Imagine we need to compare between 3 different options. The standard way to do this is using 3 columns and spread them into the slide.
However, we can use some nice 3D shapes in PowerPoint to make comparison slides easier to understand. For example, if you play with the size and colors you can make your audience know more than just comparing with 3 columns with the same size.
You can use the sample above to compare tables instead of elements. By inserting three tables and the table dataset then you can compare the tables row by row.
Slides for Comparison using 3D steps in PowerPoint
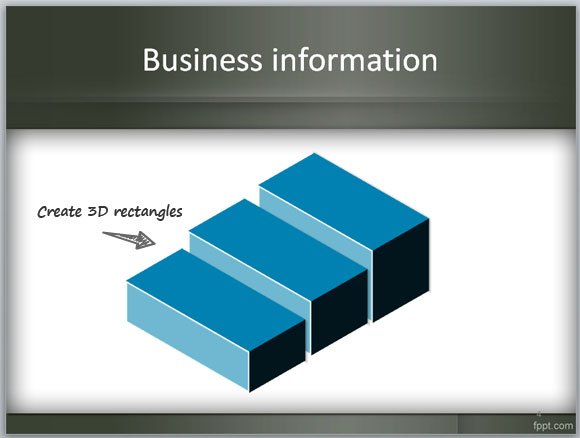
Here we will use 3D steps created in PowerPoint and using only shapes to create a nice comparison 3D object.
You can start reading the How to create 3D rectangles in PowerPoint using shapes, that we published earlier. There we show you how to create a 3D Shape in PowerPoint.
Then you can copy and paste the box or rectangle multiple times and adjust the size to match a 3D Perspective like the image below. Notice the 45 degrees in the design. This can be changed in the shape properties, but it is a good idea to keep the 45 degree property if you are planning to use our 45 degree business characters and icons.
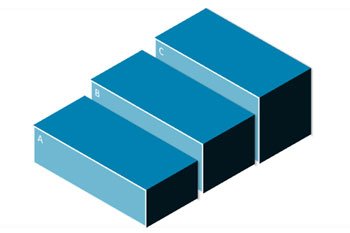
To make comparison clear, you can add some text to the boxes or rectangles, or change the colors so you can compare different things. You can apply this idea for comparison where different levels and size can share ideas with the audience. For example if you want to create a basic 3D chart in PowerPoint just using shapes.