How to Set Text Direction and Position in a PowerPoint Text Box or Shape
Last updated on October 17th, 2023
When working with PowerPoint, you have to be creative. You have to match your creativity with your message, and meshing these two can be tricky. However, it doesn’t mean you have to be an expert graphic designer to create stunning presentations. You might want to experiment with text direction and position so that it doesn’t have to look predictable or dull all the time. You can do this by changing the direction and position of your text. Here is how you can set text direction and position in a PowerPoint text box or shape
Set the Direction and Position of Your Text
Setting the direction and position of your text box in PowerPoint is one of the basic tasks you will learn. The same goes with shapes that have text in them. This can be done it you’re using SmartArt or other graphics and you want your text to show most clearly so your audience can read them. The text may be labels for your shapes or simply ideas you want to emphasize.
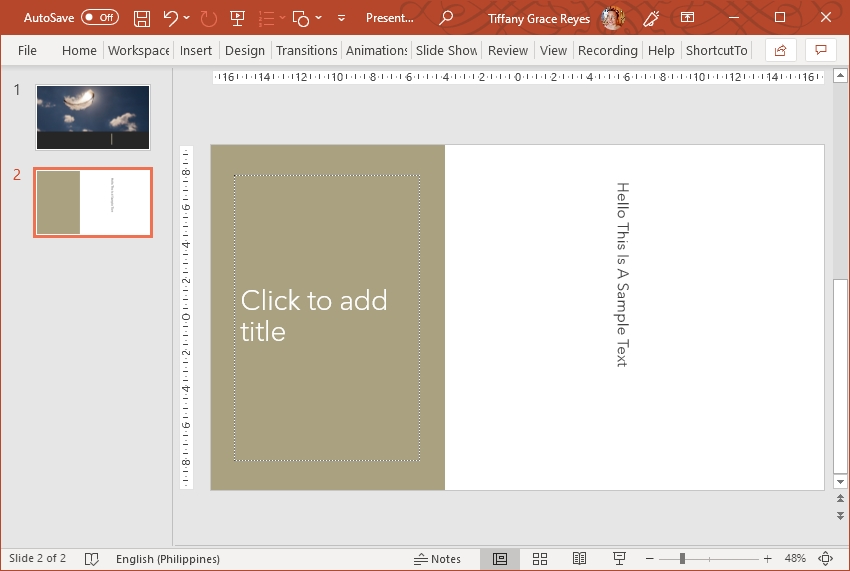
You may position a text in a text box or shape horizontally or vertically. You may also pivot the line of text so it’s read sideways, in either direction. It may also appear as one line or wrapped to multiple lines. It is up to you to decide how you want to present your text and how it fits in the rest of your slide.
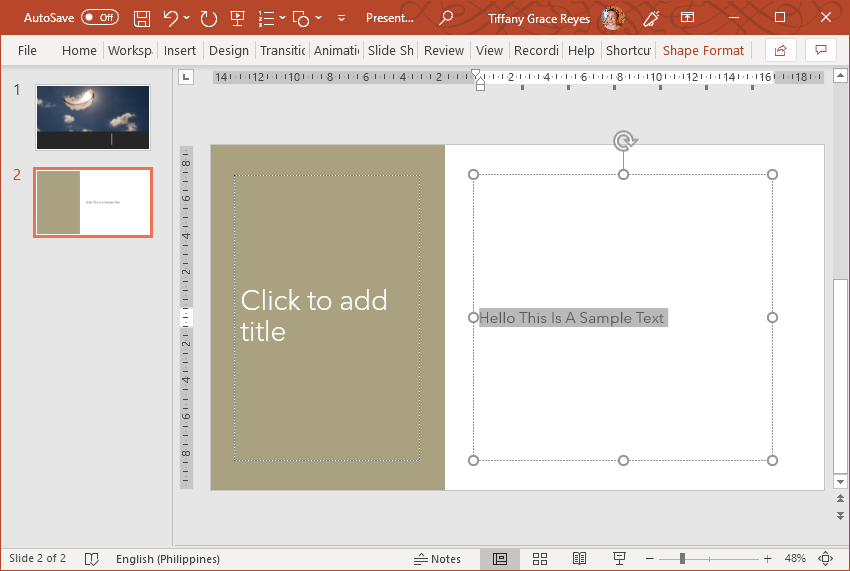
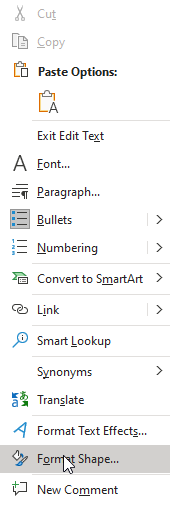
To specify text direction in a text box or shape, you should start with your PowerPoint presentation or any presentation template that you have already filled with your text. Then, right-click the edge of the shape or text box to show the shortcut menu. Here, select Format Shape.
Once the Format Shape pane comes up, click on Size/Layout & Properties. Then, under the Text Box, select the option that you want in the Text Direction list. Here, you will see the Stacked option. This is available only in PowerPoint and Excel. However, this feature isn’t available in Word, at least at the time of writing this article.

By adjusting these format options, you can rotate the text to make it vertical. We recommend reading our quick guide on how to make text vertical in PowerPoint to learn more about this.
Create a Mirror Effect to Your Text
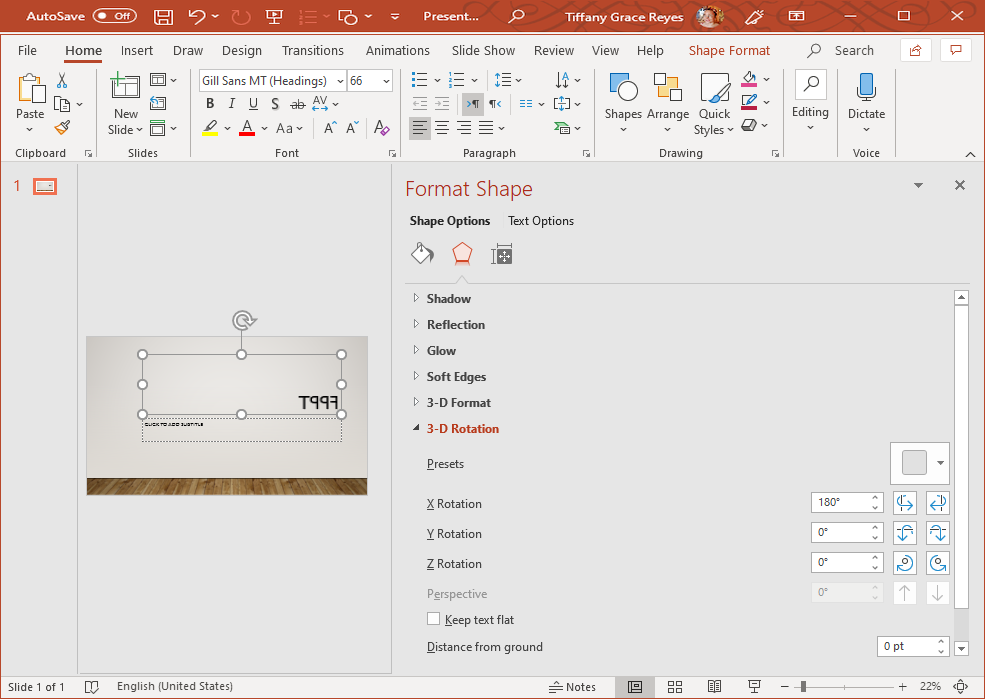
You may also mirror the text inside a shape or text box. This can be done to achieve a certain effect that you want for your slides. First, insert a textbox or shape in your slide. Type your text, then right-click the box or shape to pull up the Format Shape option. In the Format Shape pane, click on Effects. Then, under the 3-D Rotation option, enter the value “180”. You can enter this in the X Rotation or Y Rotation box, depending on how you want your mirror effect to look.
Now that you know how to play around with your text direction and position, you can be more creative with how you present your text in shapes or in its own text box.