How to Customize Your Outlook Inbox
Keeping track of your inbox can be a big drag especially if you have a thousand other things to get done. Soon, you’ll be surprised to see that going over your emails, contacts, and calendars have siphoned out most of your time, time that could have been spent on more pressing matters. When this happens, you’ll wish that there’s a better way to manage your emails and therefore be so much more productive. Actually, there is, with Microsoft Outlook. Here is how to customize your Outlook inbox in a few easy steps.
Work Smart with a Customized Outlook Inbox
While you can, of course, include add-ins to beef up Outlook’s functionality, one of the simplest things you can do to your inbox is to customize it. You can adapt it to the way you work so you can zip through your messages and get more things done. By customizing your Outlook inbox, you can more easily locate the contact information that you need, go to the message that you want to read, and basically, make your inbox less of a tiresome affair.
View Your Inbox the Way You Want
You may probably have your inbox in its default view settings for as long as you’ve been using Outlook. So, you may not know this, but you can actually customize the way you view your inbox.
To do this, you can go to the View tab on Outlook’s ribbon toolbar, and click on Change View.

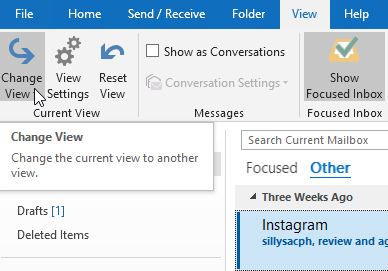
Here, you can see Outlook’s many customization options. There are several preset views to choose from, and, for example, you can choose the option that shows you your recent emails only.
In this same View tab, you can also choose to have the Message Previews turned on or off. You can also have the option to view 1, 2 or 3 lines of the message under the header. You can apply these options to your current or to all your mailboxes.
Meanwhile, the Arrangement options allow you to sort your inbox columns. You can view your emails according to date, sender, subject, and so on. You can add more columns as you want with this option.
You can also customize your Folder Pane and Reading Pane with the Layout option.
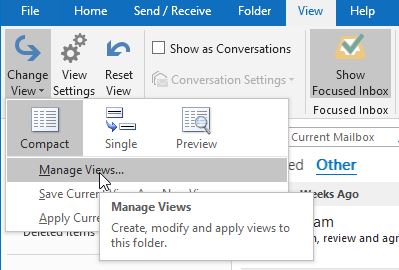
Once you have customized your Outlook inbox according to your preference, you can now click on Change View -> Save Current View as a New View. You can then set the name of this new view and specify which folders to apply this.
Redefine Your Read Emails
With Outlook, you can distinguish read emails from unread ones by differences in colors. It can be easy to mark an email as read, which can be a problem if you’ve barely glanced at it. This also makes it all too easy to overlook emails.
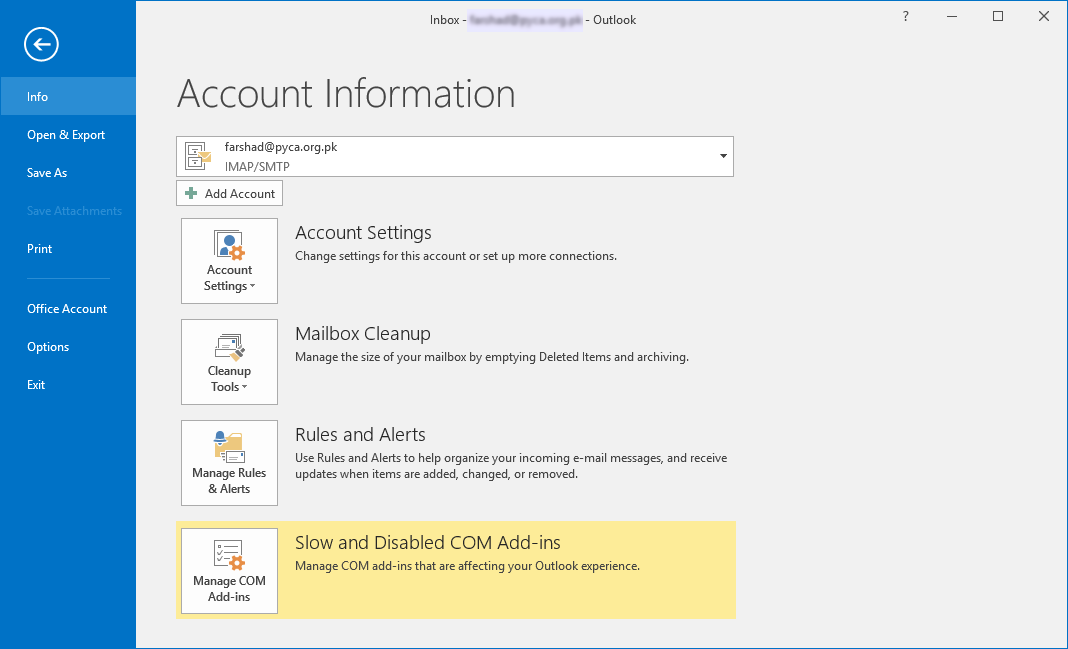
You can prevent this by selecting File -> Options -> Mail. Then, from here, click on the Reading Pane button.
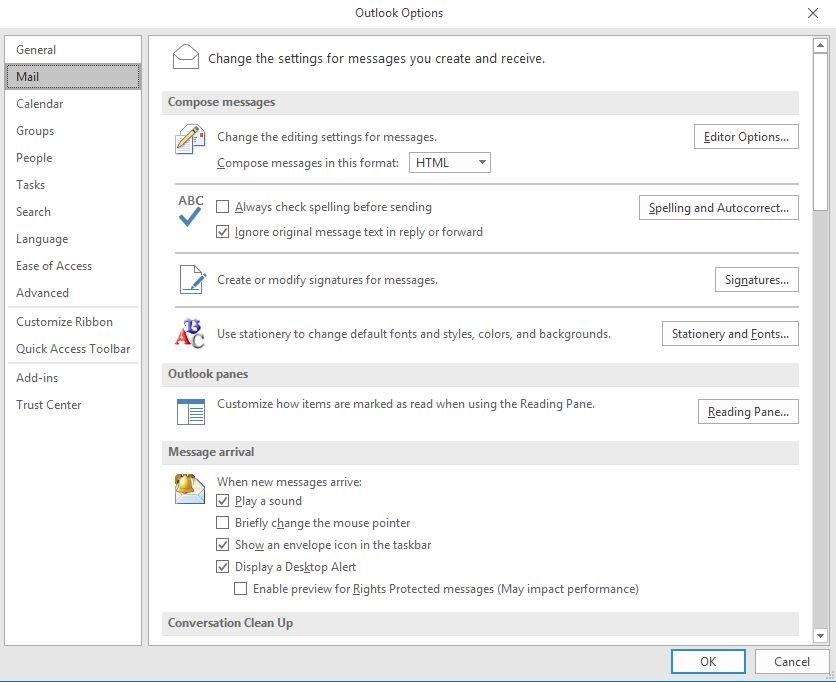
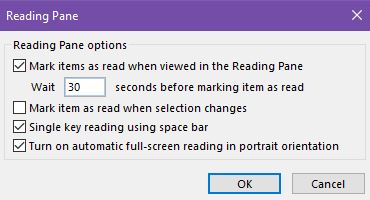
Under this option, you have many settings. Check the one that reads, “Mark items as read when viewed in the Reading Pane“. By default, Outlook automatically marks your messages as read after 5 seconds.
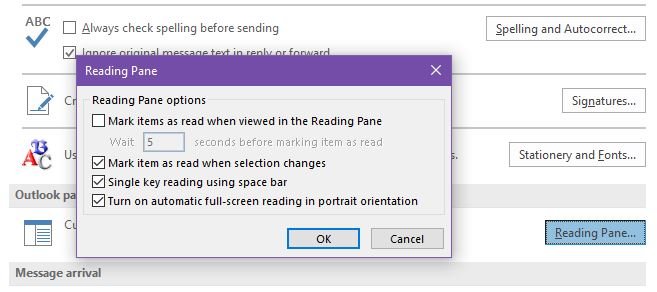
However, you can customize this. You can adjust the number of seconds you want the message to appear in the Reading Pane before your Outlook inbox automatically marks it as read. Once you have set this up, the messages that you preview in the Reading Pane for longer than 30 seconds are the only ones that will be automatically marked as read.
Create Rules for How Your Messages Appear
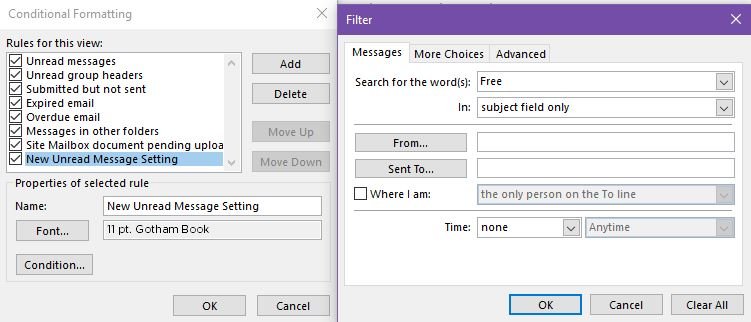
With Outlook 2013 and later versions, you can set the way your unread messages appear. There’s a blue bar on the left side of the inbox and the message header is also blue. However, you can change these elements using the Conditional Formatting options. You can even set your own rules and format your emails with whatever color you like.
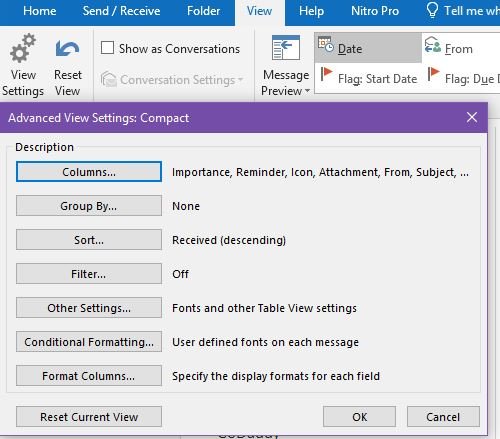
To do this, go to View -> View Settings -> Conditional Formatting. Here, you can change the color and font of your Unread messages.
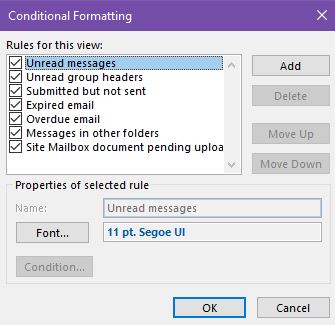
You can even add more rules by clicking on Add. You can type the name of your new rule in the Name box and then click the font and font color of your choice to apply to the email header.

You can then click the Condition button to set the conditions that you want your new settings to be applied. Then click OK to save your settings.
Now that you have customized your Outlook inbox to how you work, you can have a much better relationship with your Inbox.