How to Create a PDF Presentation from JPG Images
There are several reasons why you may be interested to make a PowerPoint presentation in PDF format from images. For example, recently we came to the need of saving a PDF presentation from Microsoft PowerPoint but unfortunately the PPT presentation had restricted fonts or fonts could not be
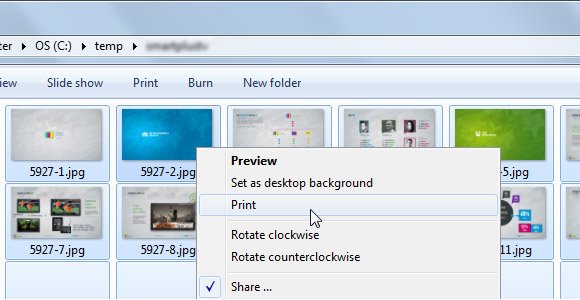
Make sure to select the images in the same order of the slides as you want them to be printed. Select all the files and then right click over the first file to choose Print option in Windows.
This will open the following Print Pictures window. Here you can choose the printing options and we will select PDF as the output. If you have a PDF software like Adobe PDF or Nitro PDF then you should see these options under Printer combo.
Also, make sure to choose the proper Paper size. In this example we chose a Custom Size 16:9 that was the original size of the presentation slide.
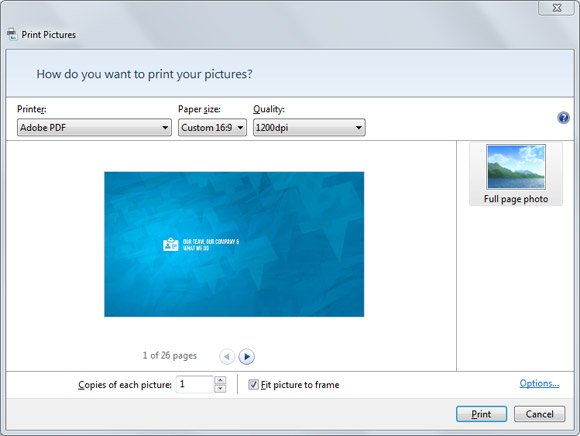
You can see a preview and move forward to the next pages (slides) to verify it is using the correct order.
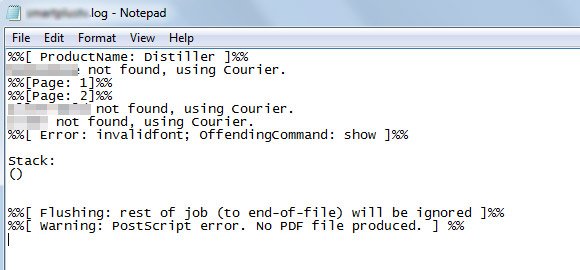
As a workaround, you can try to print your PPT presentation directly to PDF format using NitroReader. If you try to use Adobe PDF printing option you may get the PostScript error showing in the figure below but NitroPDF. If you are in Linux, then you can create a PDF from images using convert tool or ImageMagick. This response from SuperUser explains how to automate the process of creating a PDF from scanned images in Linux.
Then you can open the PDF using your prefered PDF viewer like Adobe PDF, CutePDF, PrimoPDF or free NitroReader.
This is an example of the error that you might get if you are using restricted fonts in PowerPoint.