Create a Label Tag Effect in PowerPoint Using Shapes
If you need to create sales templates using PowerPoint on any sales presentation, shopping or product label tag effect is useful to enhance your presentation slides. This tutorial shows how to create a label tag with PowerPoint.
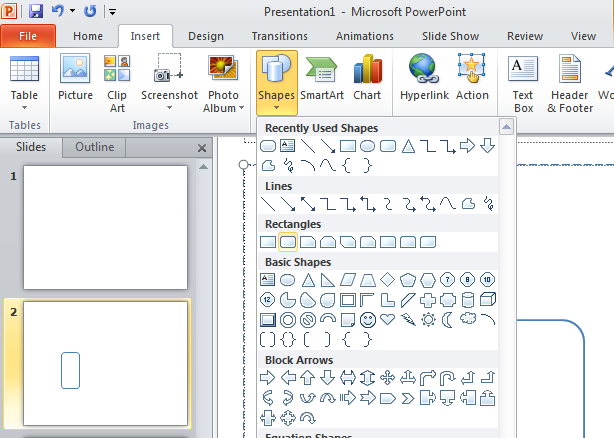
First, create a new plain template in PowerPoint. Open Microsoft PowerPoint and create a new slide to place the label shape.
Next, to create a label, use the rectangular with rounded border shape under Insert tab -> Shapes.
Now, we have the label border. We are ready to put a circle shape where our label can be attached.

Fill the background with a gradient color and change the circle background to match the slide background color. Right click on the shape and click on Format Shape option.
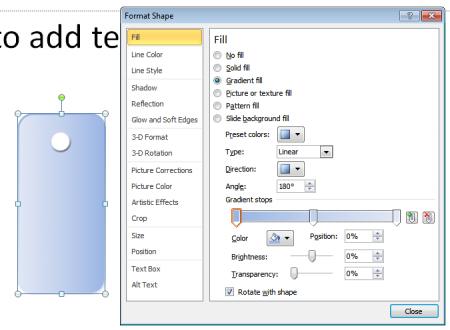
Choose the border properties and gradient color for your tag. These will enhance the label effect to make it look much better.
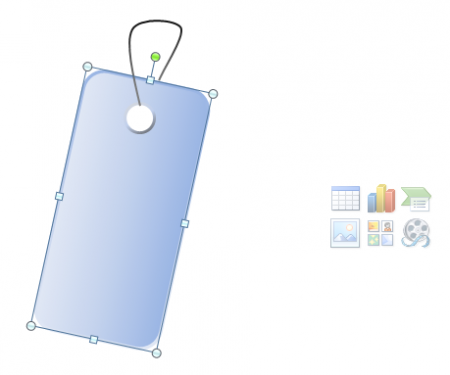
Use the free Shape effect to draw a curve line. You can find this effect on the Insert Shape menu. Start drawing a line from the small circle and click twice until reaching the top border. The curve line will appear like the image below. You can rotate the label for a more natural look. To rotate the label, click on the shape and locate the top green dot. Drag your mouse to rotate the label.
Finally, we got a label effect for our powerpoint presentation slides. You can group all the shapes in a single label or copy them as many times as you want. You can add some label text inside the tags.