Making and Publishing Brochures with Publisher
In this tutorial we will be looking at creating a brochure in Publisher from the templates available. Once you click on Brochure under the New tab, you’ll be greeted by a variety of brochures to use.
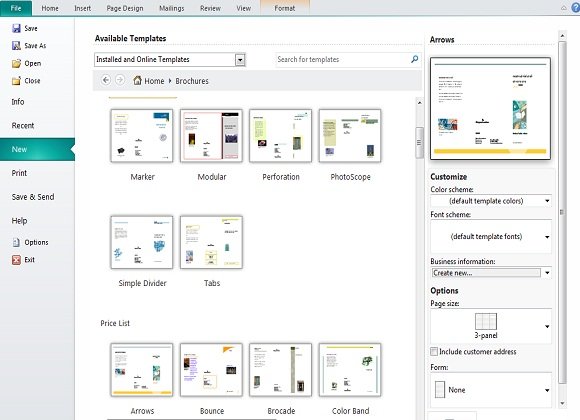
The brochures are set up by category. To the right you’ll find a quick edit box where you can edit color scheme, font scheme, insert business information beforehand, page numbers, and even add a form before starting.
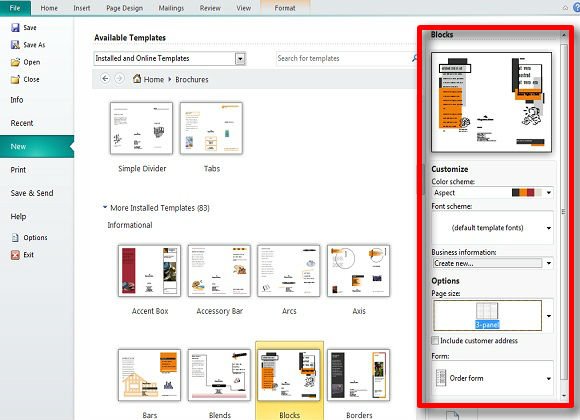
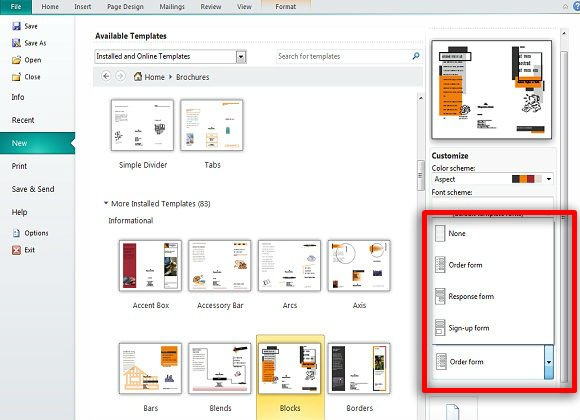
The forms included are an order form, sign-up form, and a response form.
Once you press Create, you’ll notice that there are two Pages to the left of the vertical margin ruler.
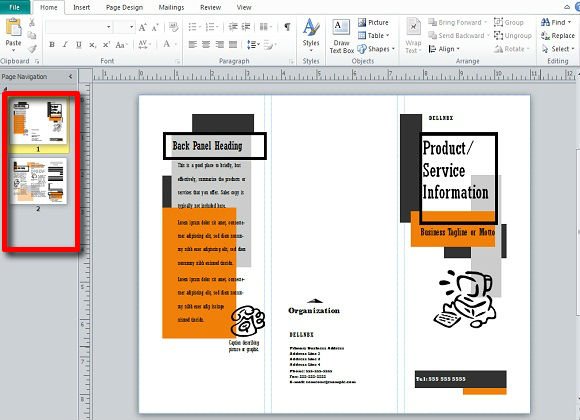
The first of the pages show the front page of the brochure prior to publishing. The second of the two pages will show the back of the brochure prior to publishing. In this case including whatever form you added. You can also select all of a panel via dragging all of the contents, copy, and paste them in a different panel if needed.
Once you have edited everything to your liking with logos and details, it’s time to publish your brochure.
Go to File and Print. We’ll want to change some things as needed. The main thing change Print One Sided (under Useable Paper Sizes) to Manual 2 Sided Print and to make sure the page is set to a Usable Paper Size of Letter 8.5×11.
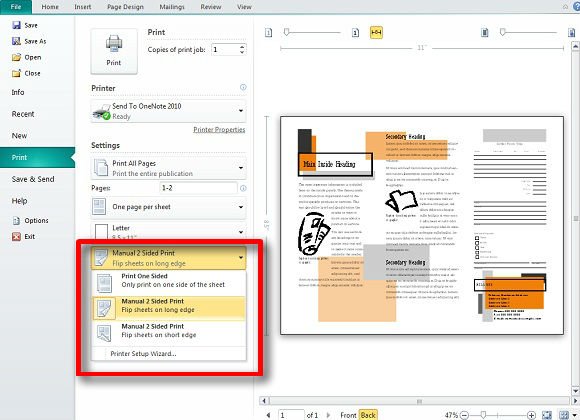
We selected Manual 2 Sided Print since we want the brochure to print on both sides. Take notice of how you insert the paper into the printer if you have to flip the paper to print both sides.
After you’ve printed your brochure out, you have published it. All that is left is to fold it; there are only so many ways to fold your brochure if you have the face page showing, so it’s hard to get wrong.